Laser Cut Projects for Young Makers
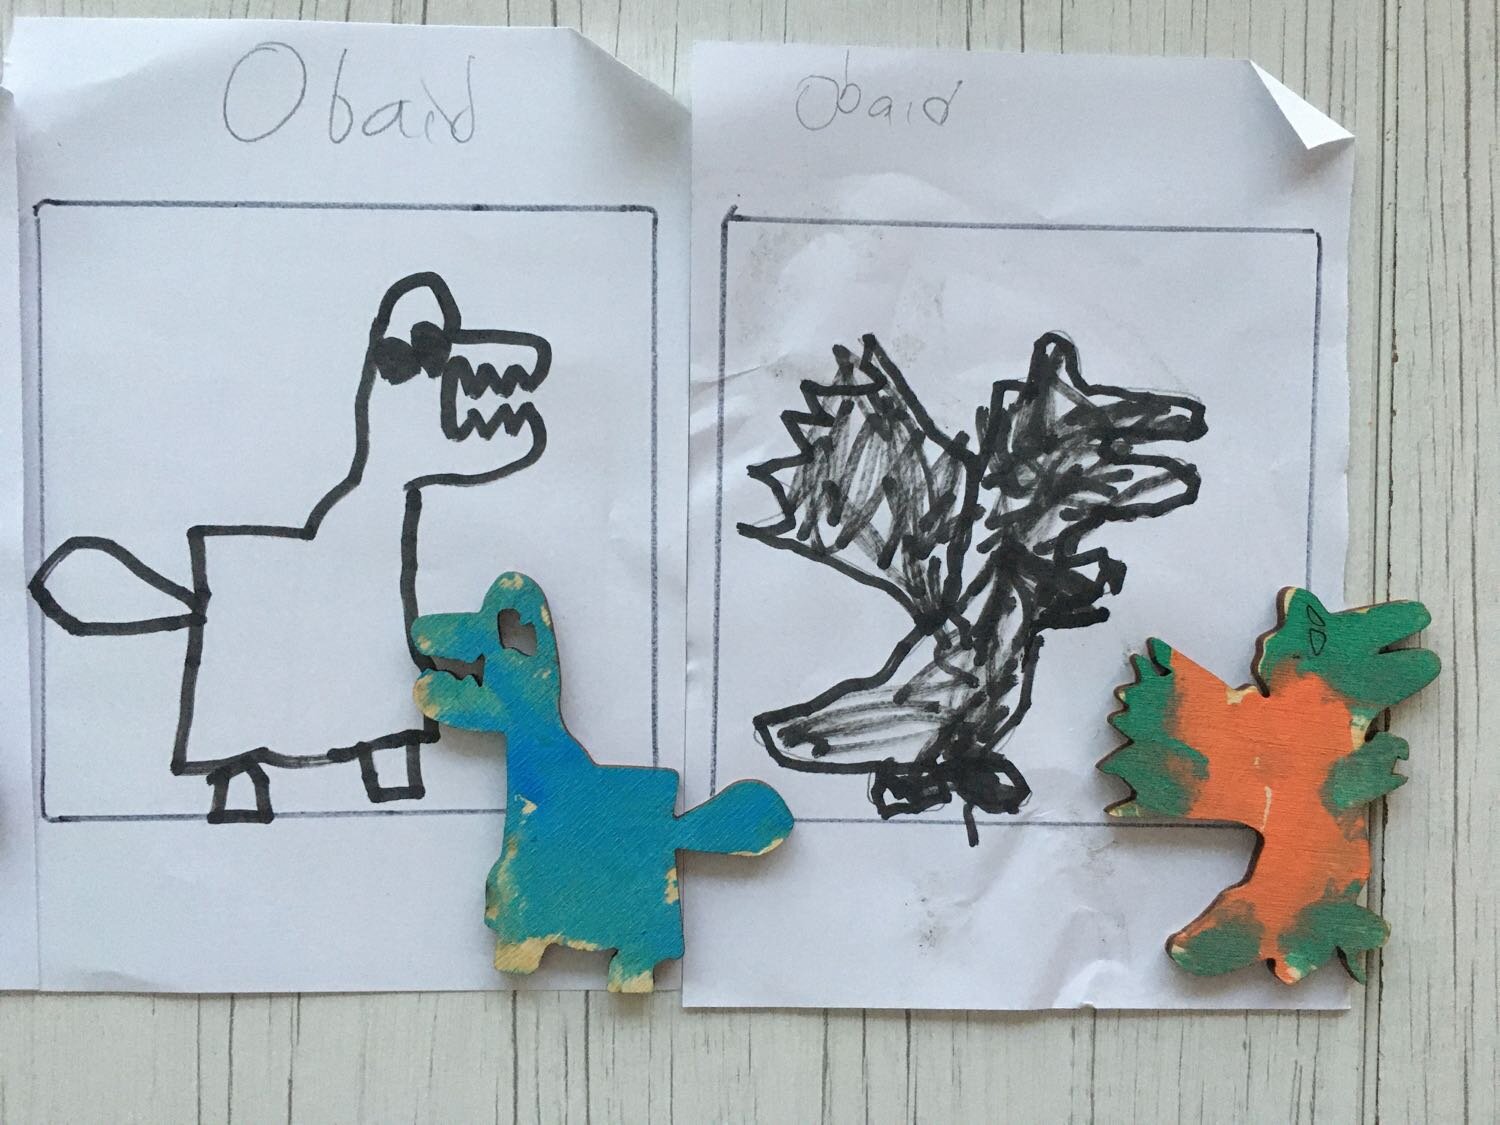
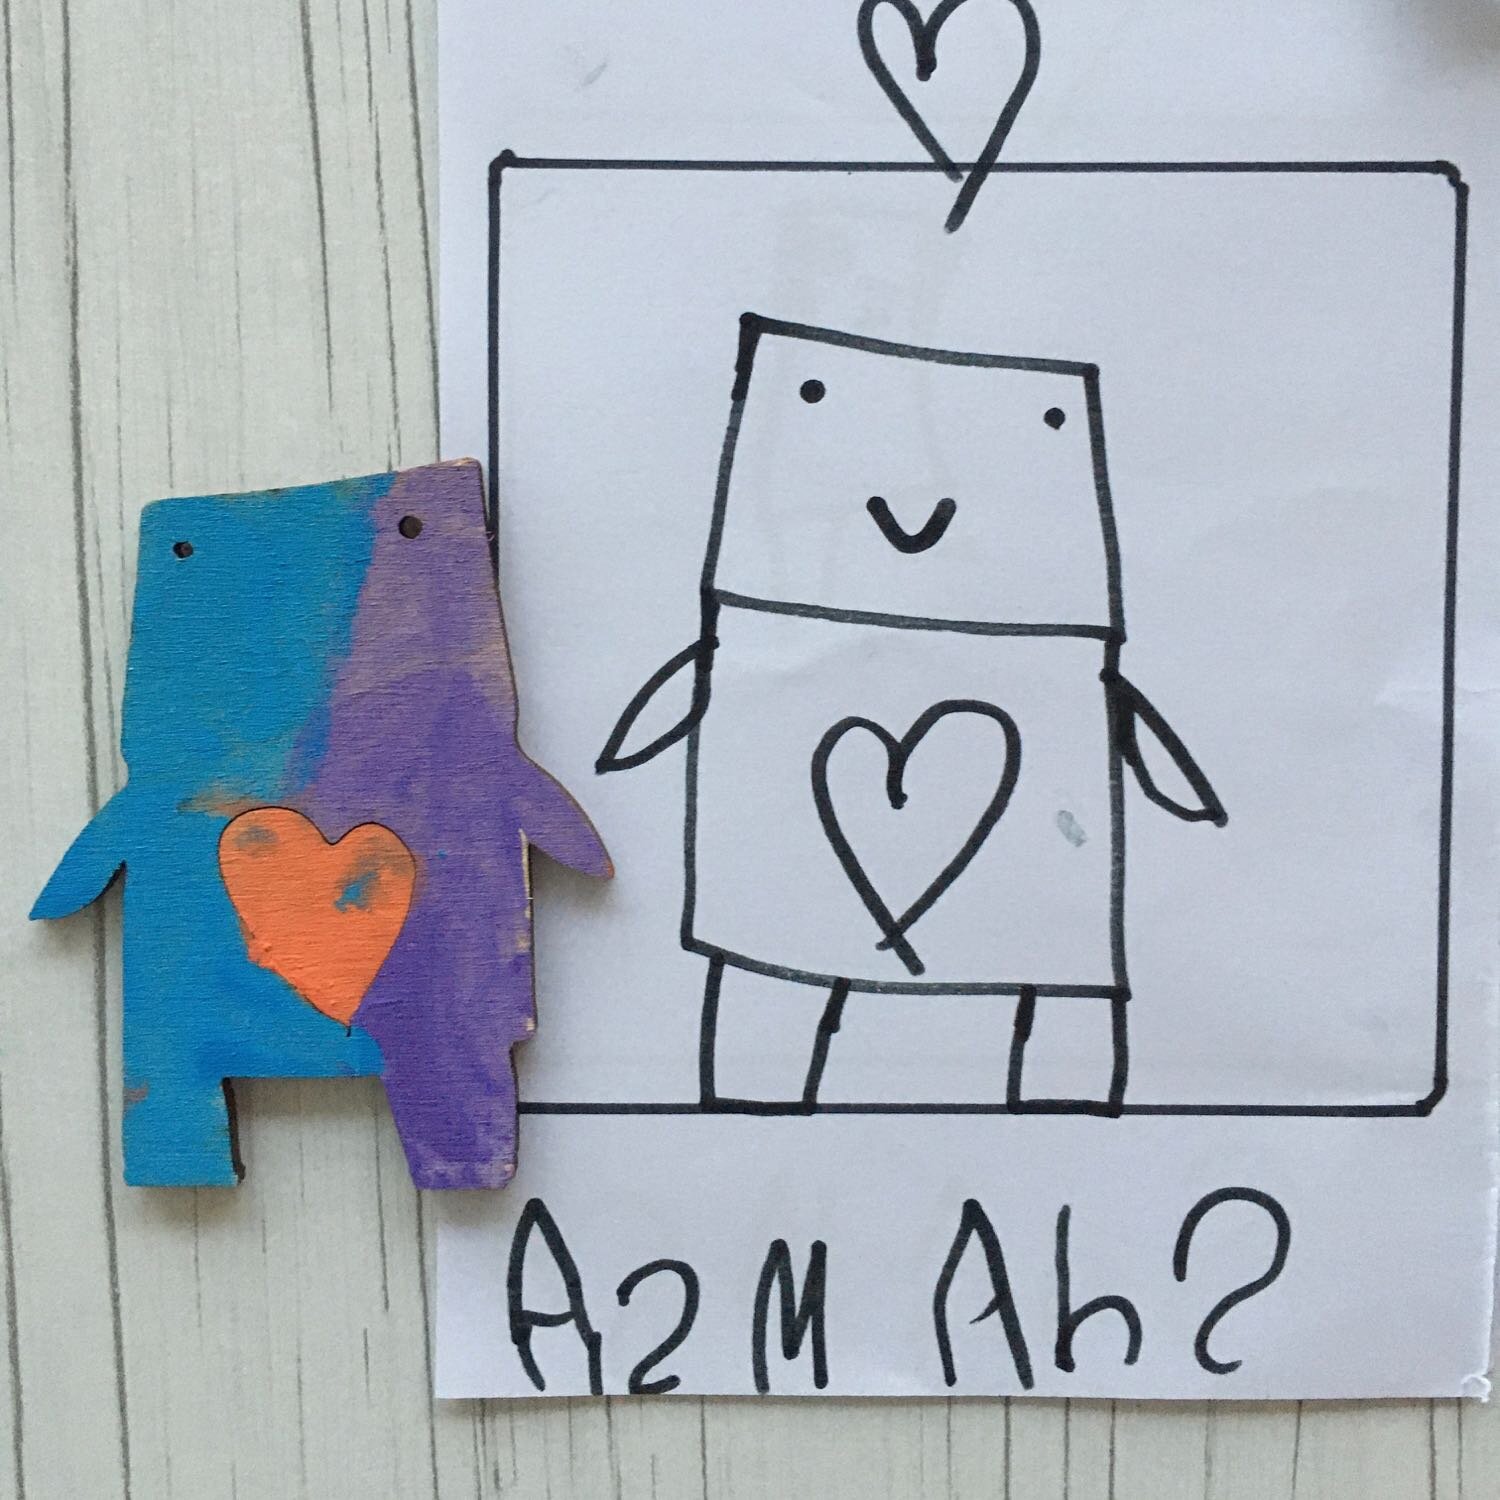
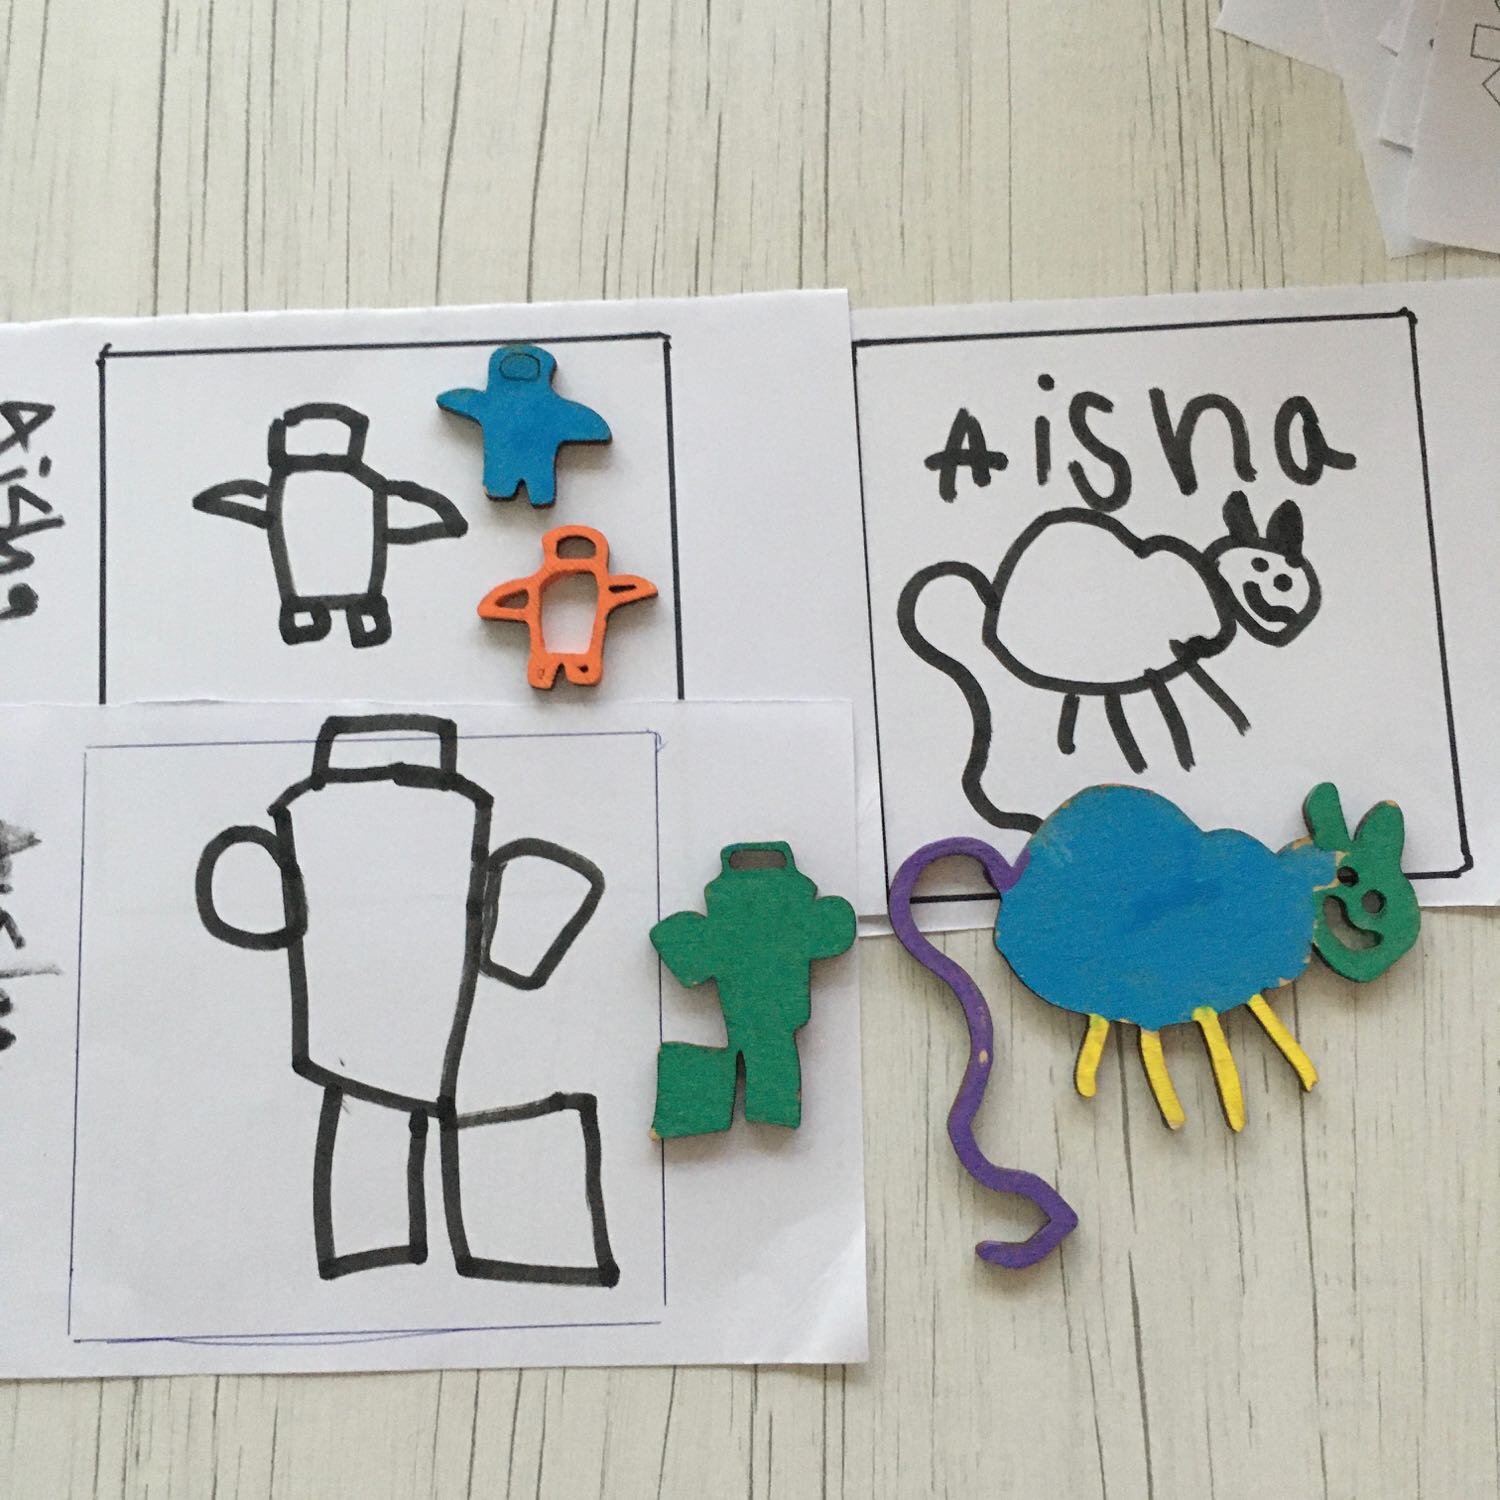
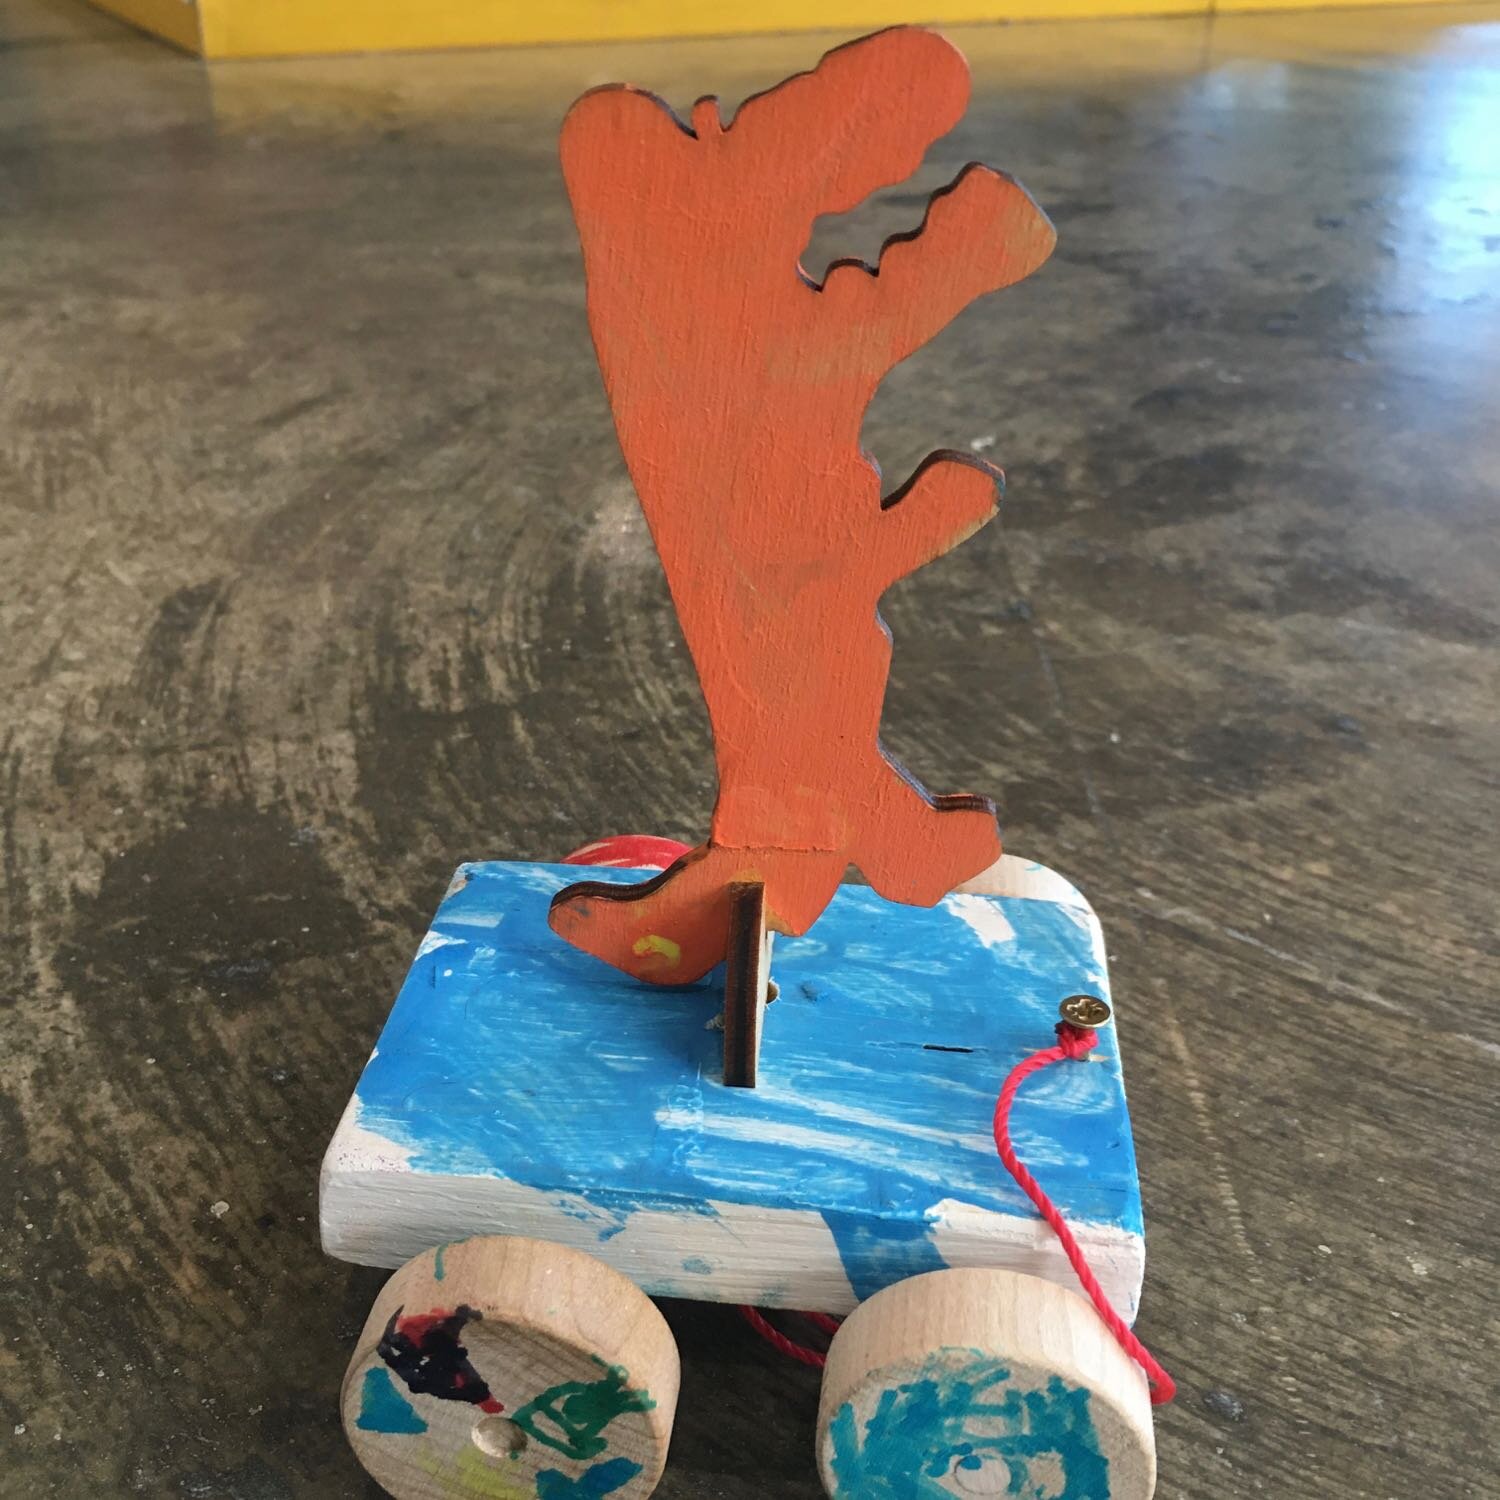
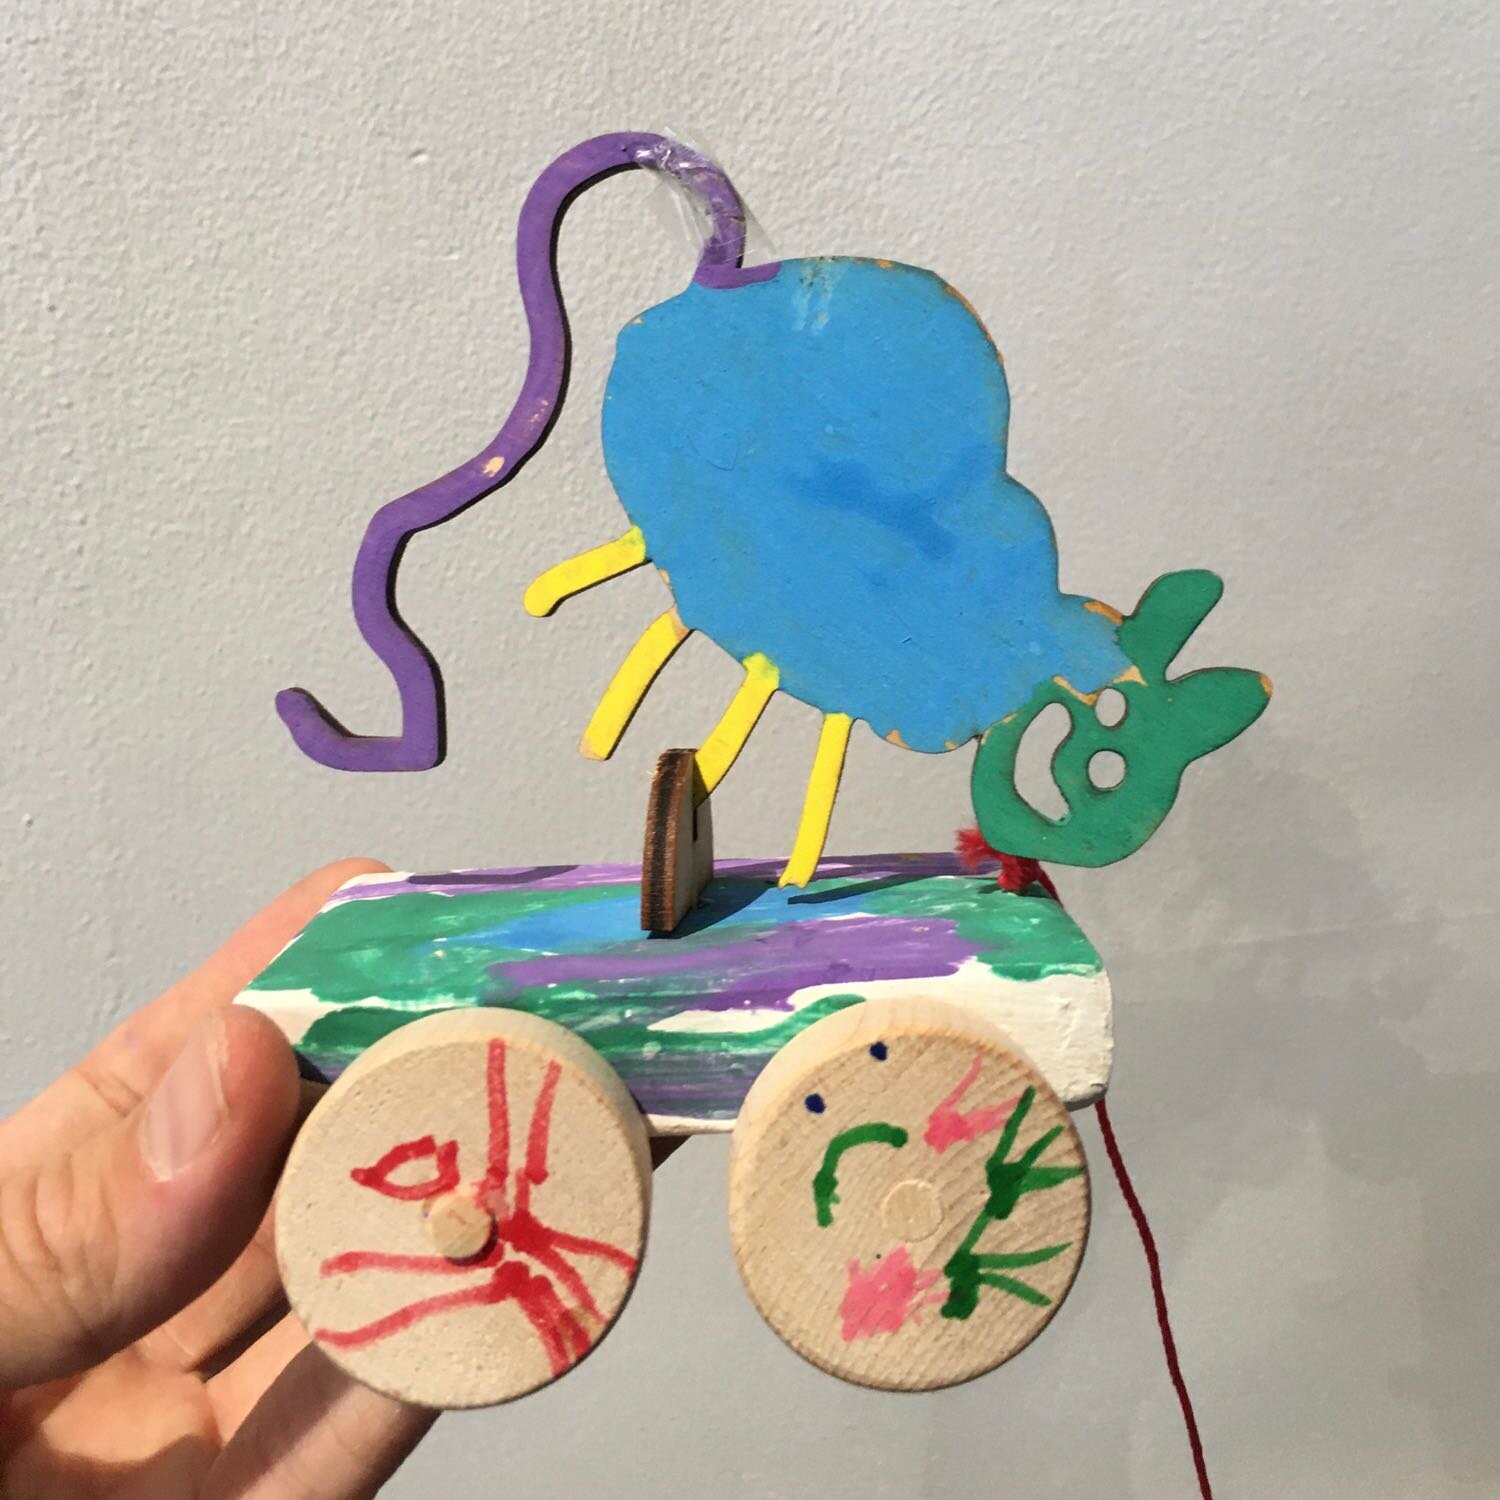
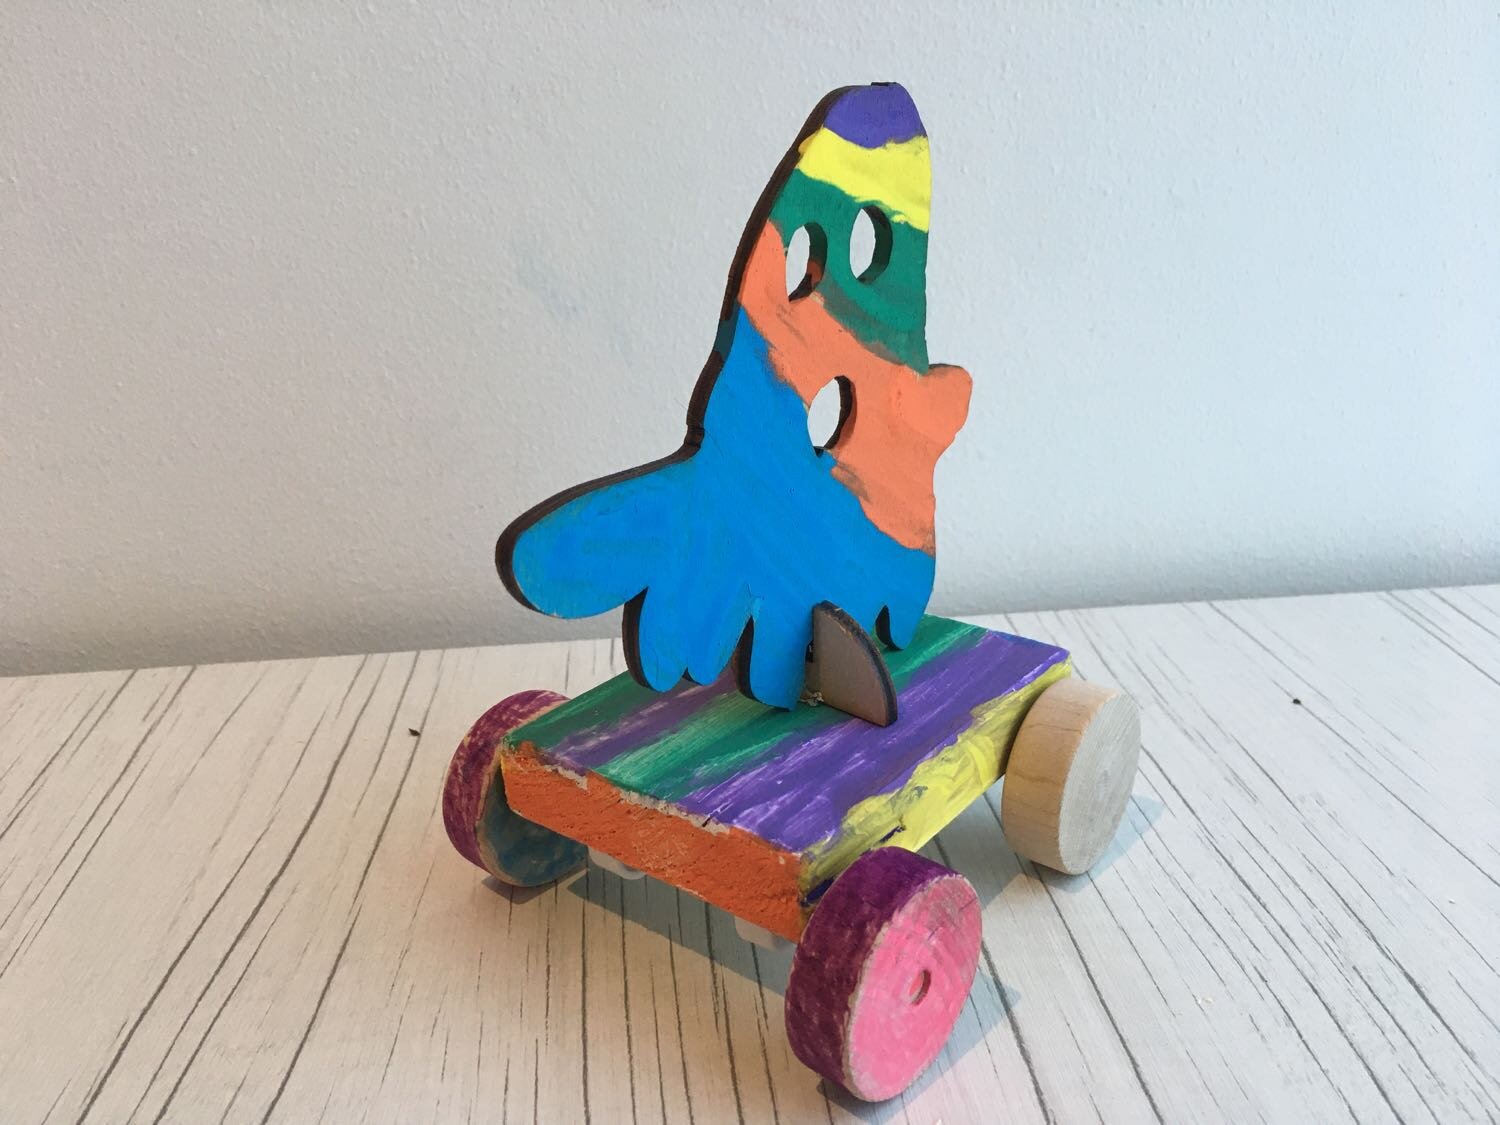
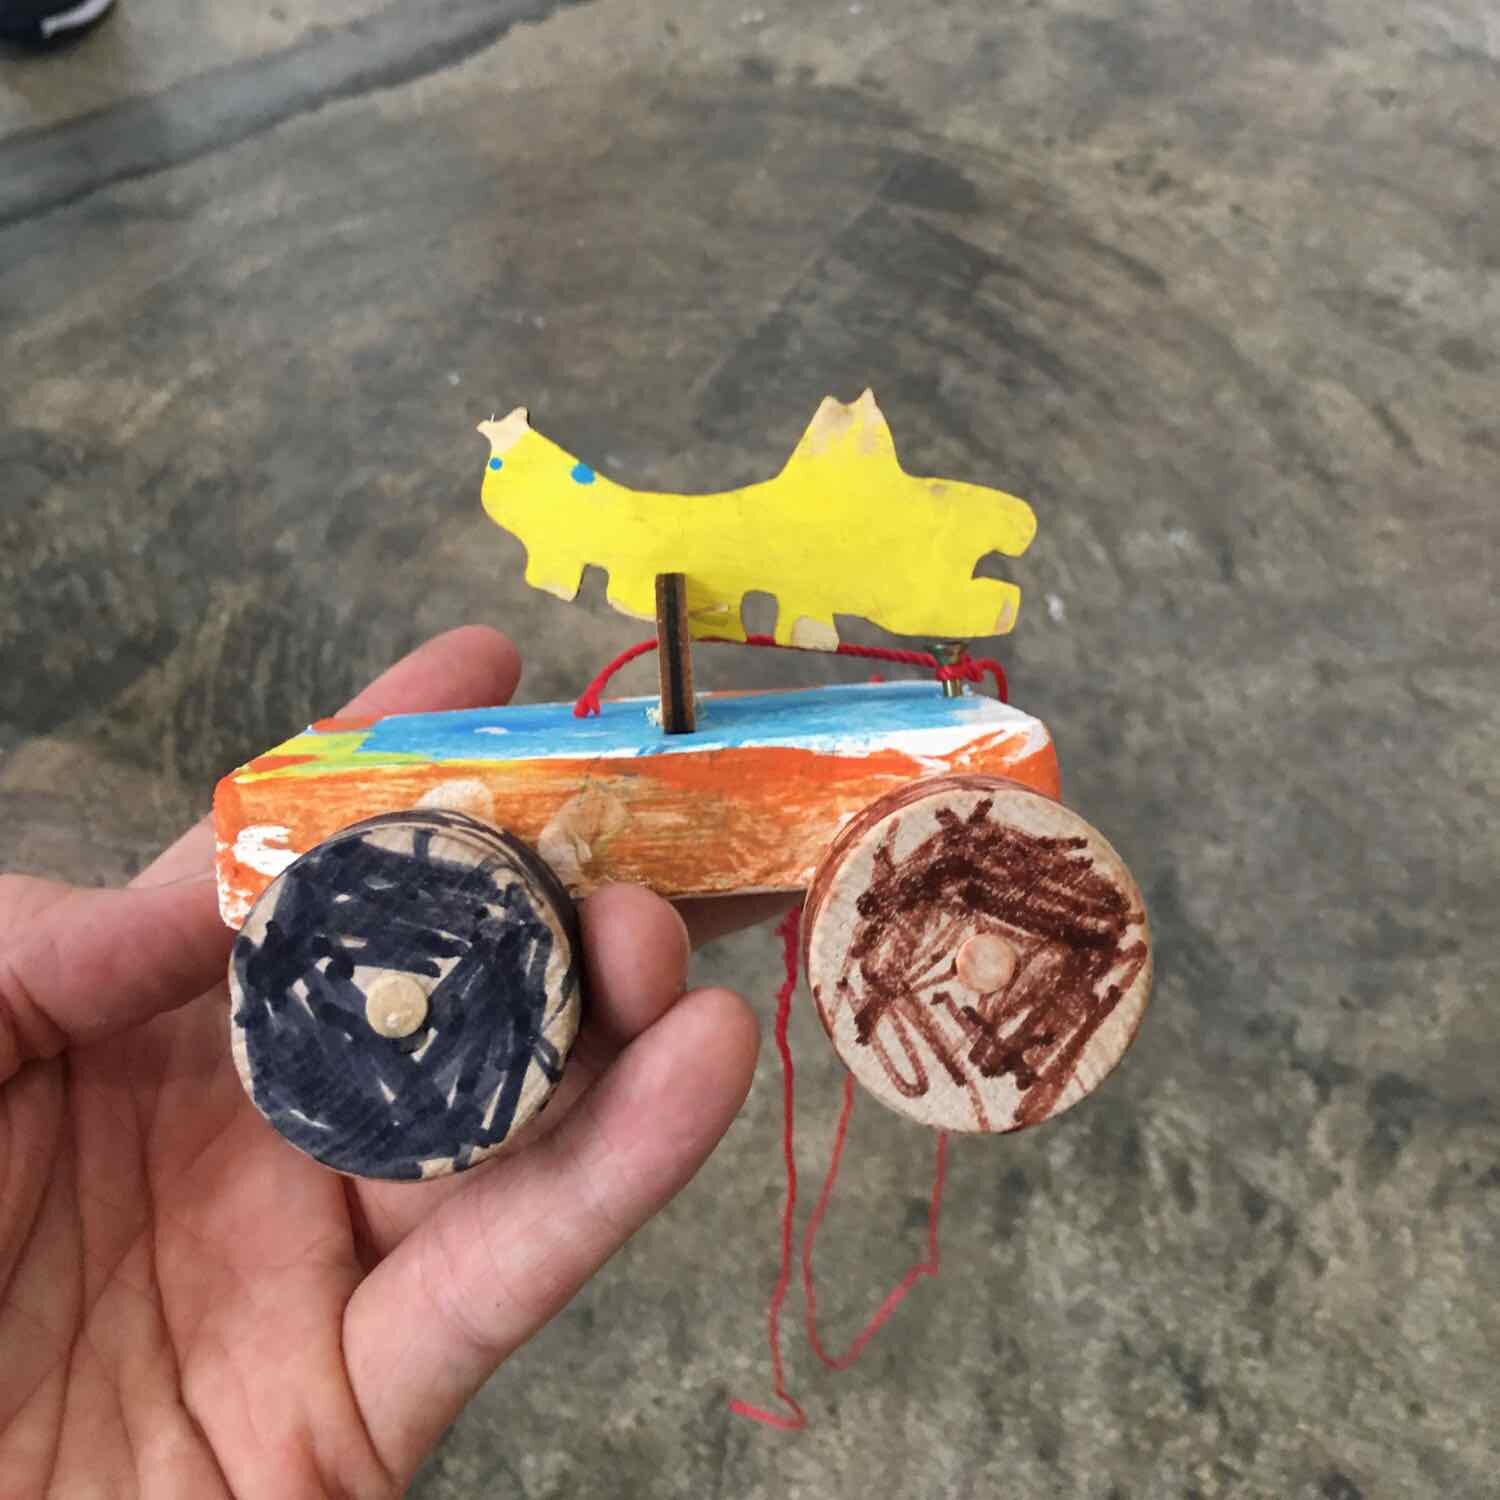
Laser Doodle Pull Alongs
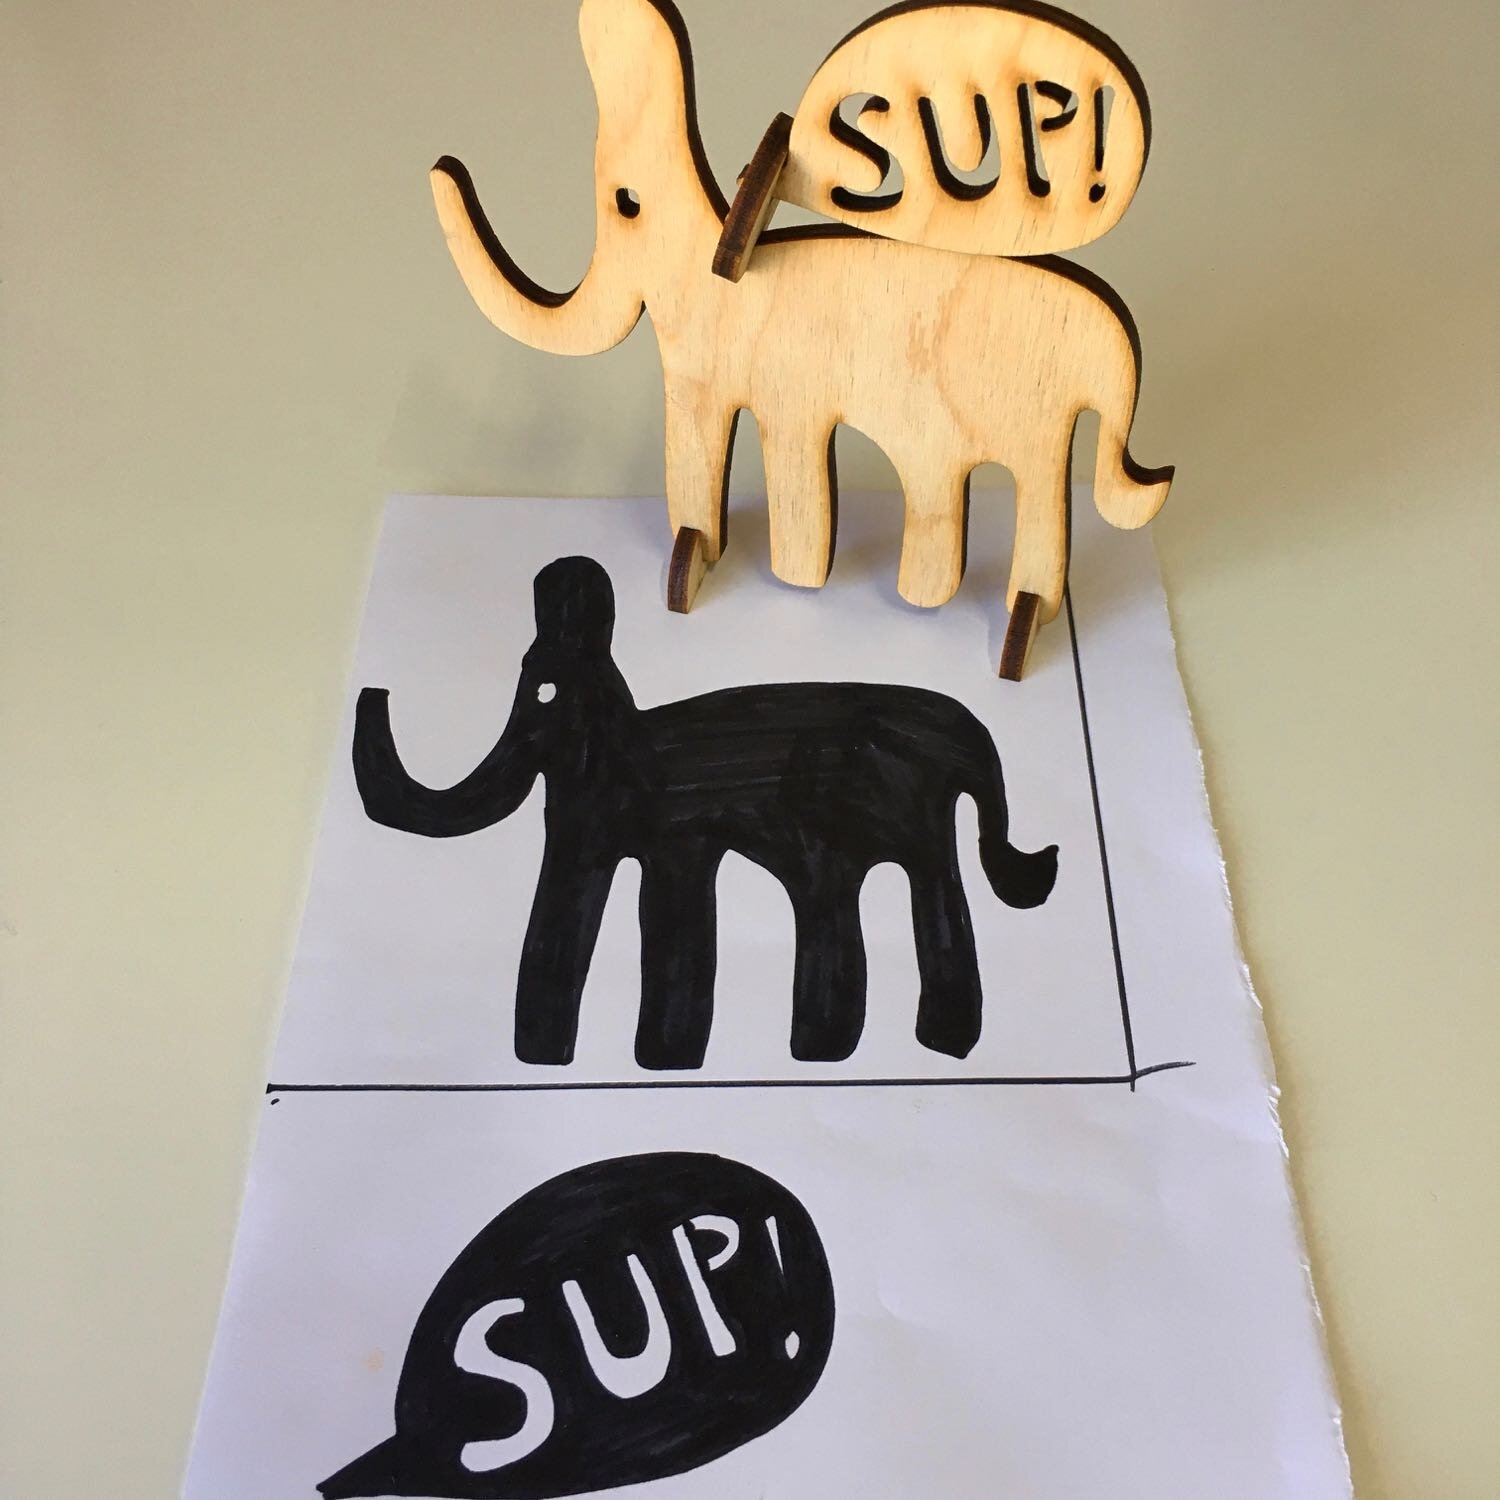
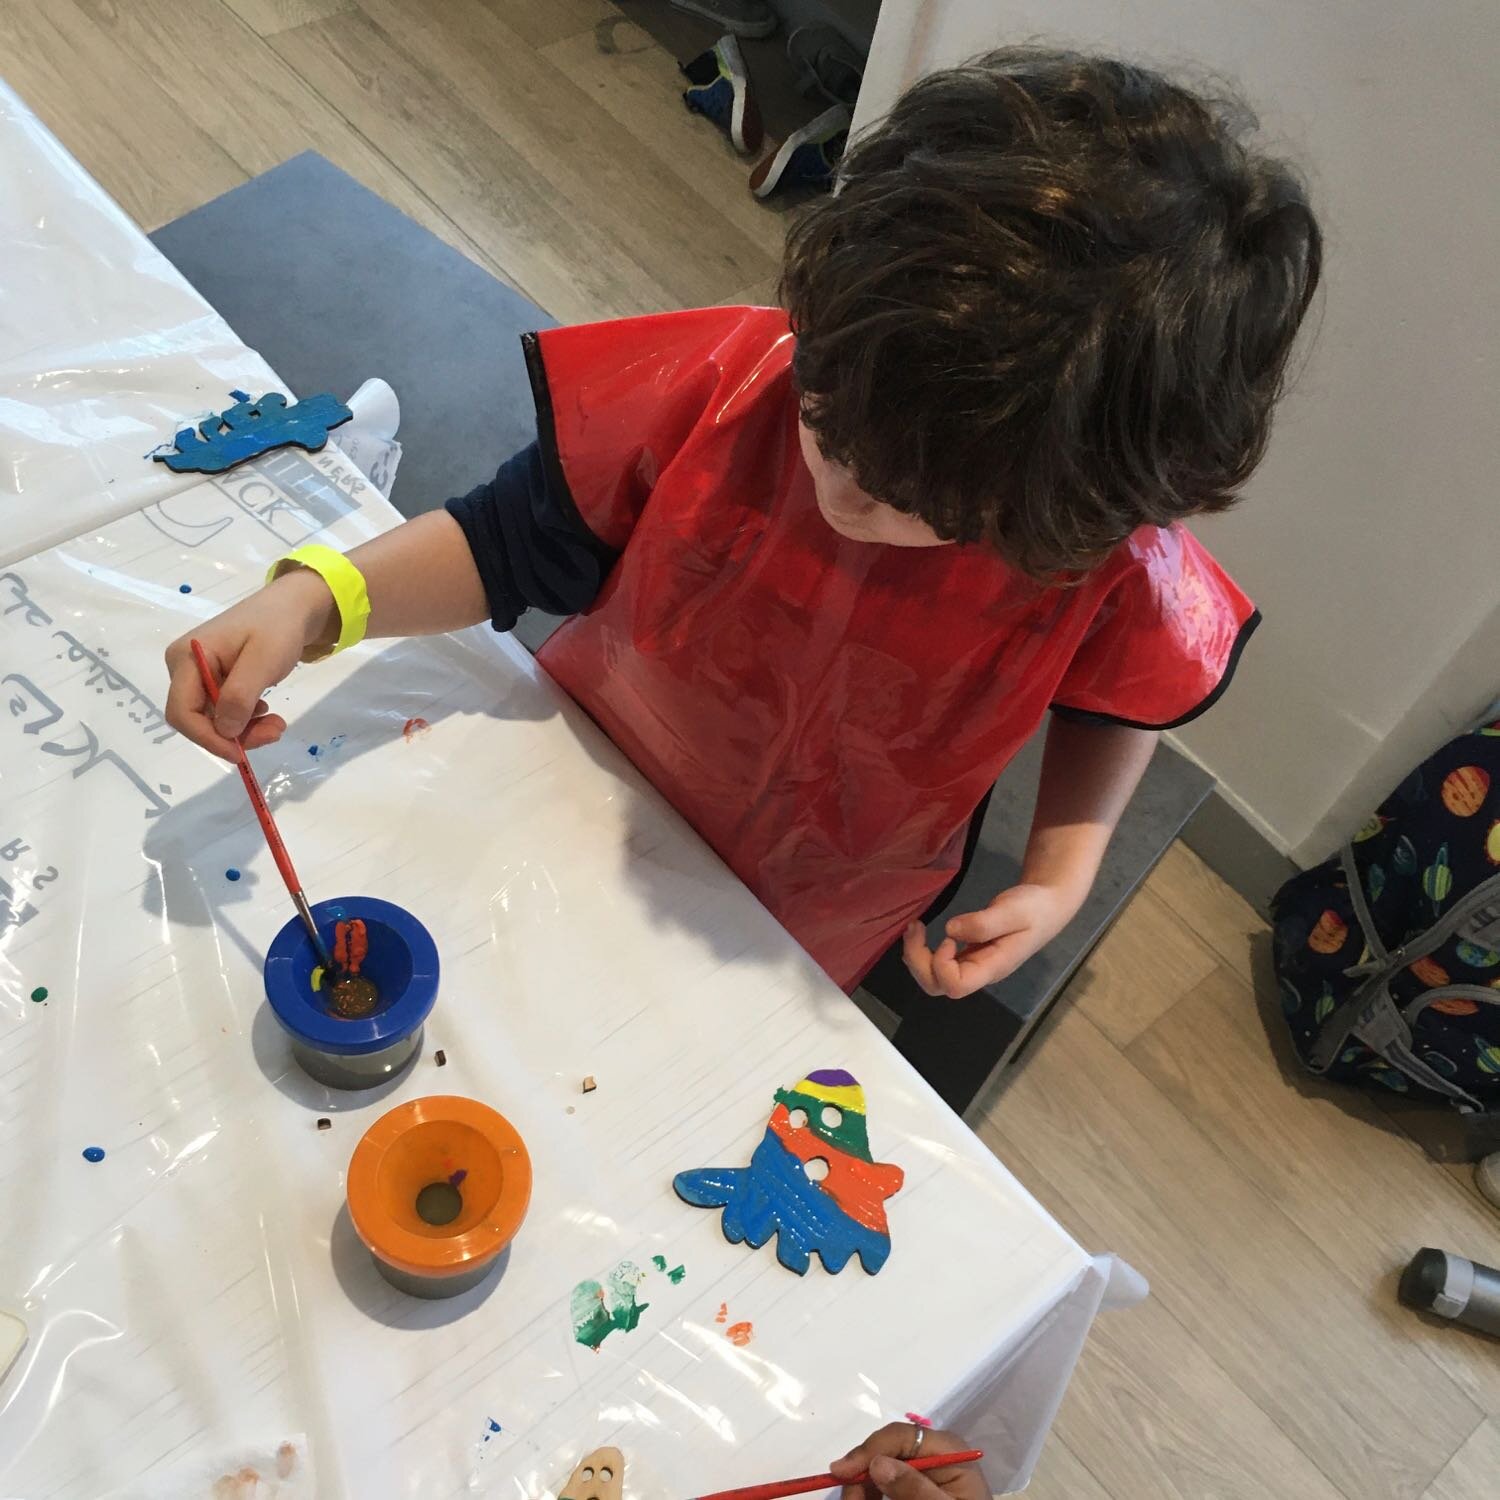
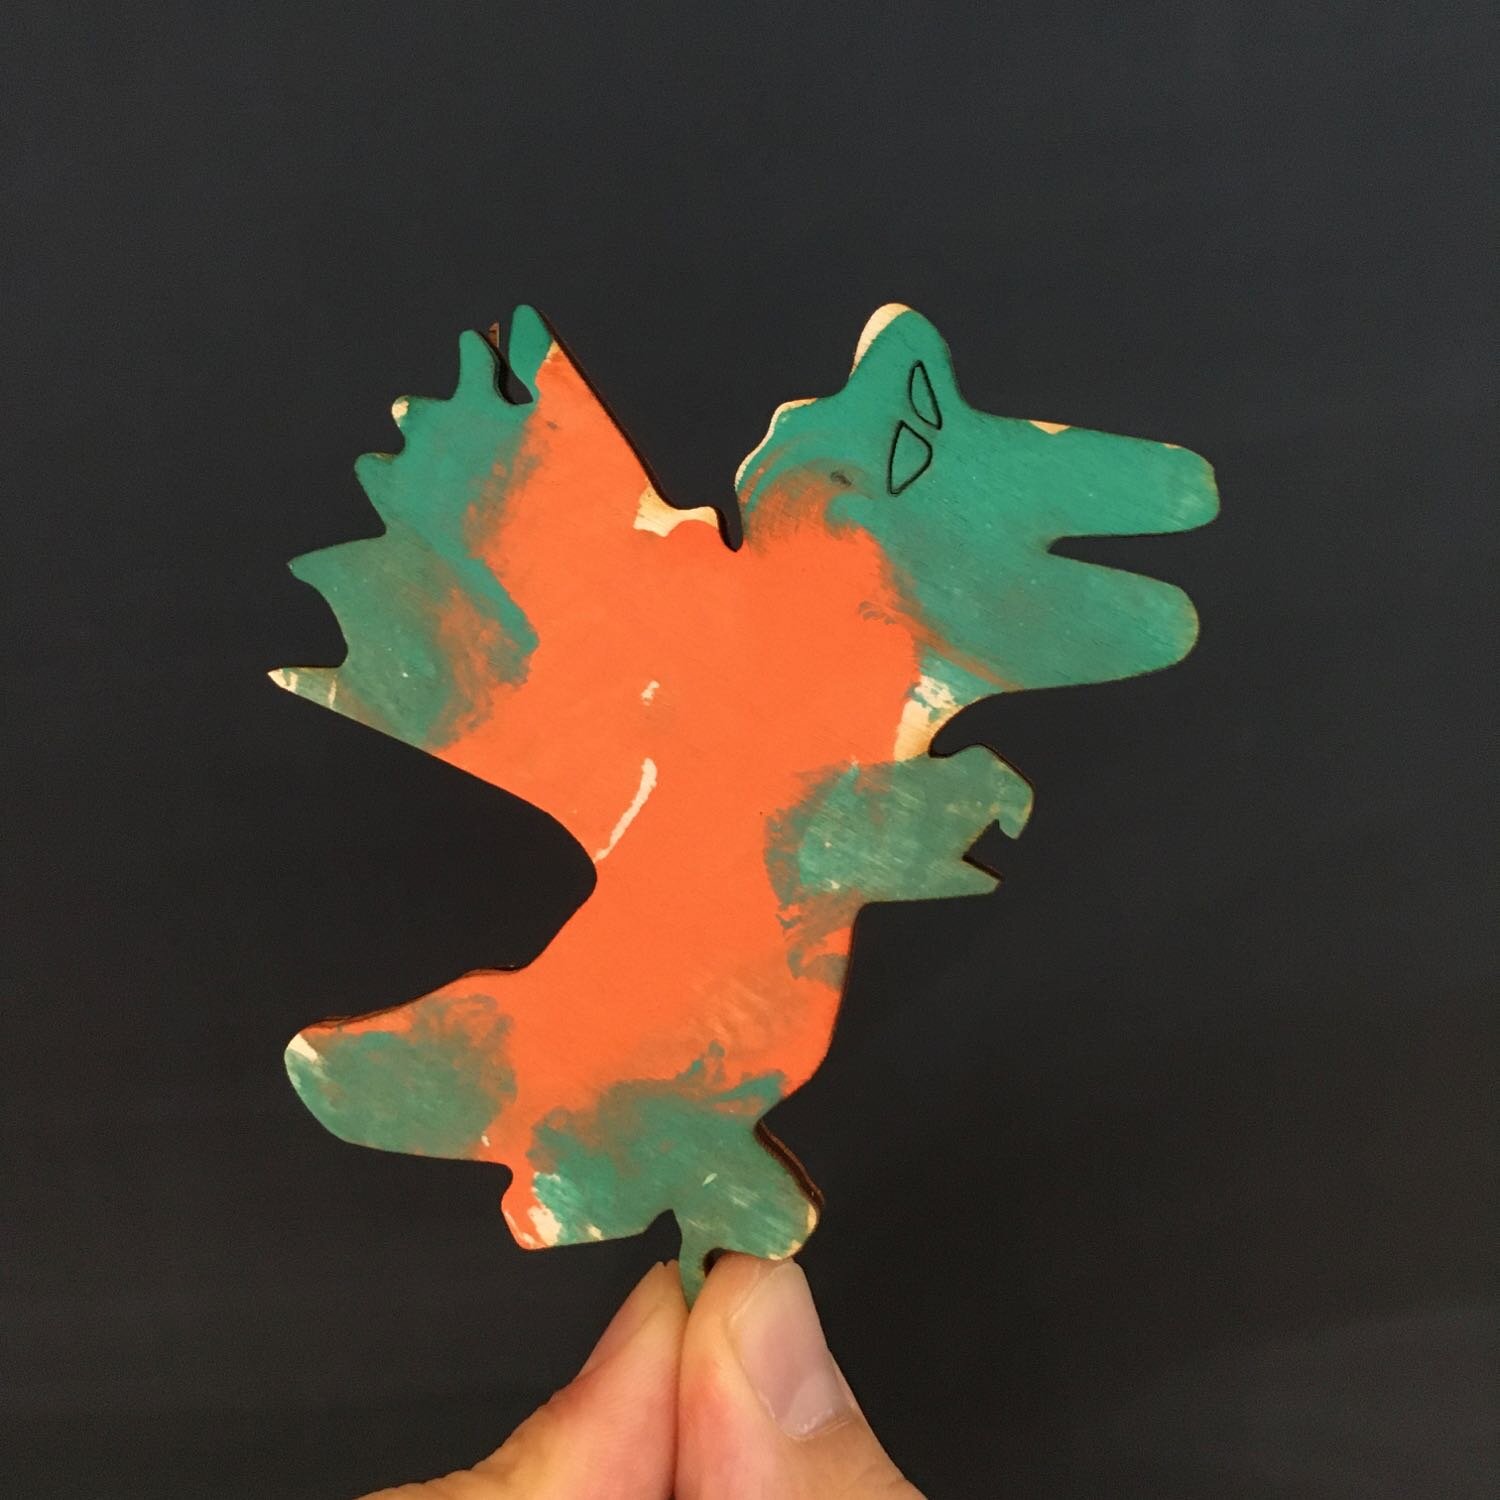
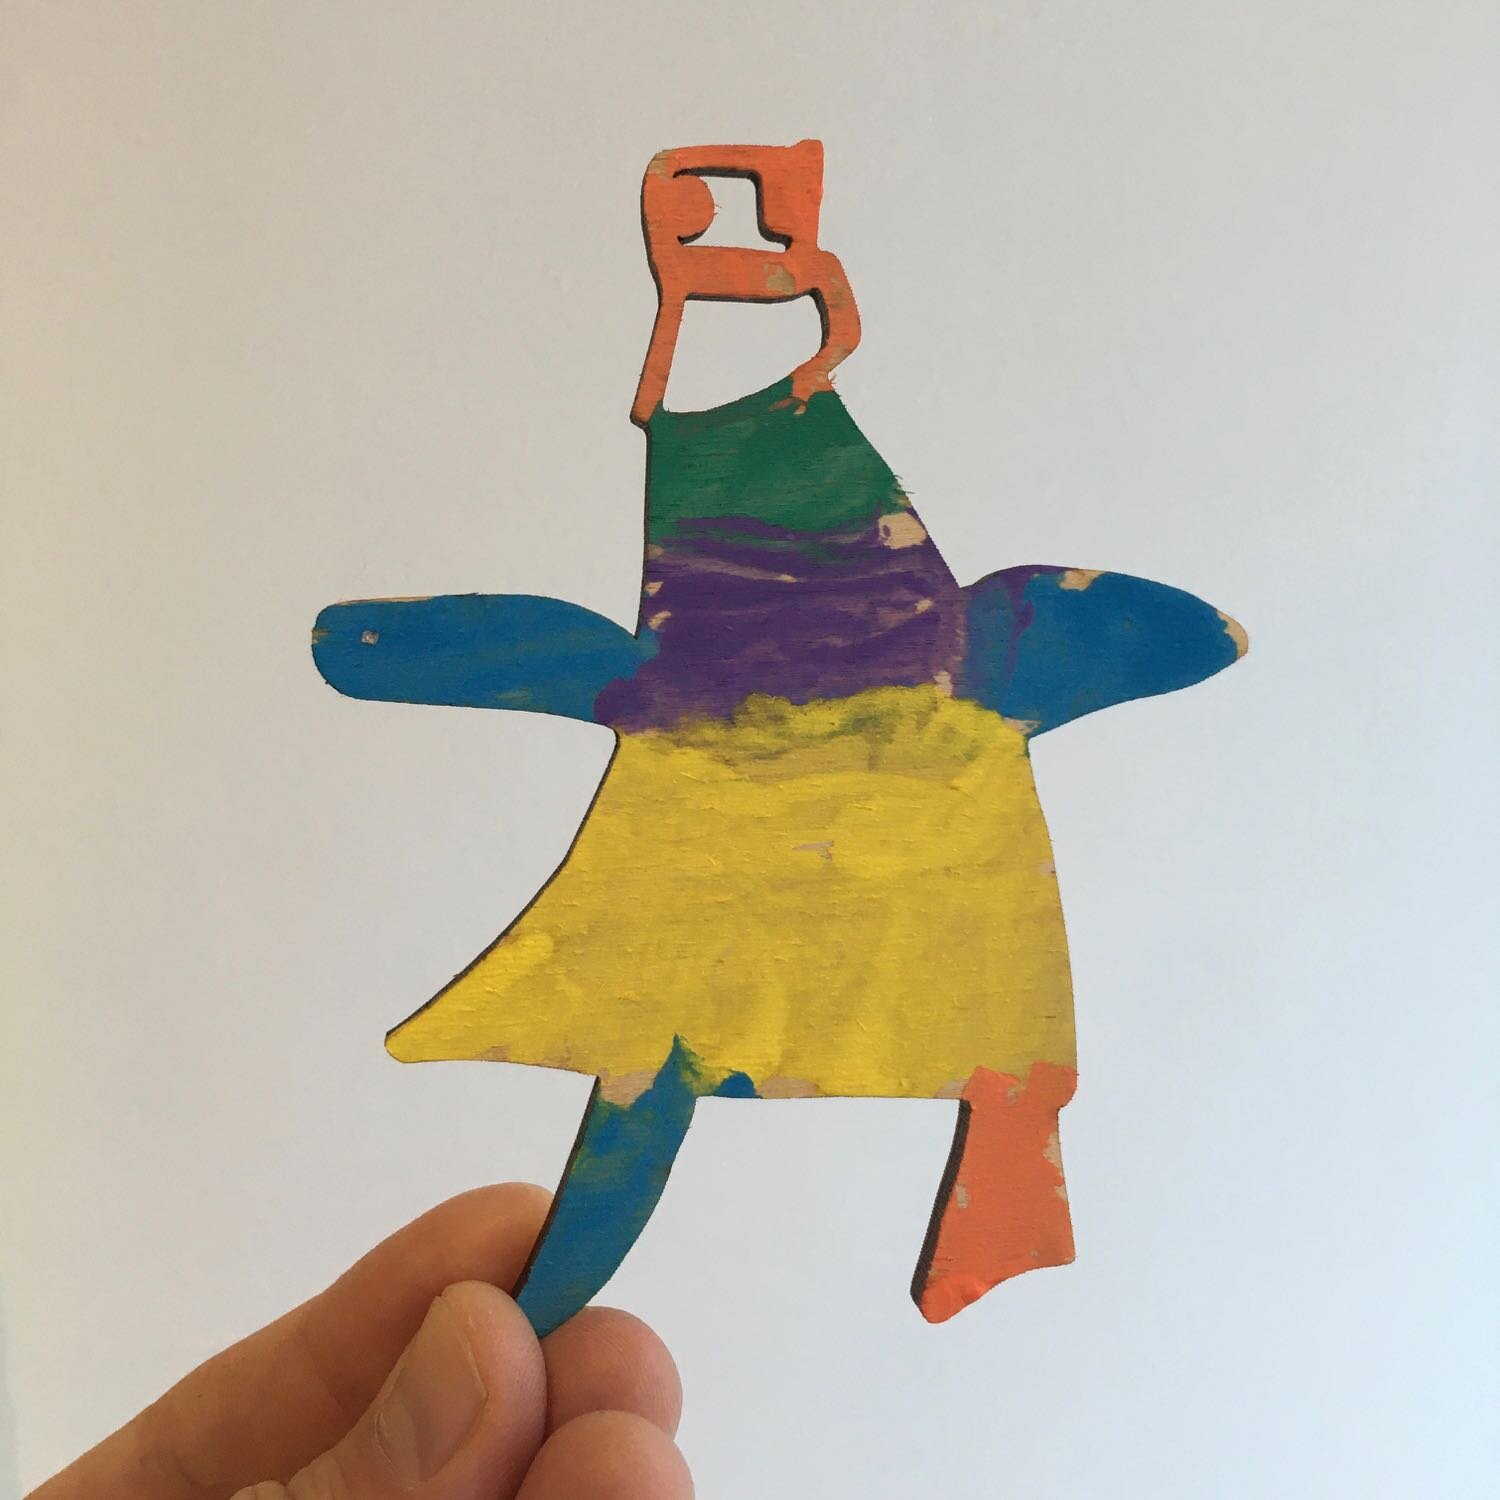
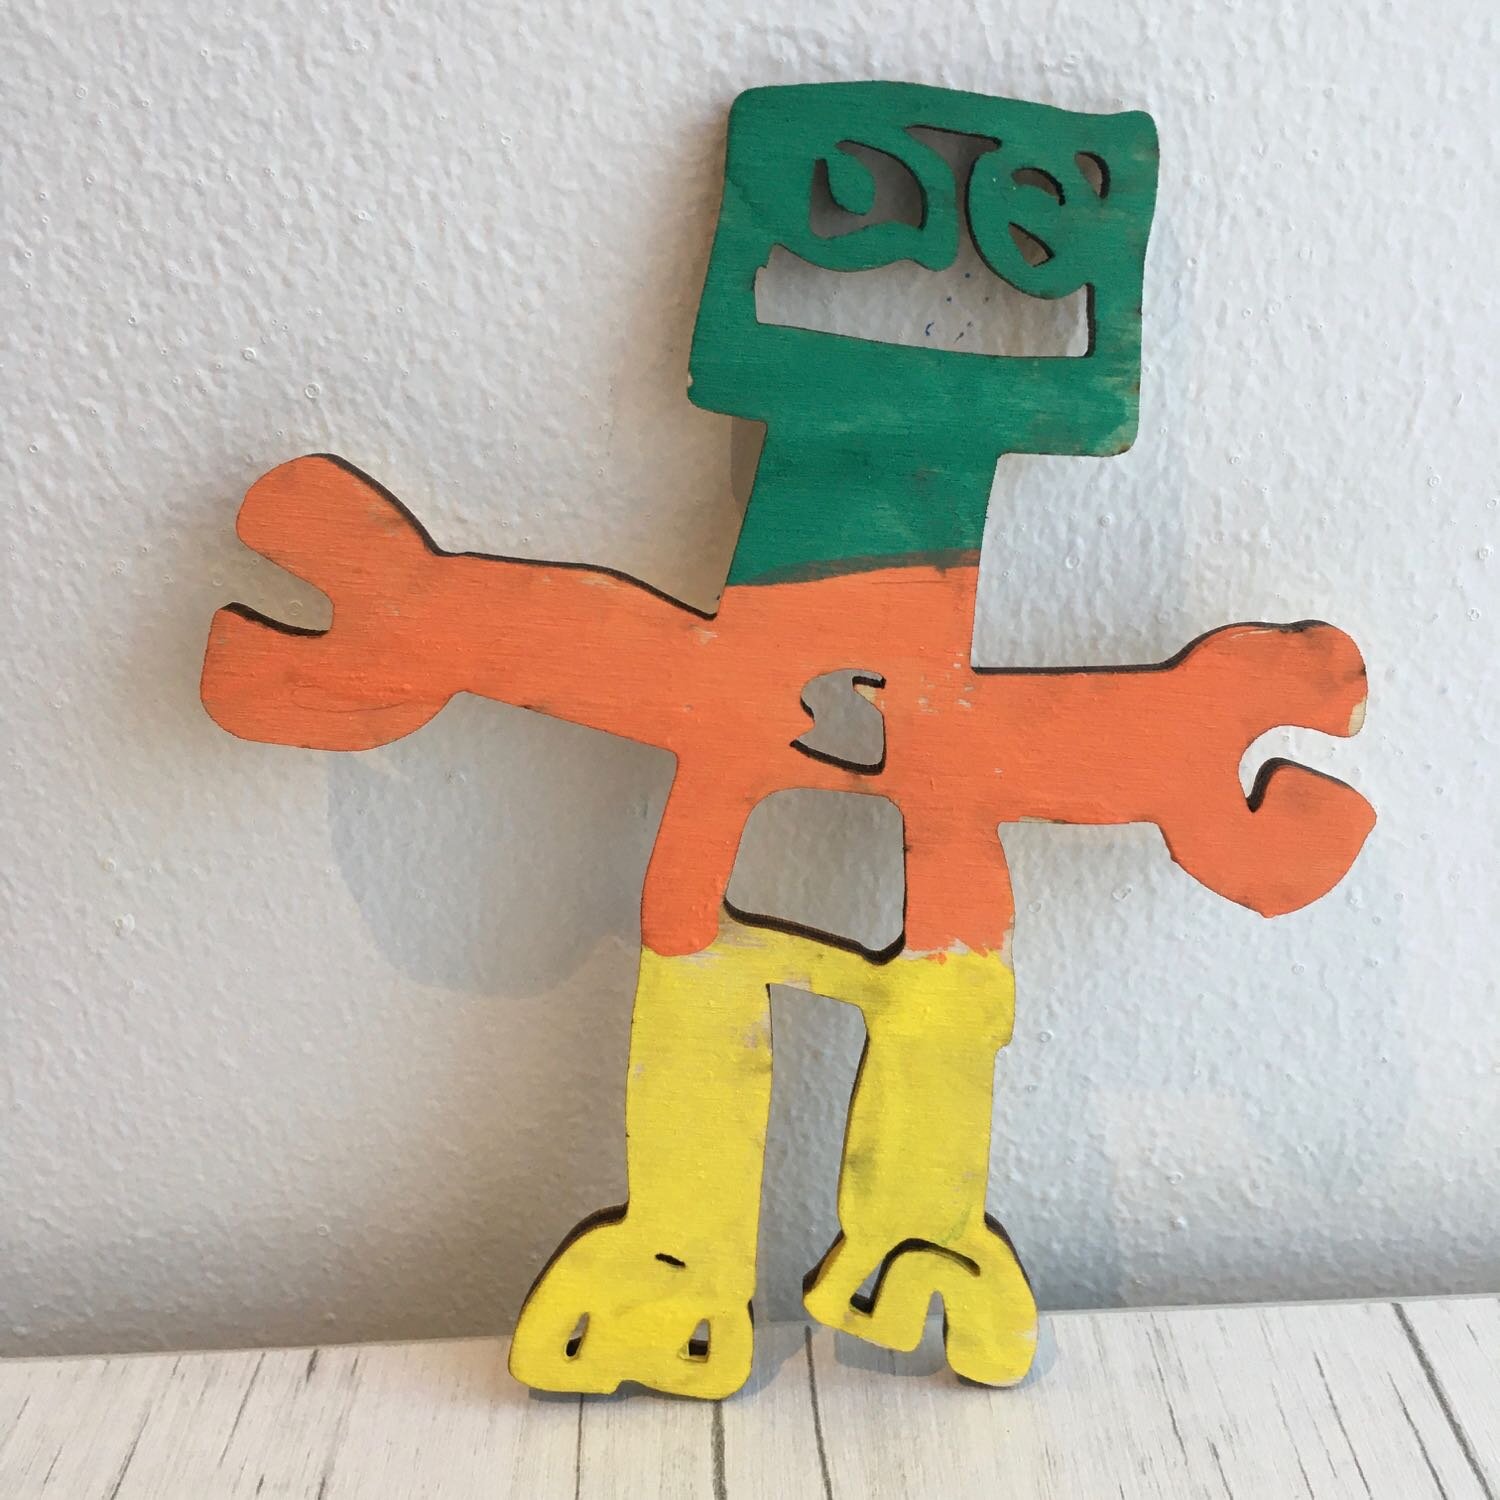
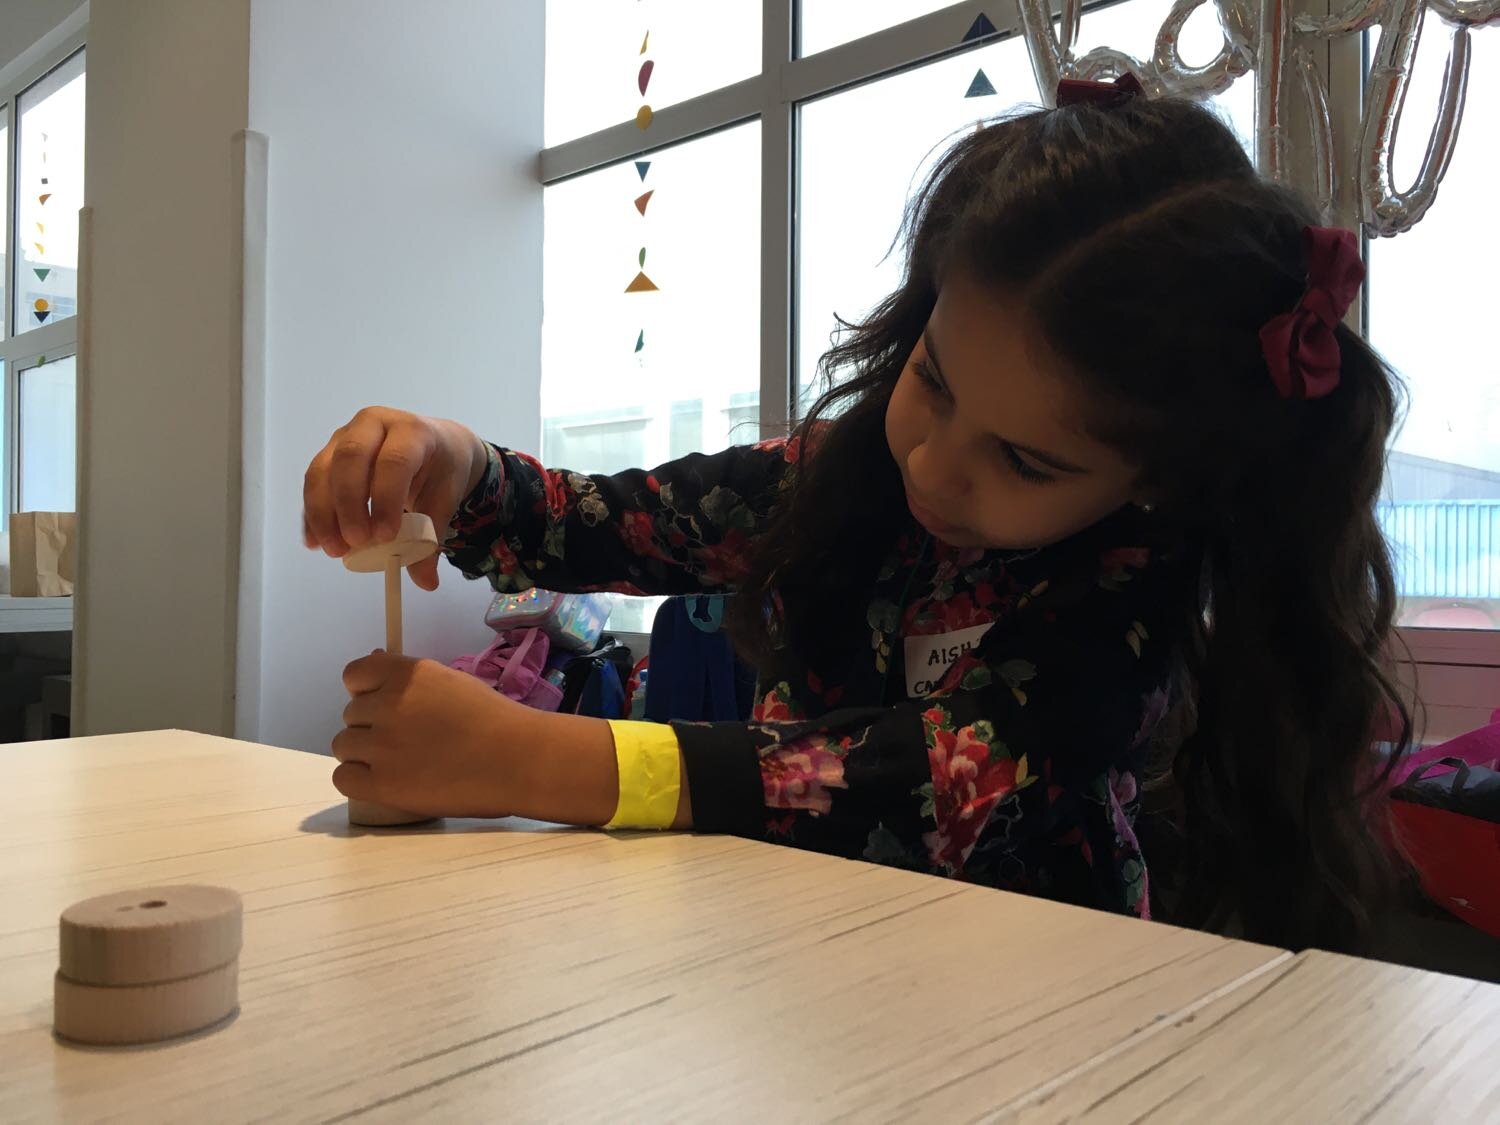
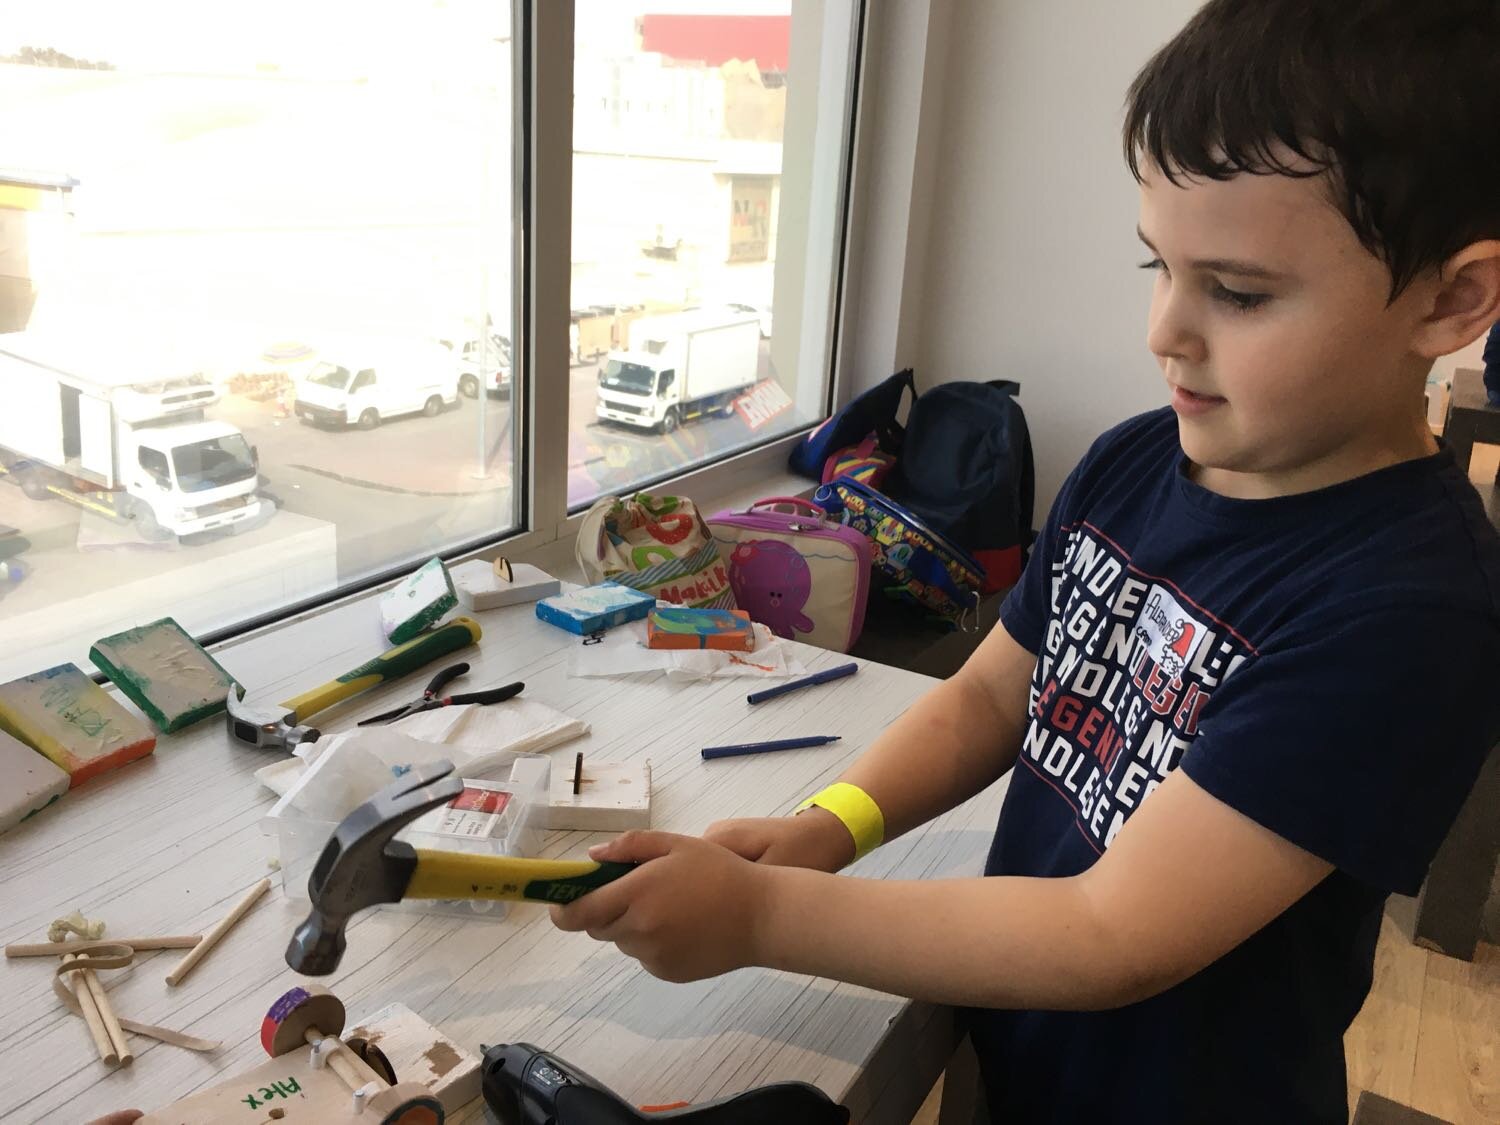
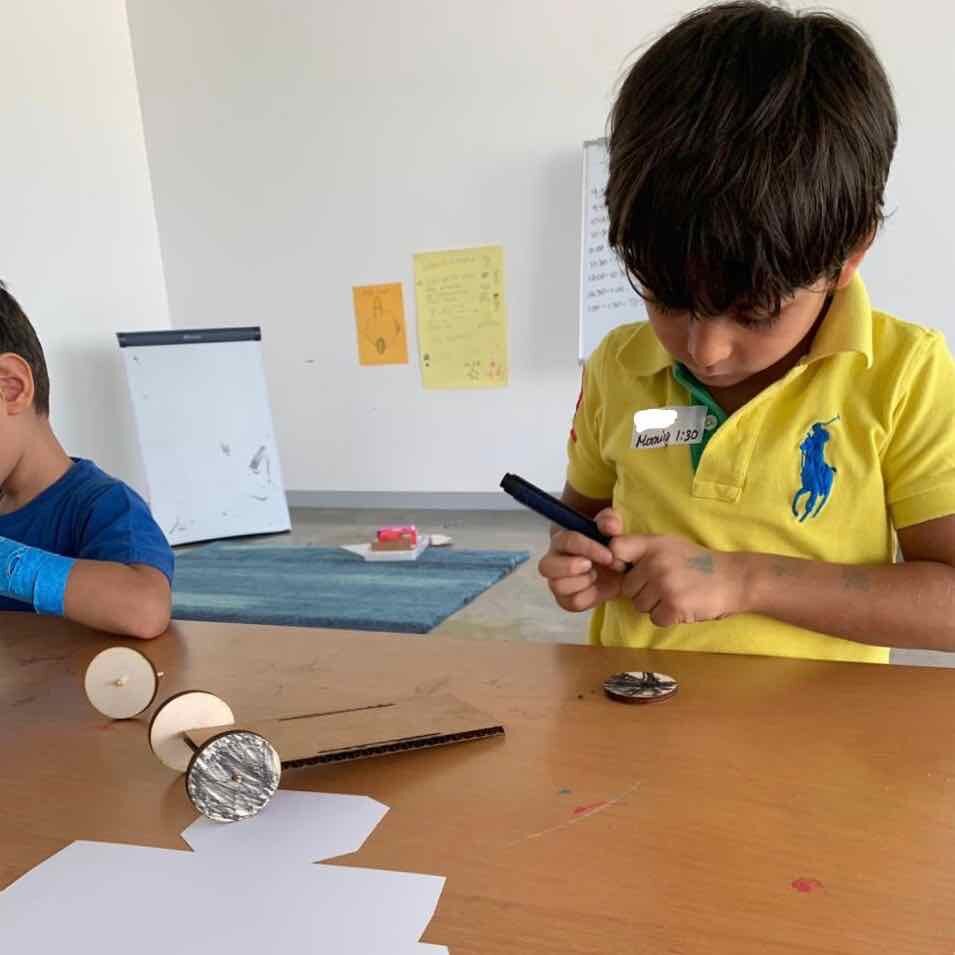
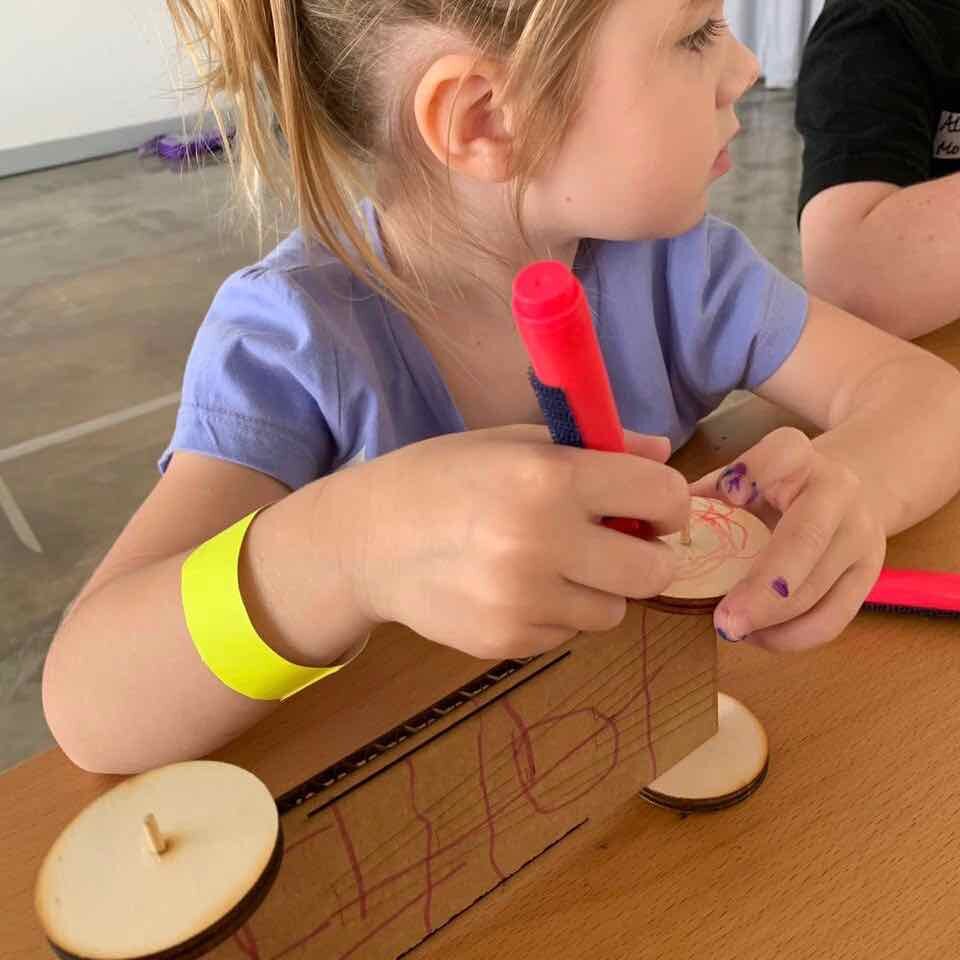
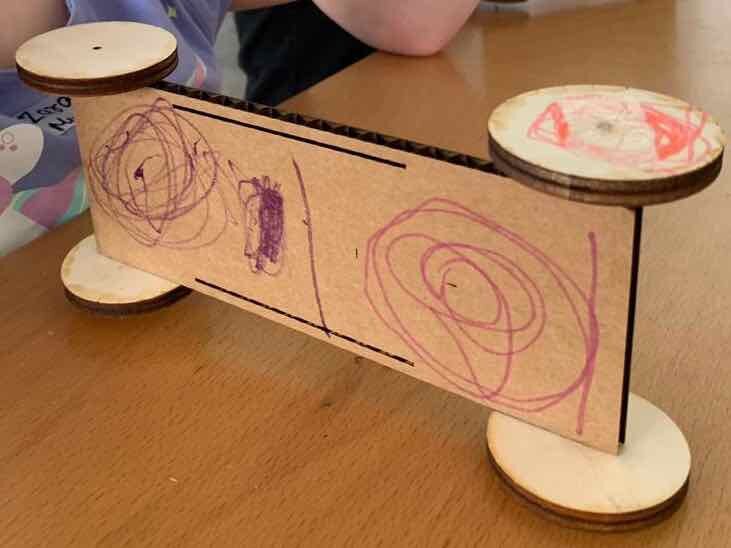
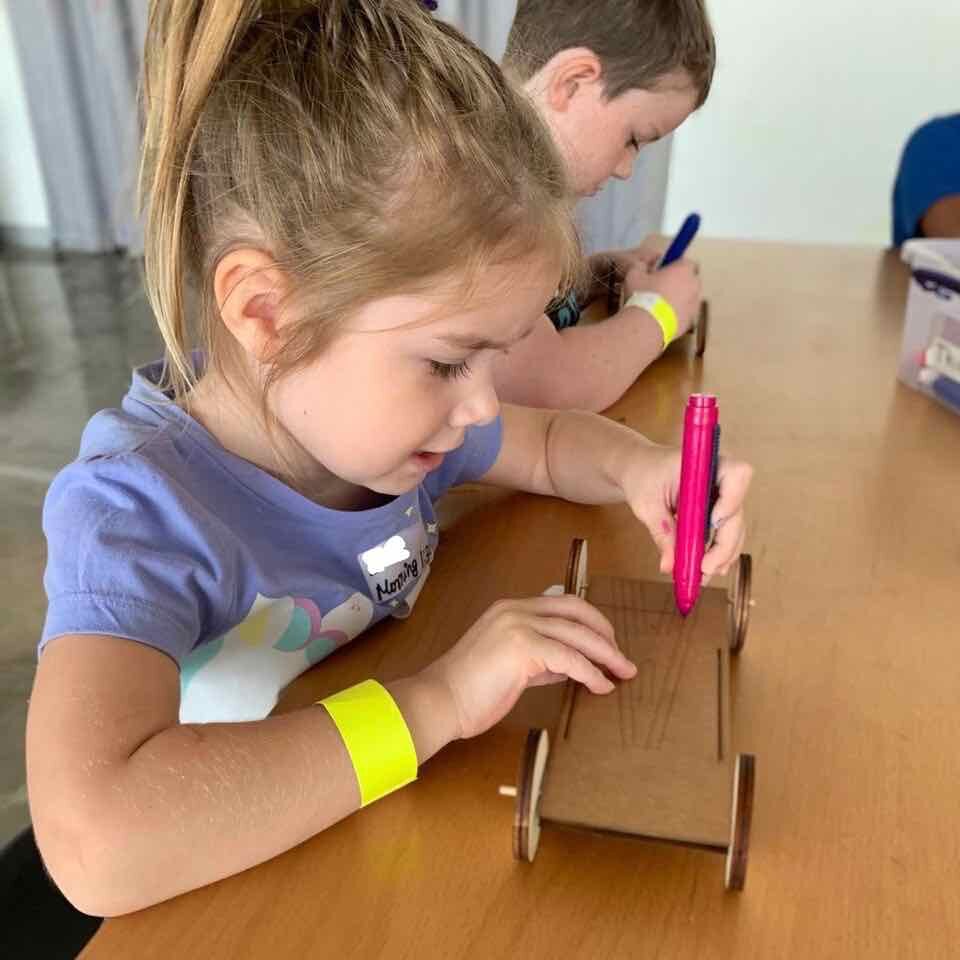
This was one of my all time favorite camp projects to do with the 4 and 5 year olds. Using Adobe Capture, I was able to quickly turn the campers drawings into into laser cut pieces of wood. We then painted and attached these Laser Doodles onto a wheeled block of wood to turn it into a pull along toy. The campers sanded the wood and even used a hammer to attach the wheel and axel to the base block of wood.
Adobe Capture is a much faster and easier method to turn photos into vector files than the custom program and scripts I used at NYSCI. It seams like this functionality is everywhere now though, so I am glad technology has caught up from when I first started doing this in 2015!


Laser Cut Paper Bus
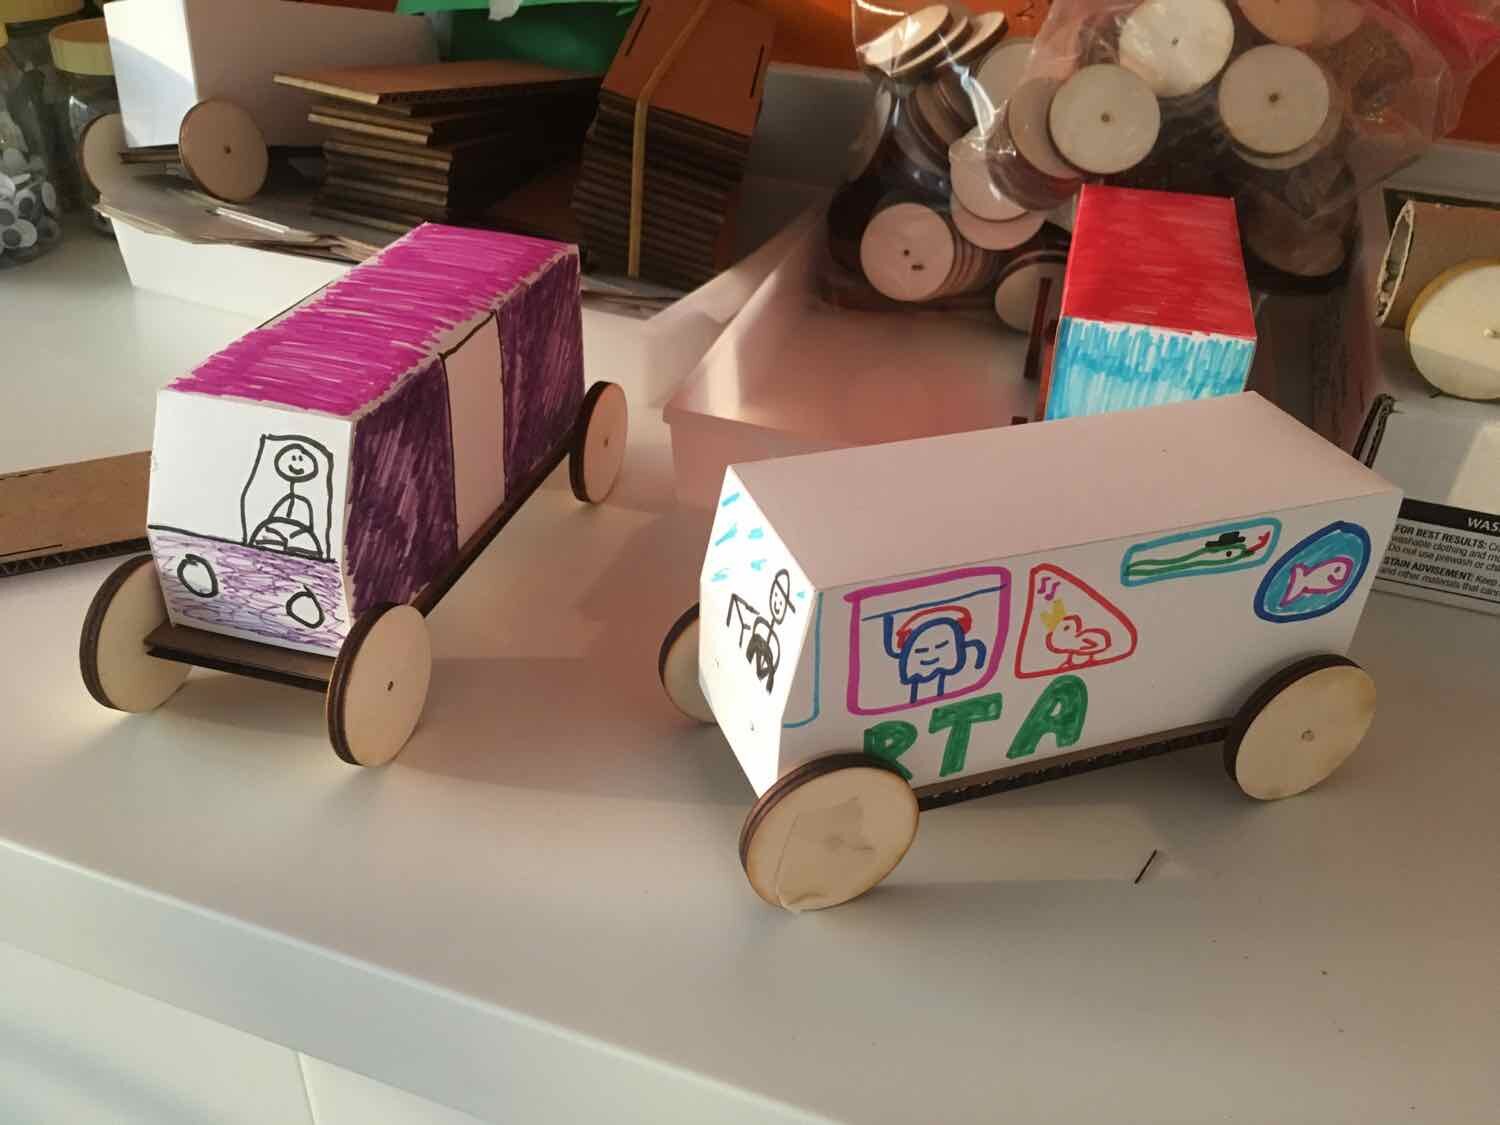
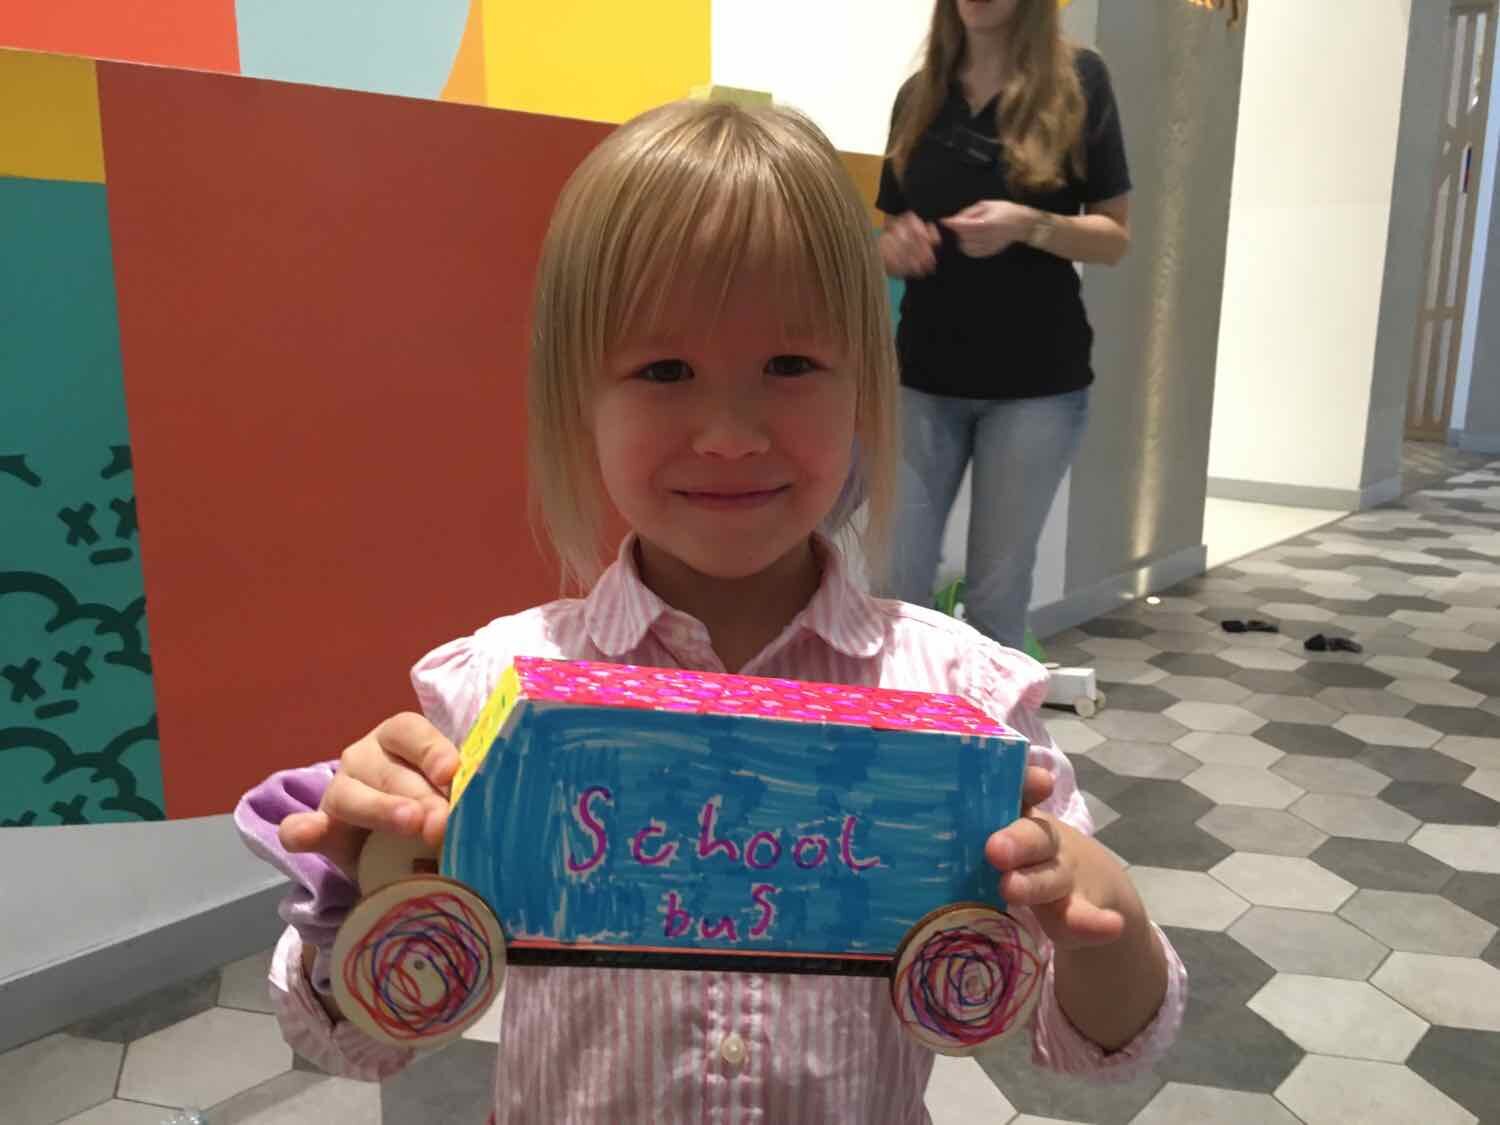
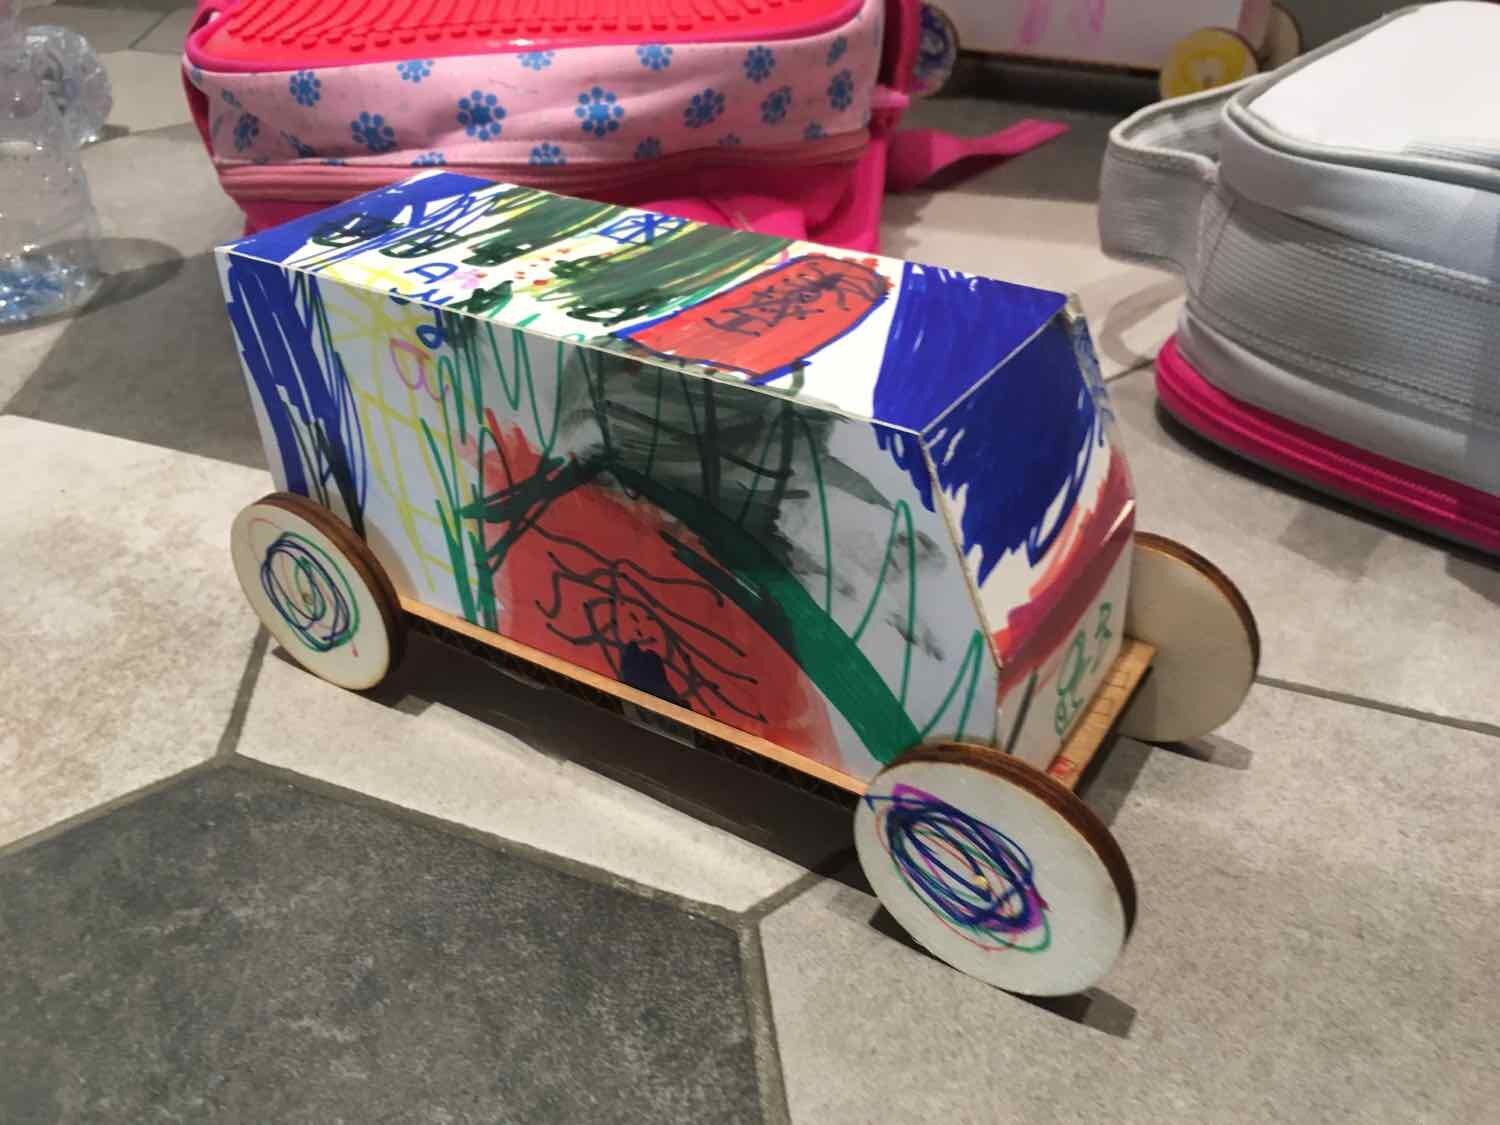
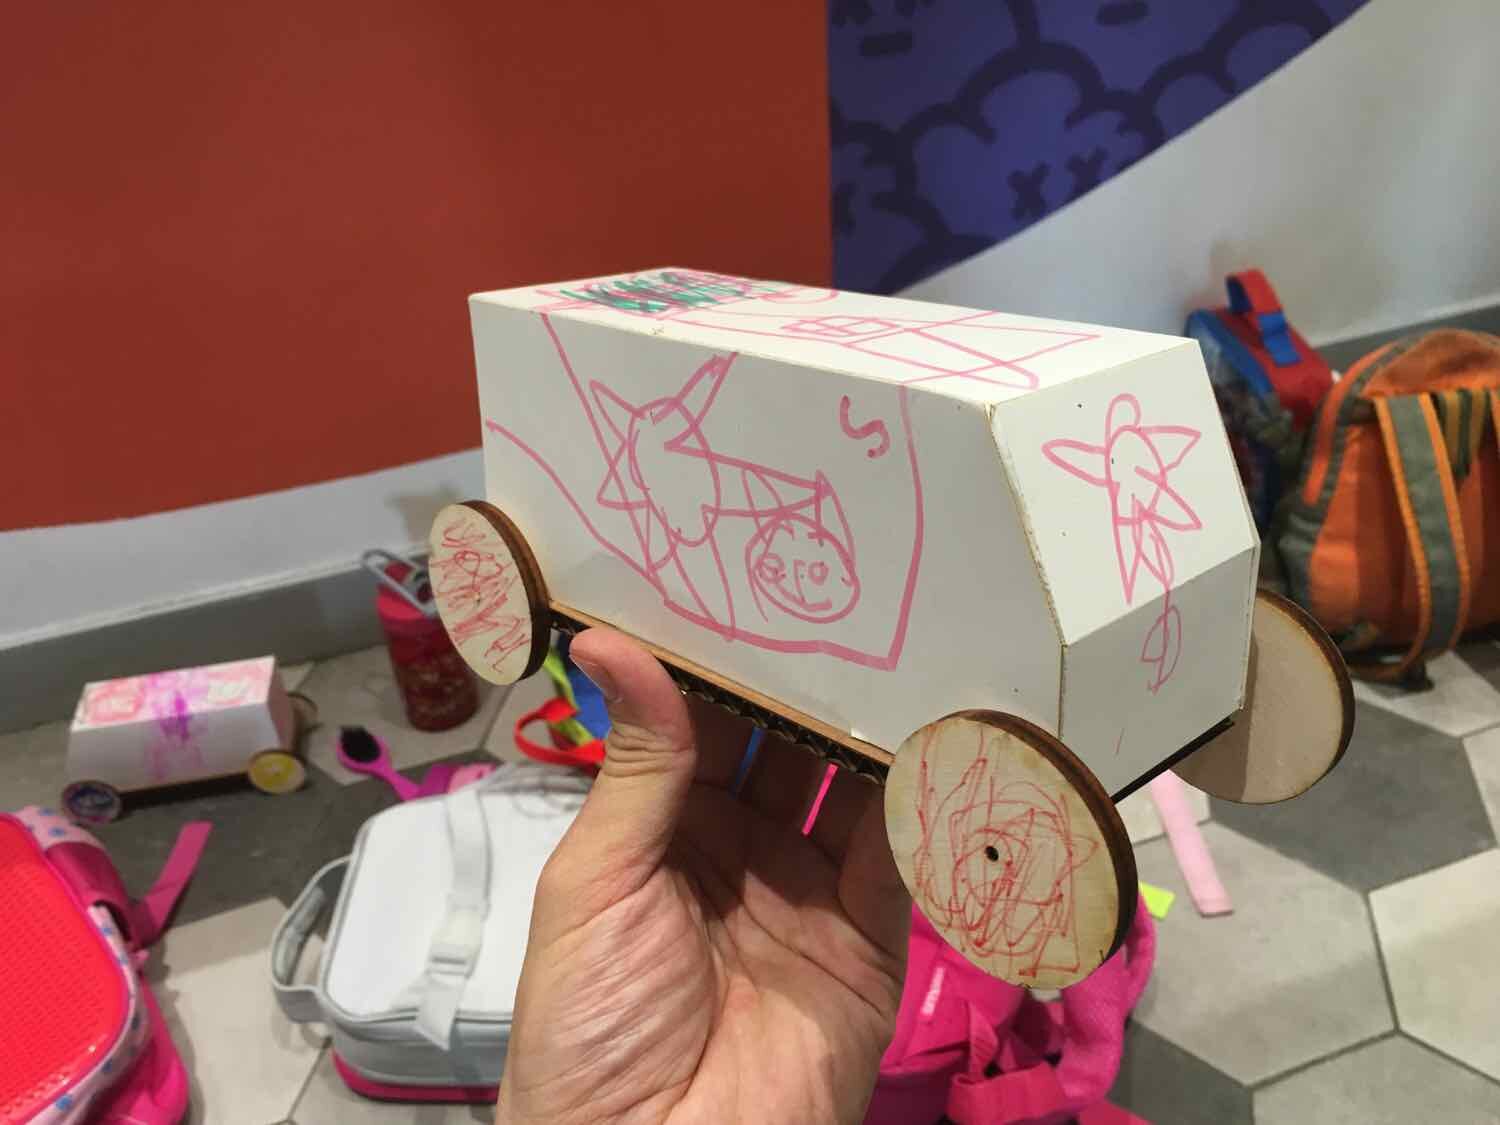
My initial goal in designing this activity was to find a way to let 4 and 5 year olds create a paper craft vehicle, entirely by themselves, that rolls smooth, far, and straight.
Instead of making a car or a truck, I modified the Future Park Paper Craft bus design because it was simplest to put together. It turned out to be just the right amount of challenging for the 4 and 5 year olds to fold and glue all by themselves. Of course though, everyone’s favorite part was the decorating!
After years of building cars with young makers I knew the wheel and axle was always the trickiest part to get right. Luckily, we got some left over cardboard from Bartholomew Ting that was incredibly strong, with corrugation gaps large enough to use a ¼” dowel for the axle. I just cut some bases in this cardboard with small slits to slide in the paper craft bus while the wheel and axles slide through the corrugation.
Laser Cut Wood Puzzles

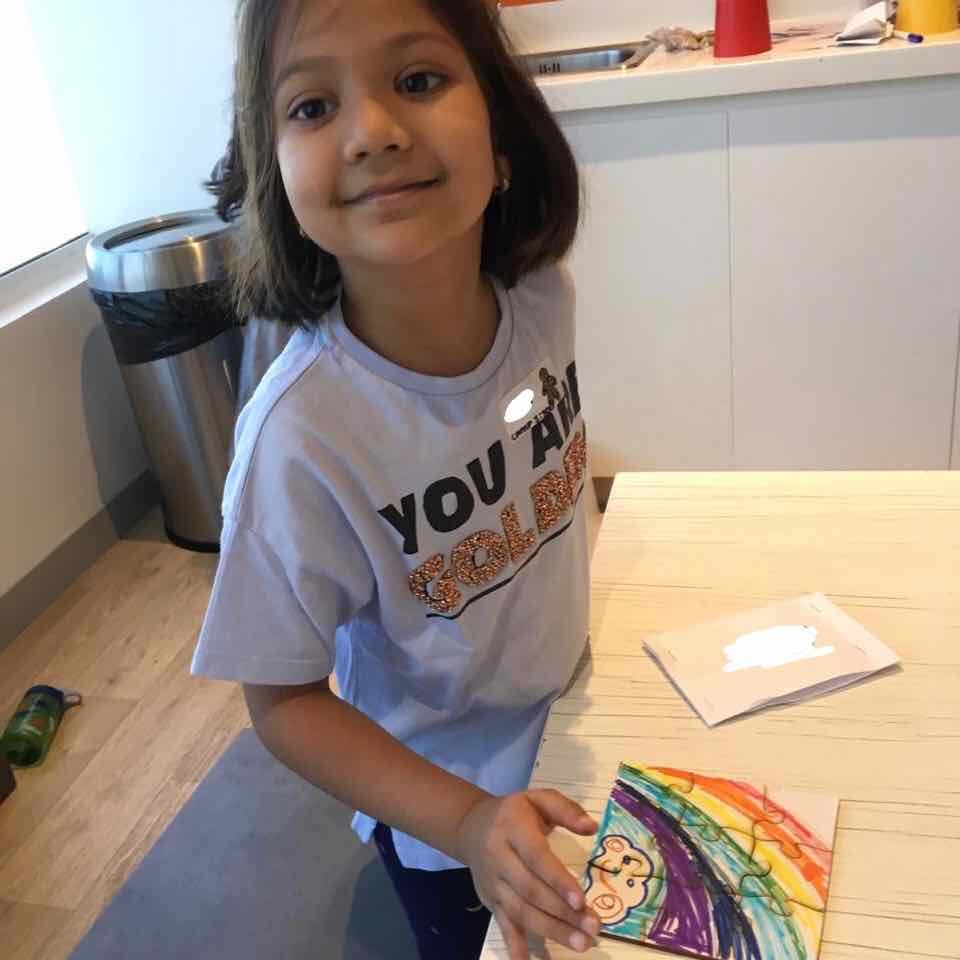
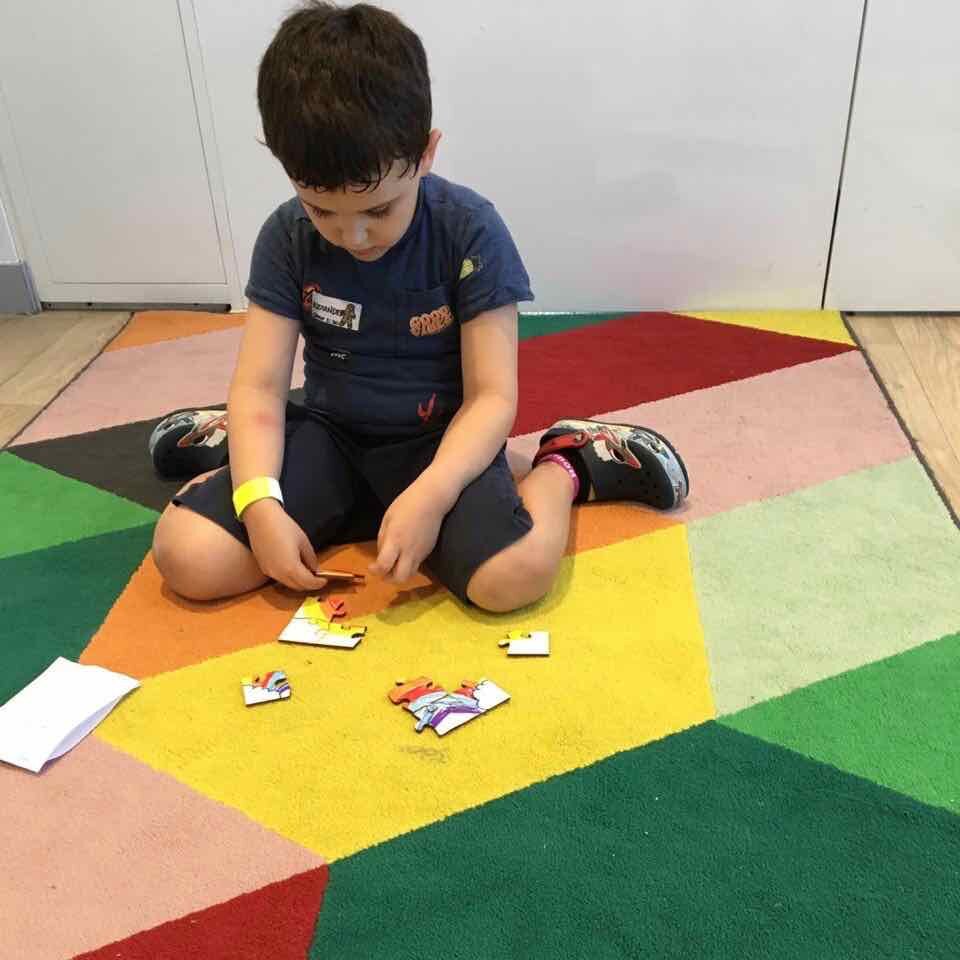

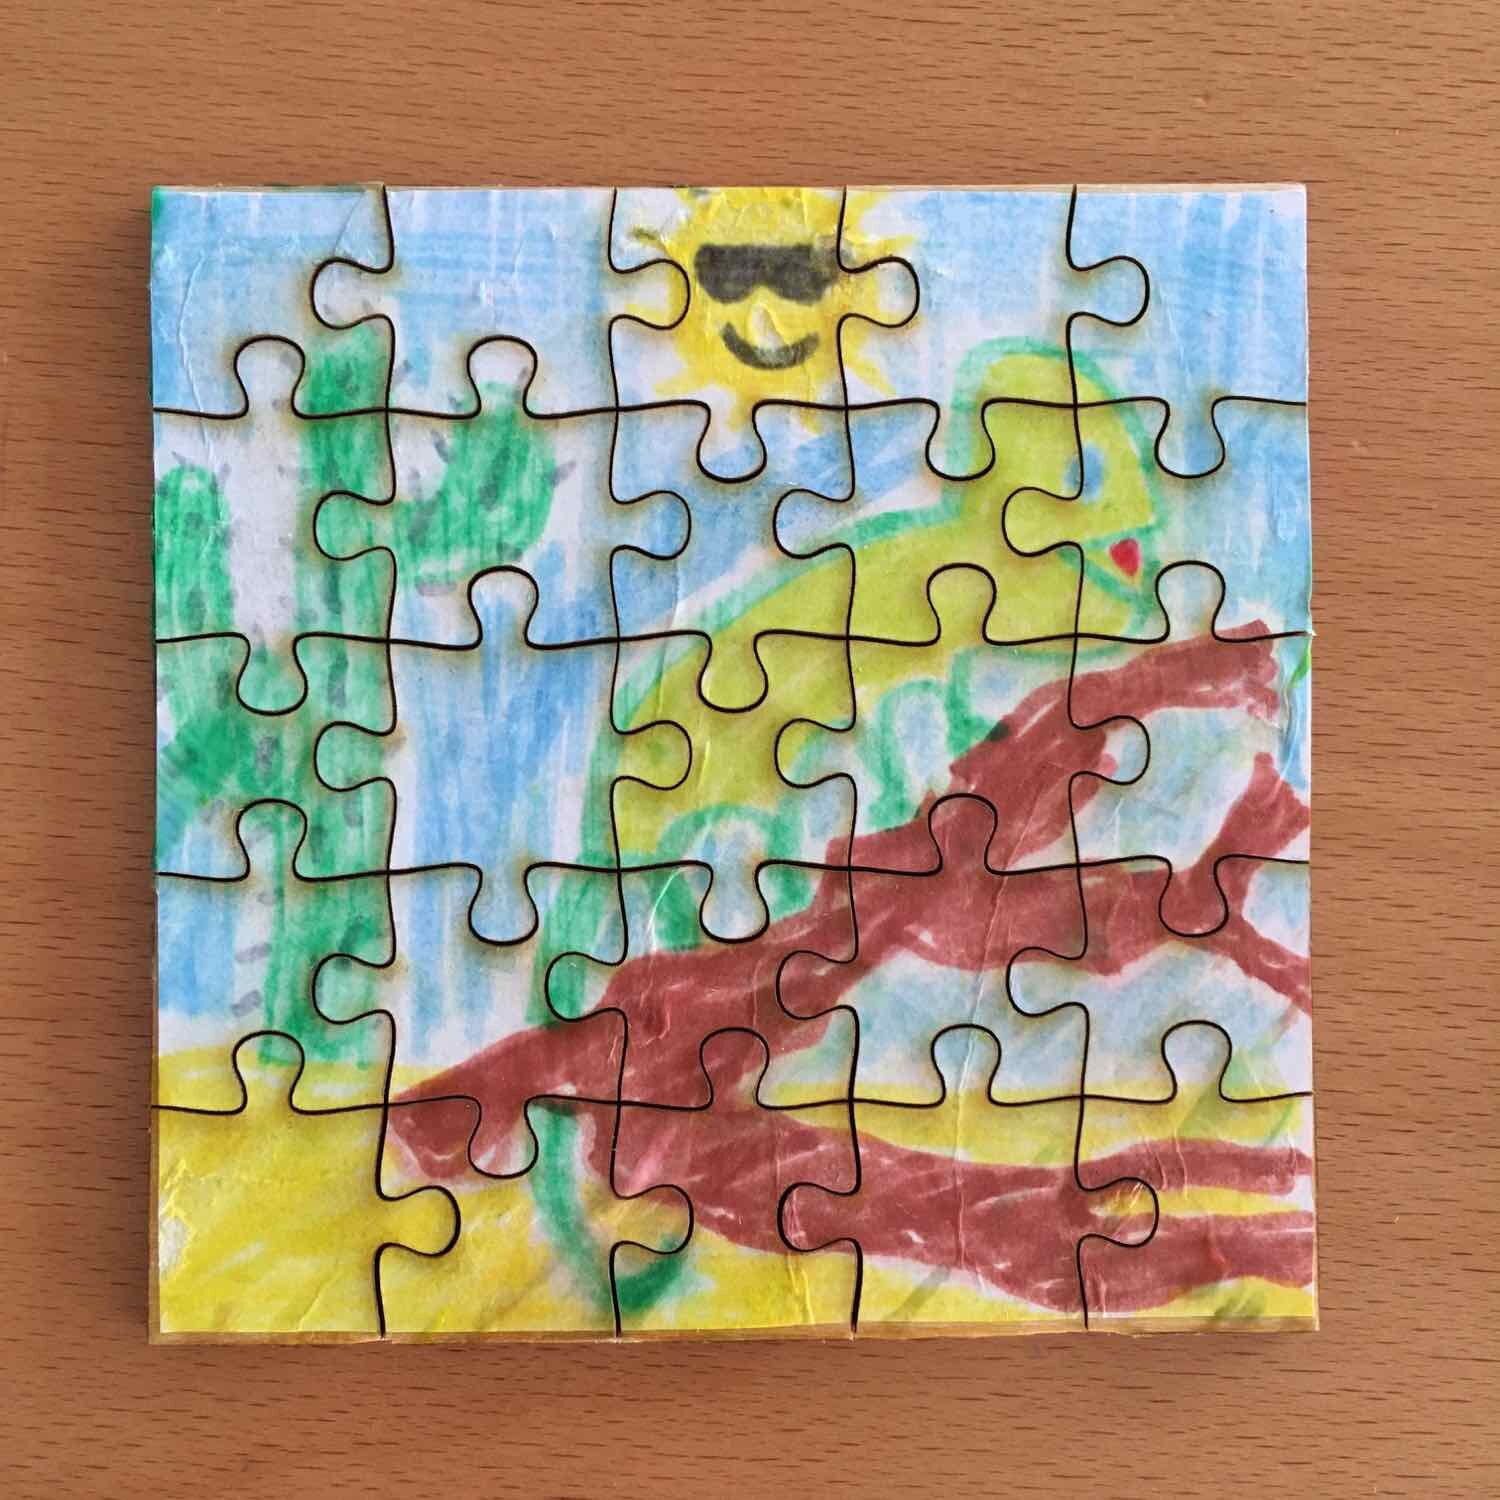
I was really excited for this idea after finding this puzzle generator online but the activity presented a lot of unforeseen snags in its execution. Some things we found are that the puzzle pieces need to be unique so incorrect pieces cannot be fit together and that Mod Podge ruins drawings made with washable markers.
In the end simplicity won: Our campers drew a picture on paper, glue sticked it to some wood, and we laser cut a 9 piece puzzle out of it.
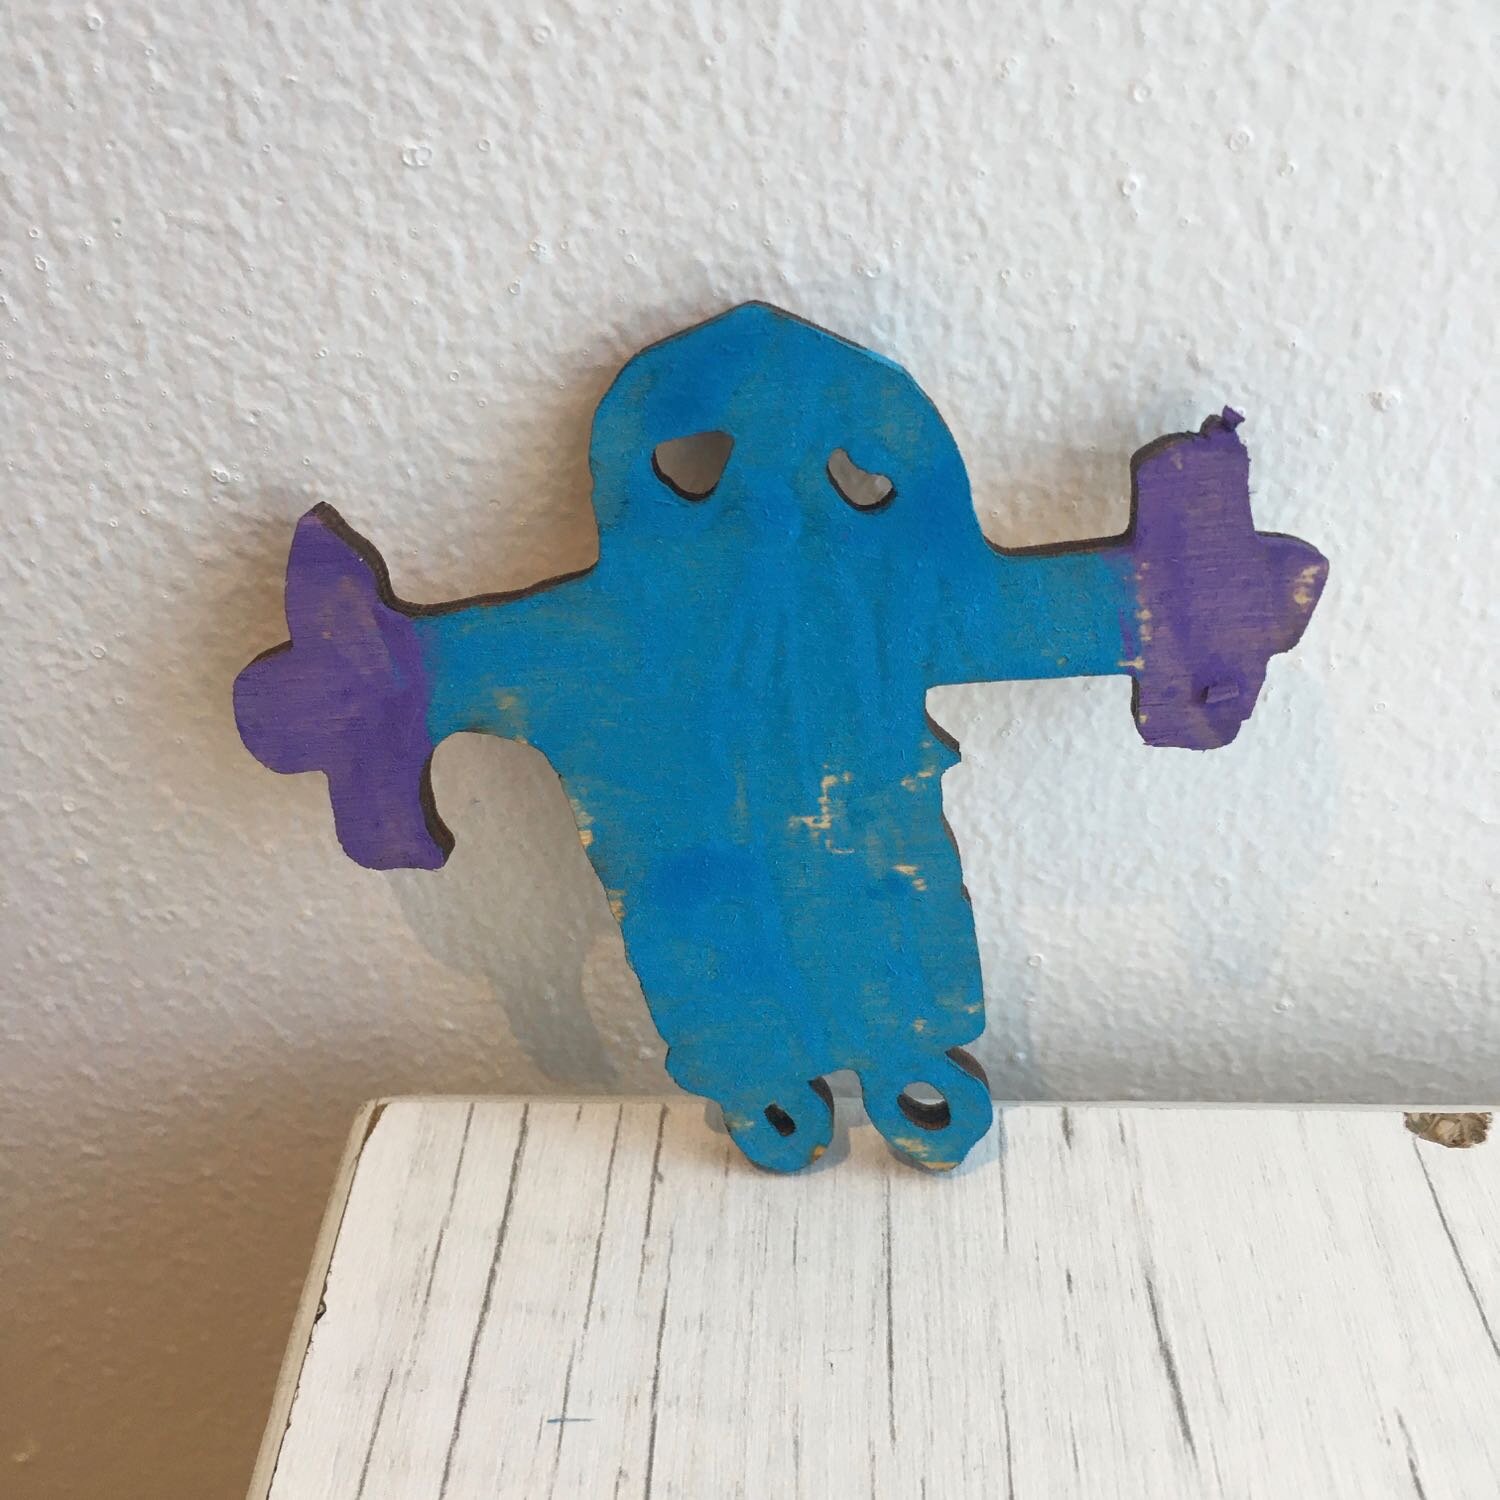
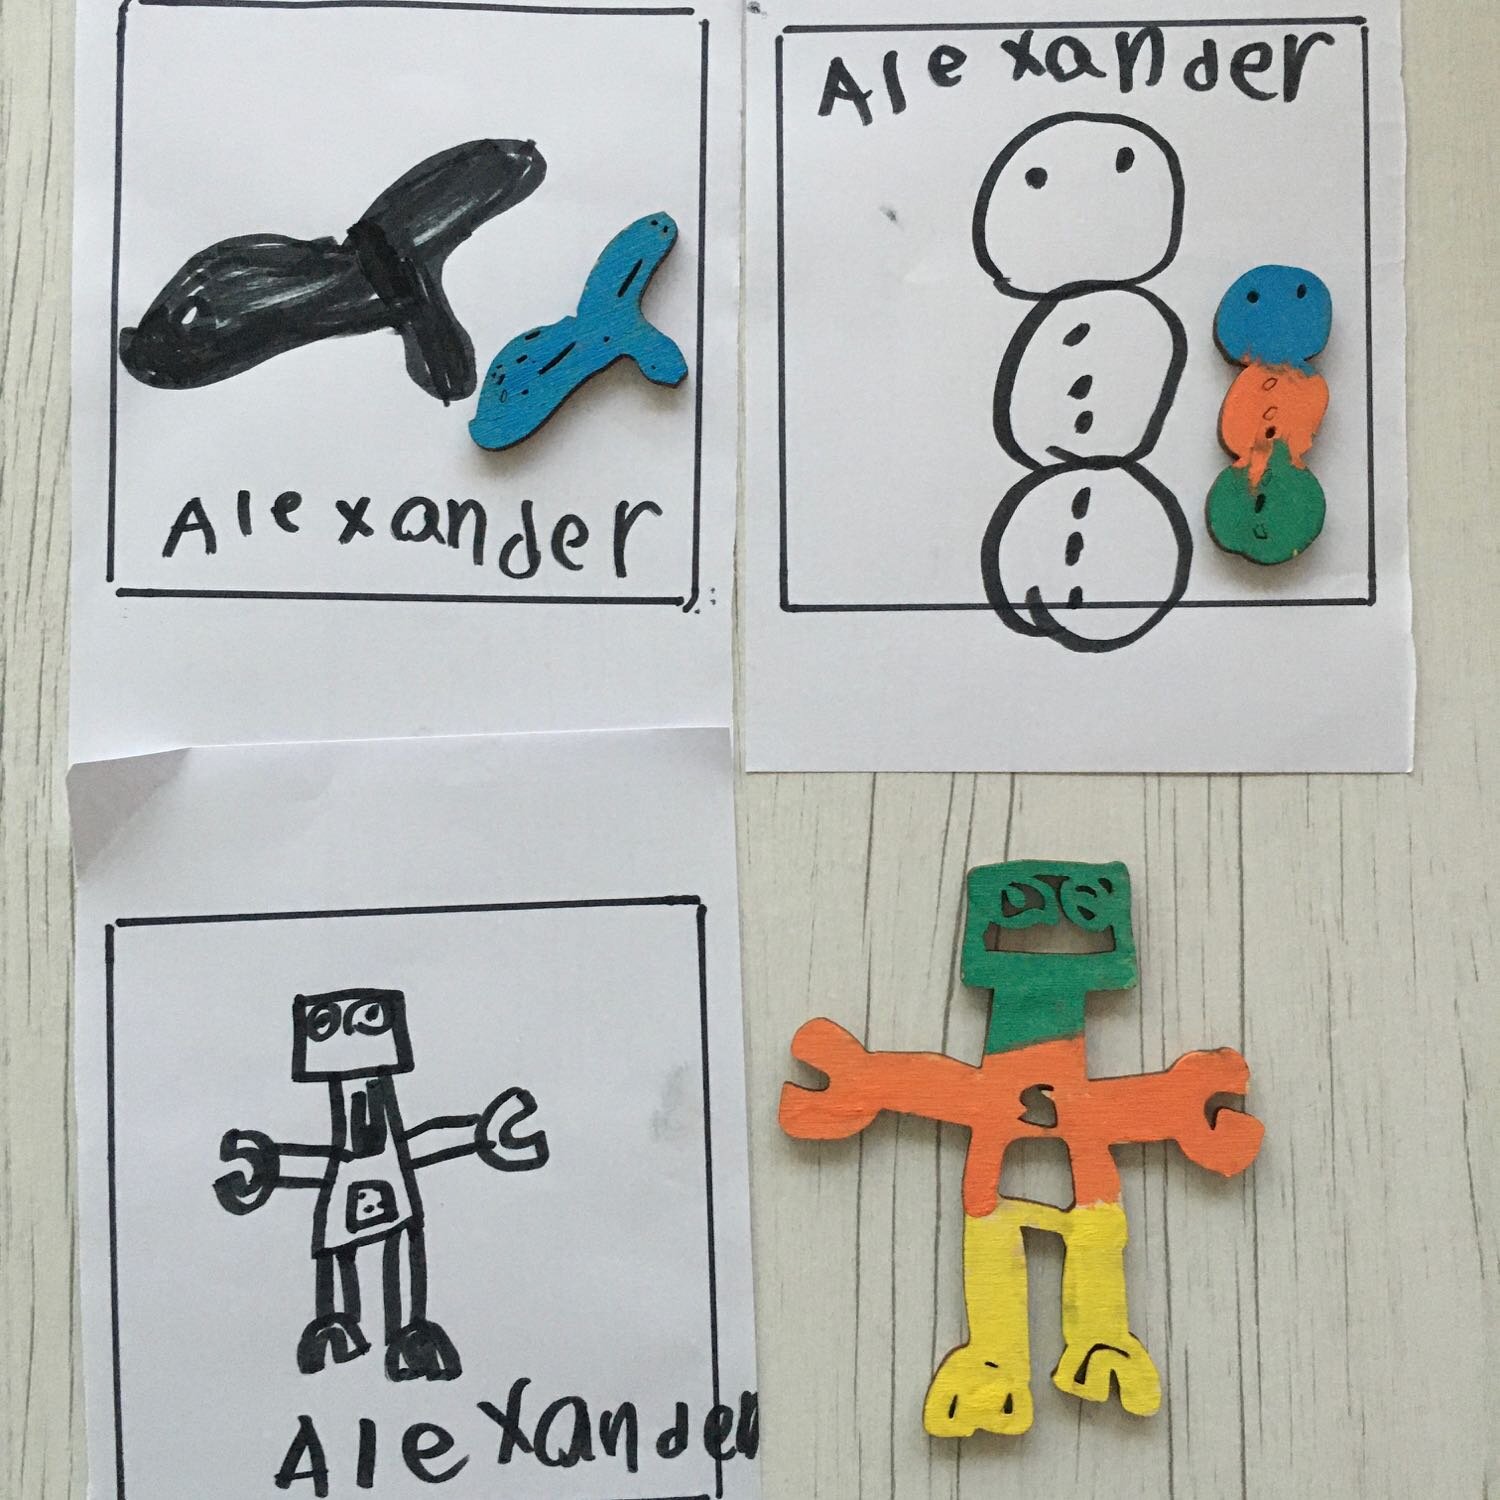
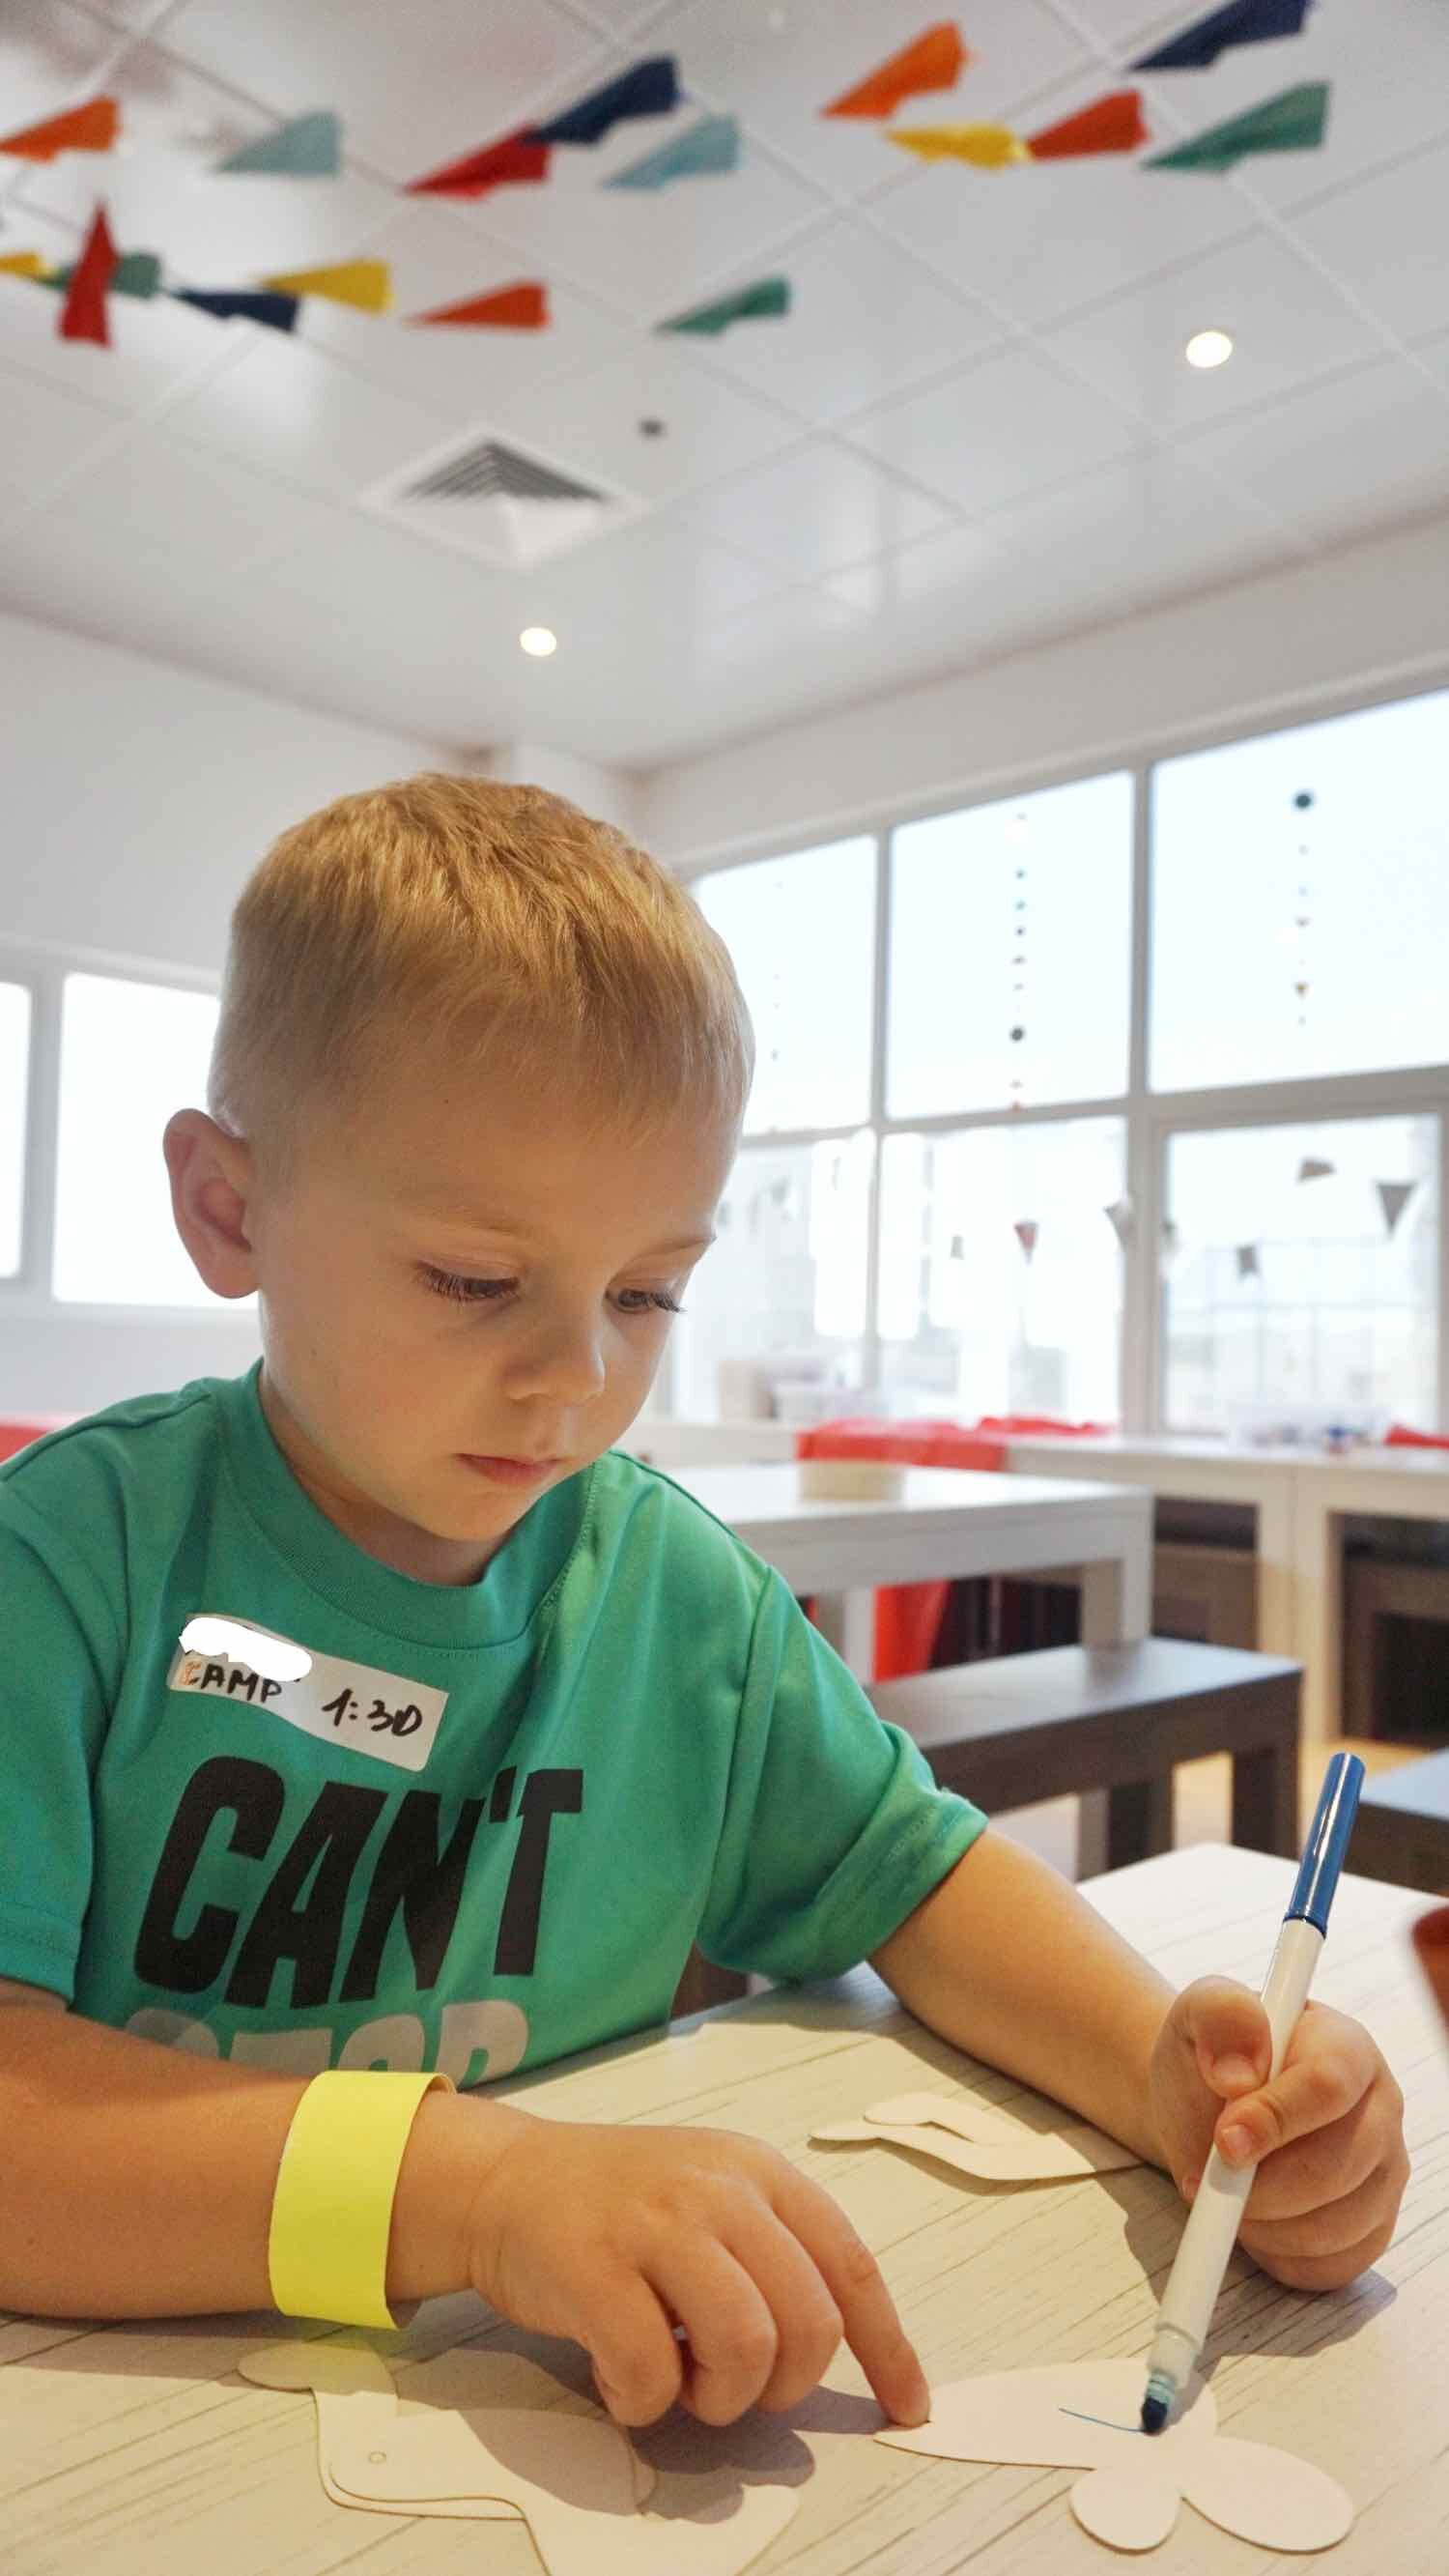
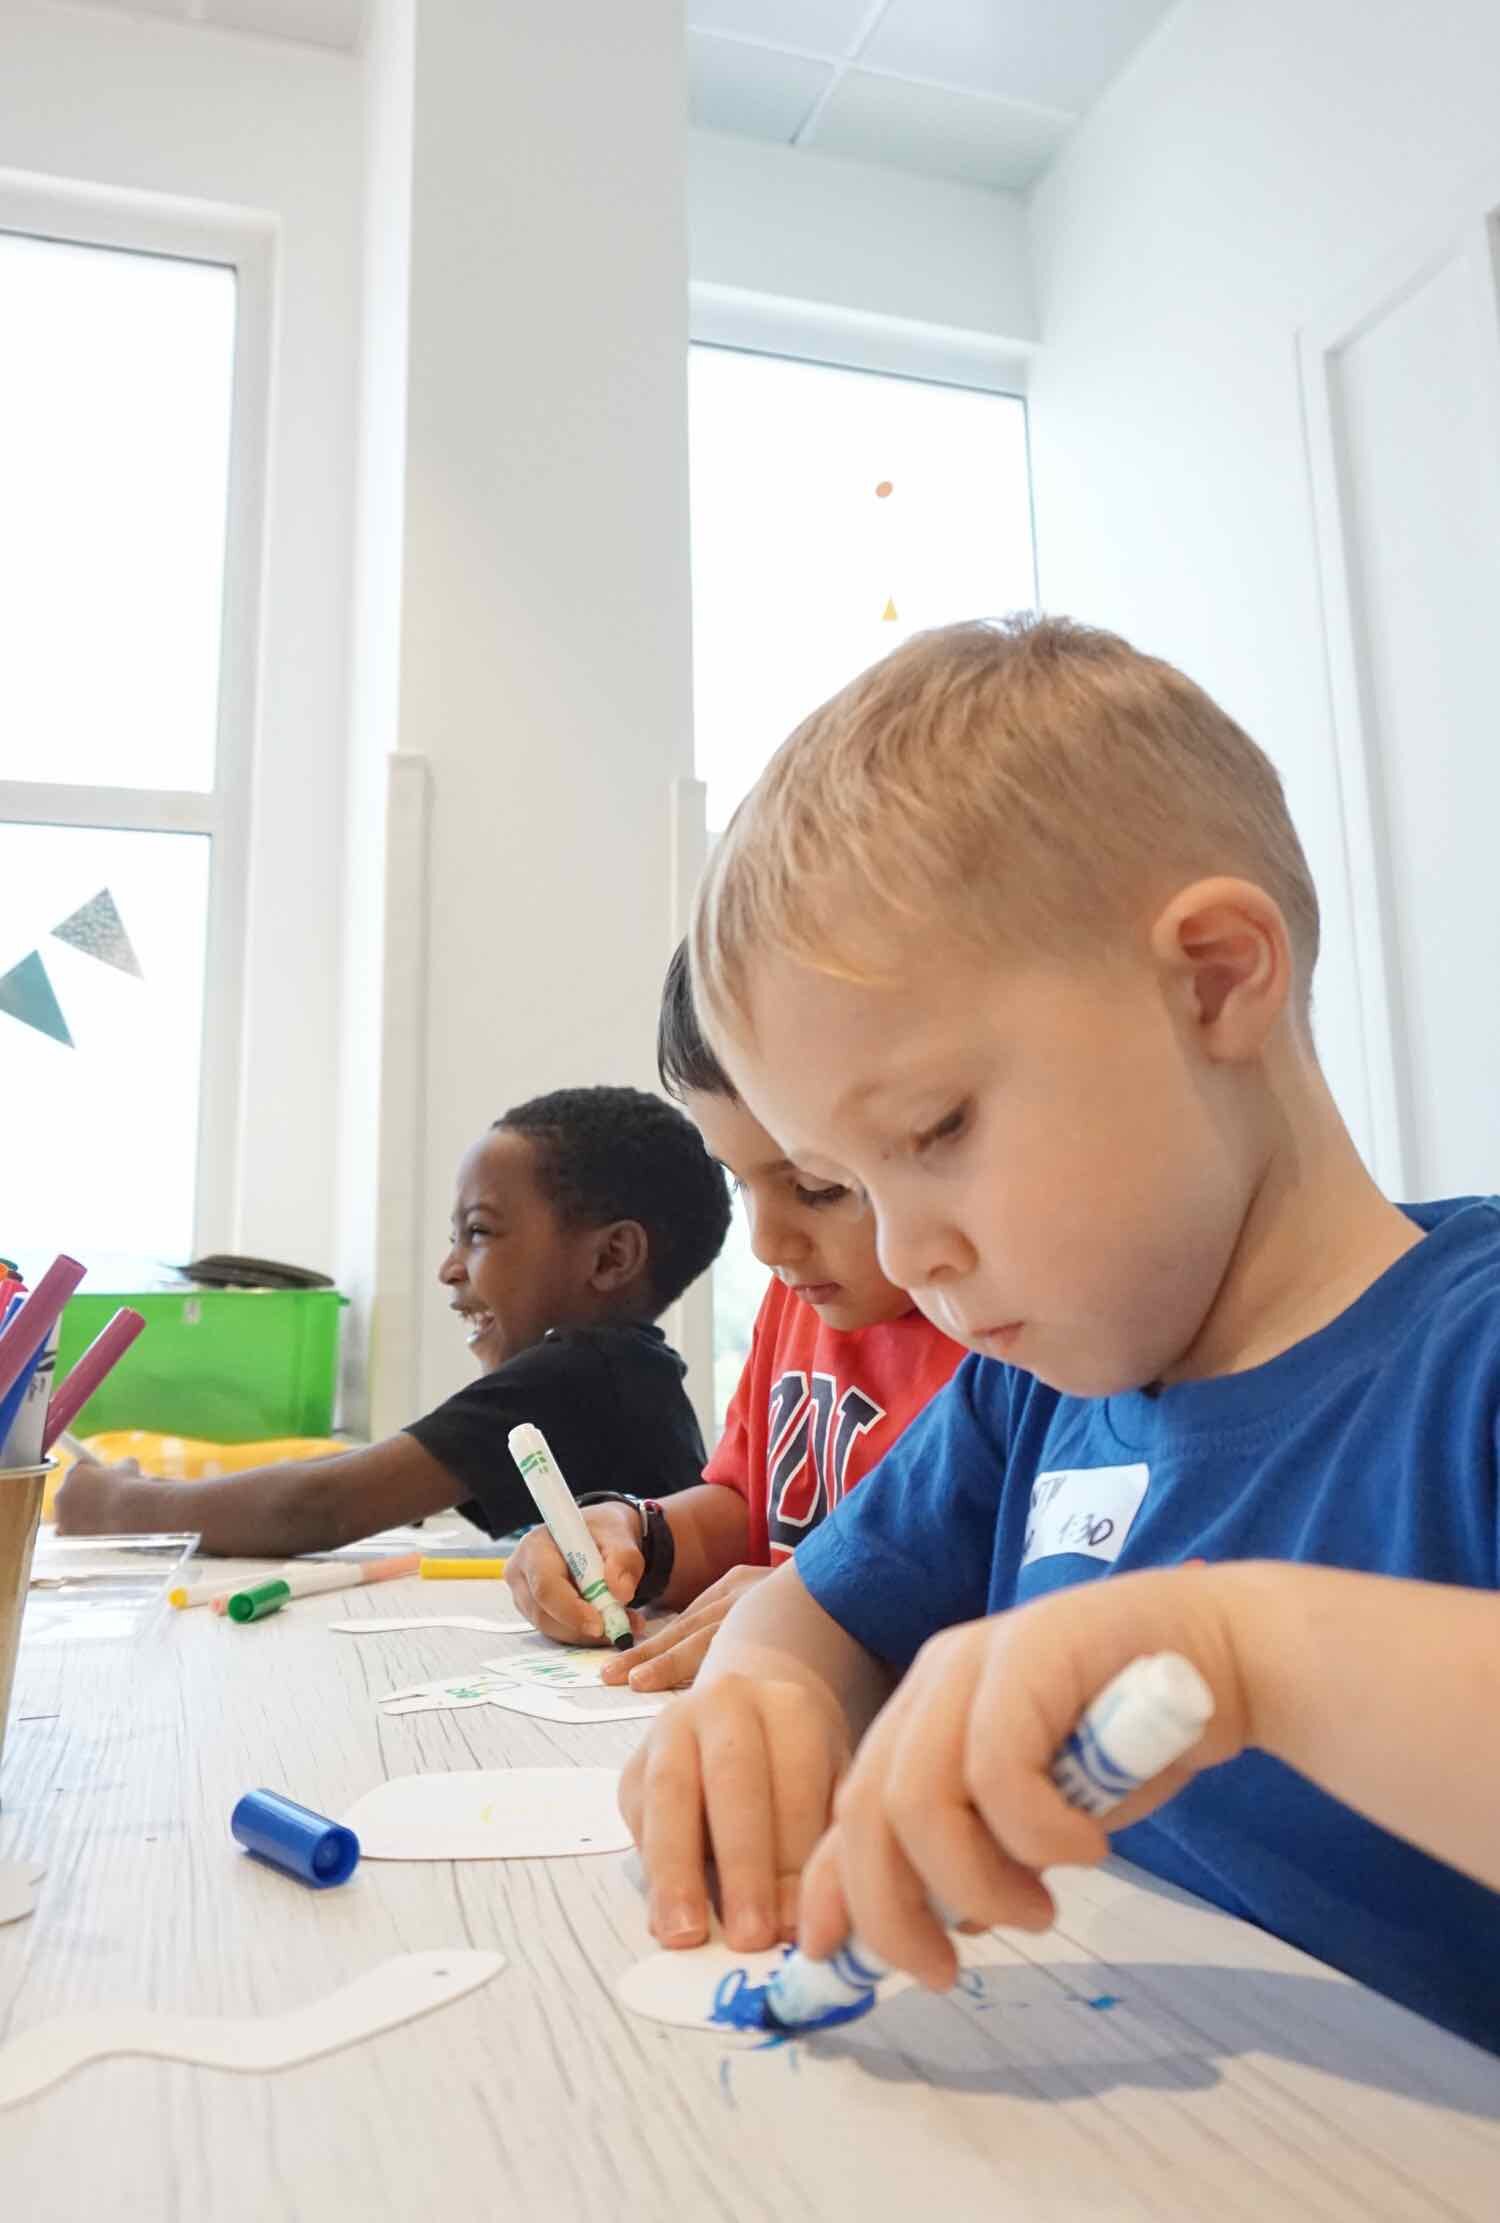
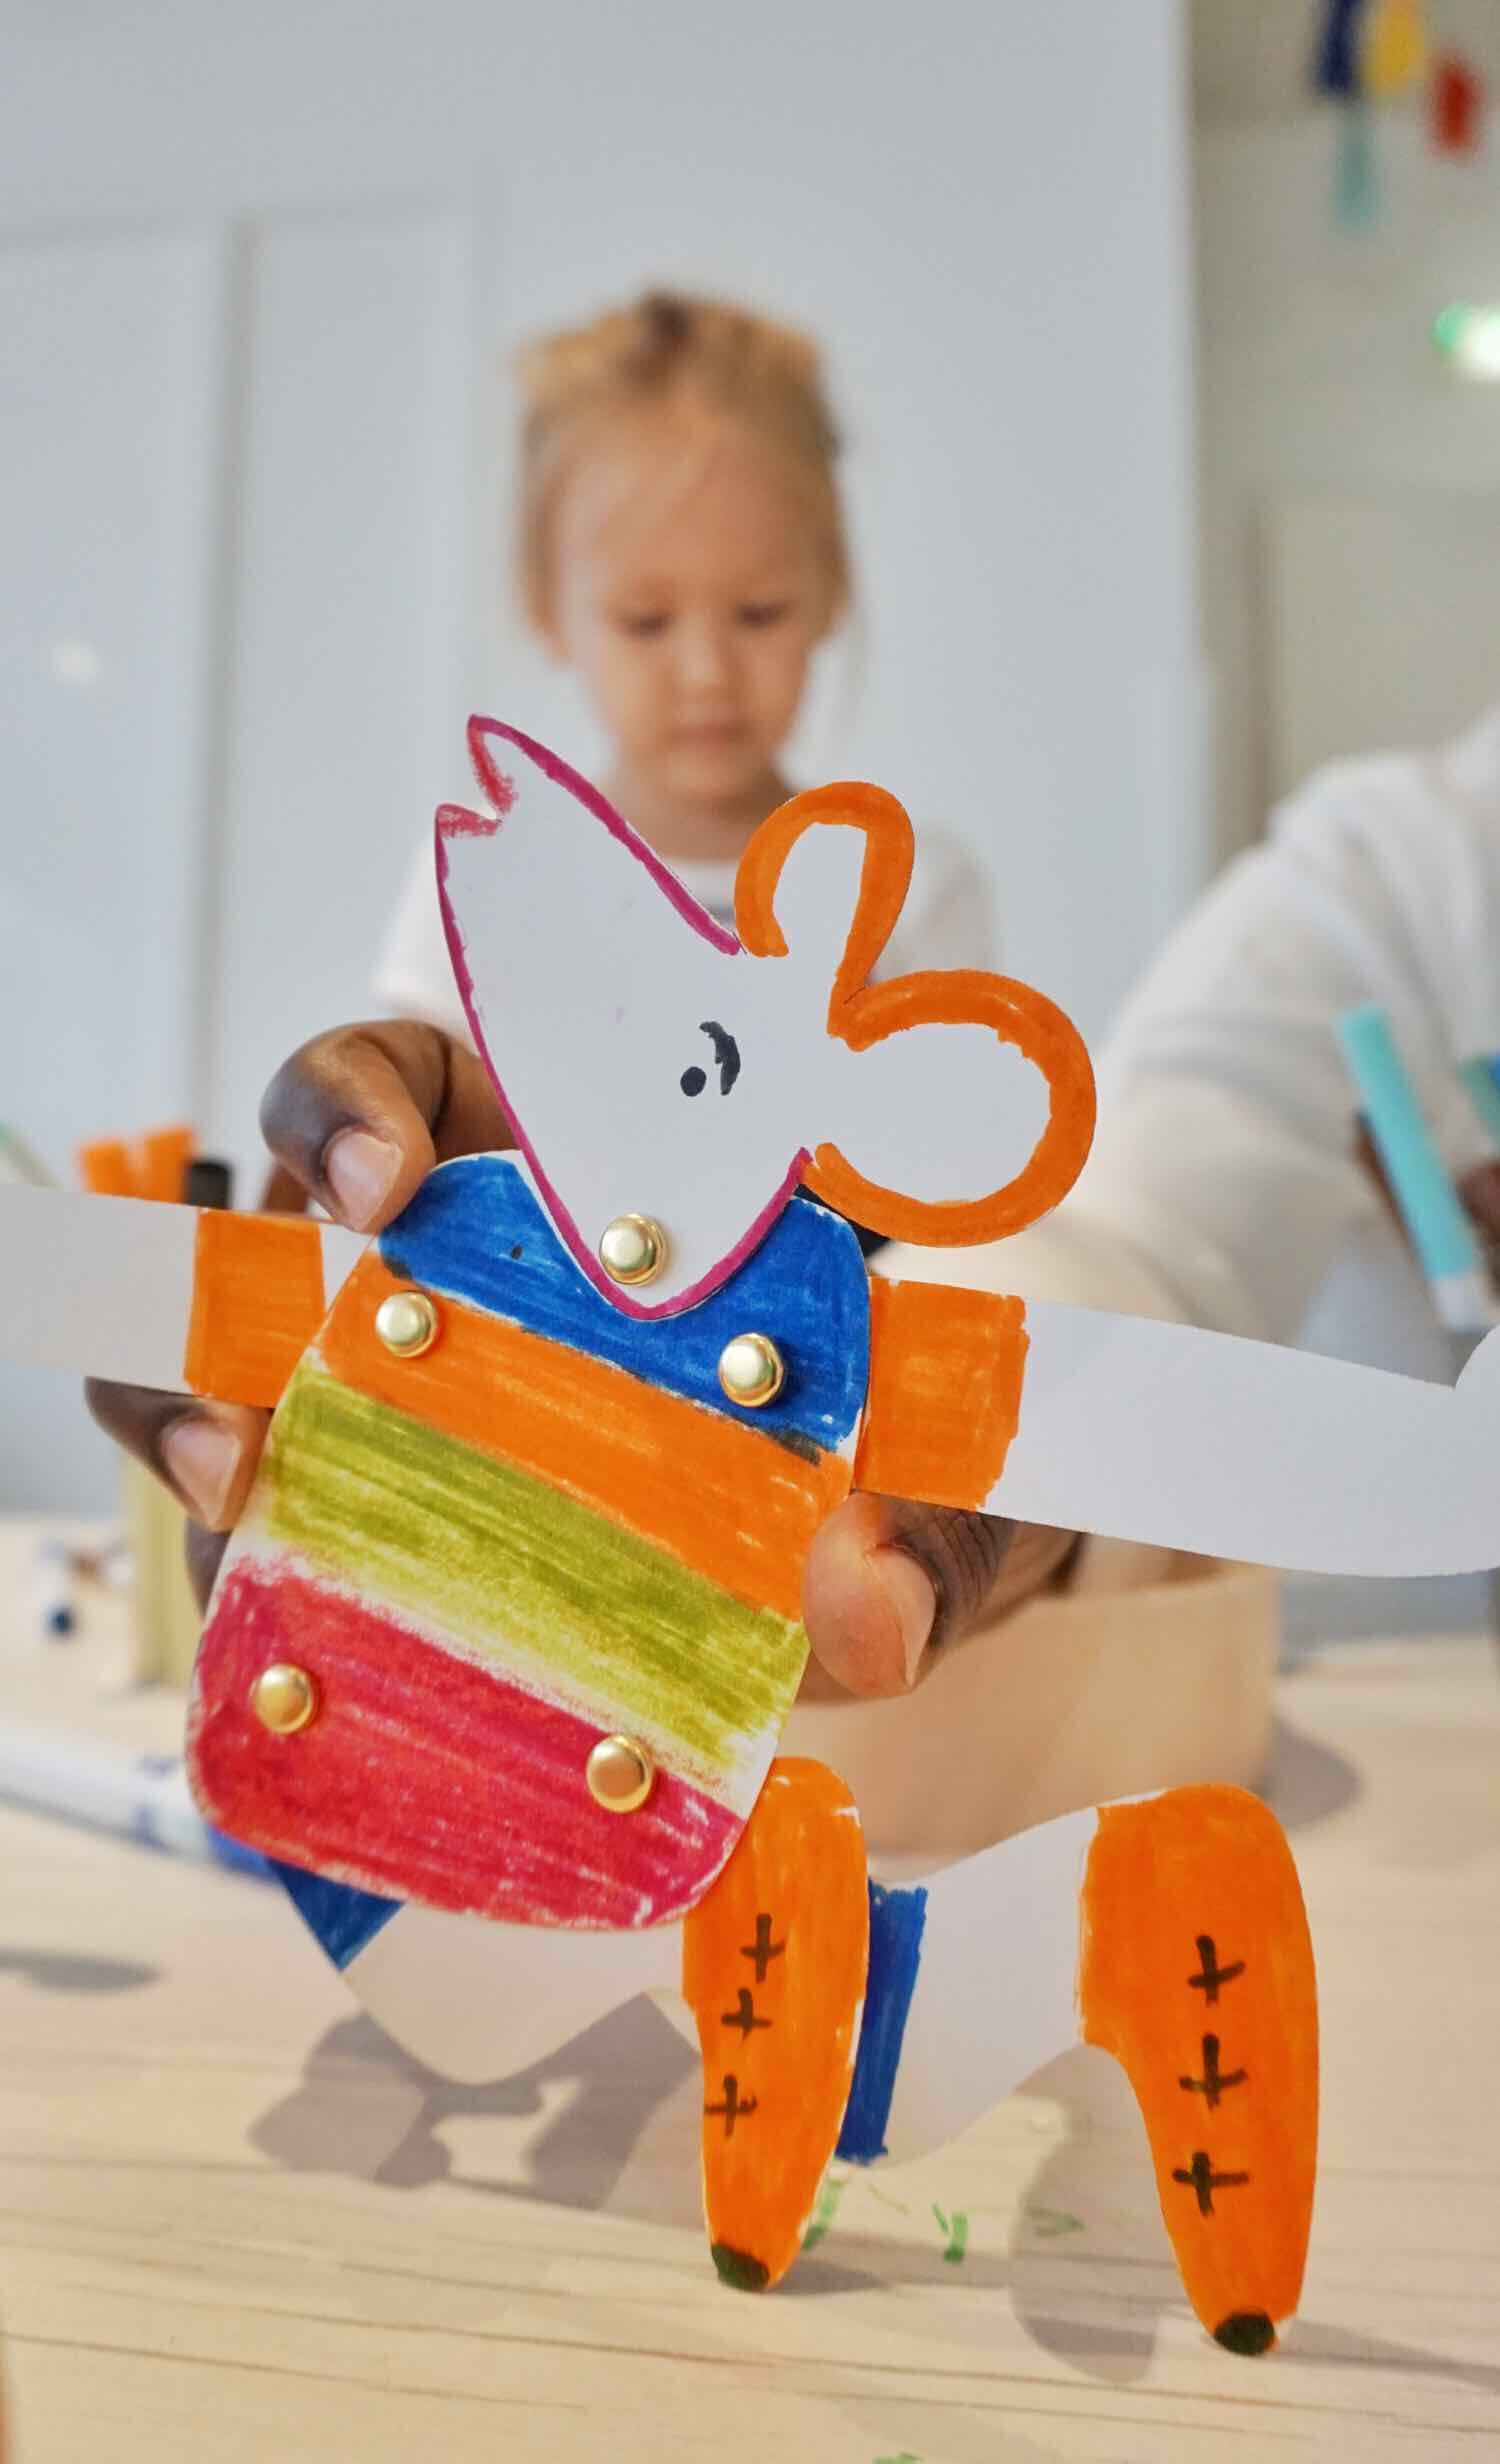
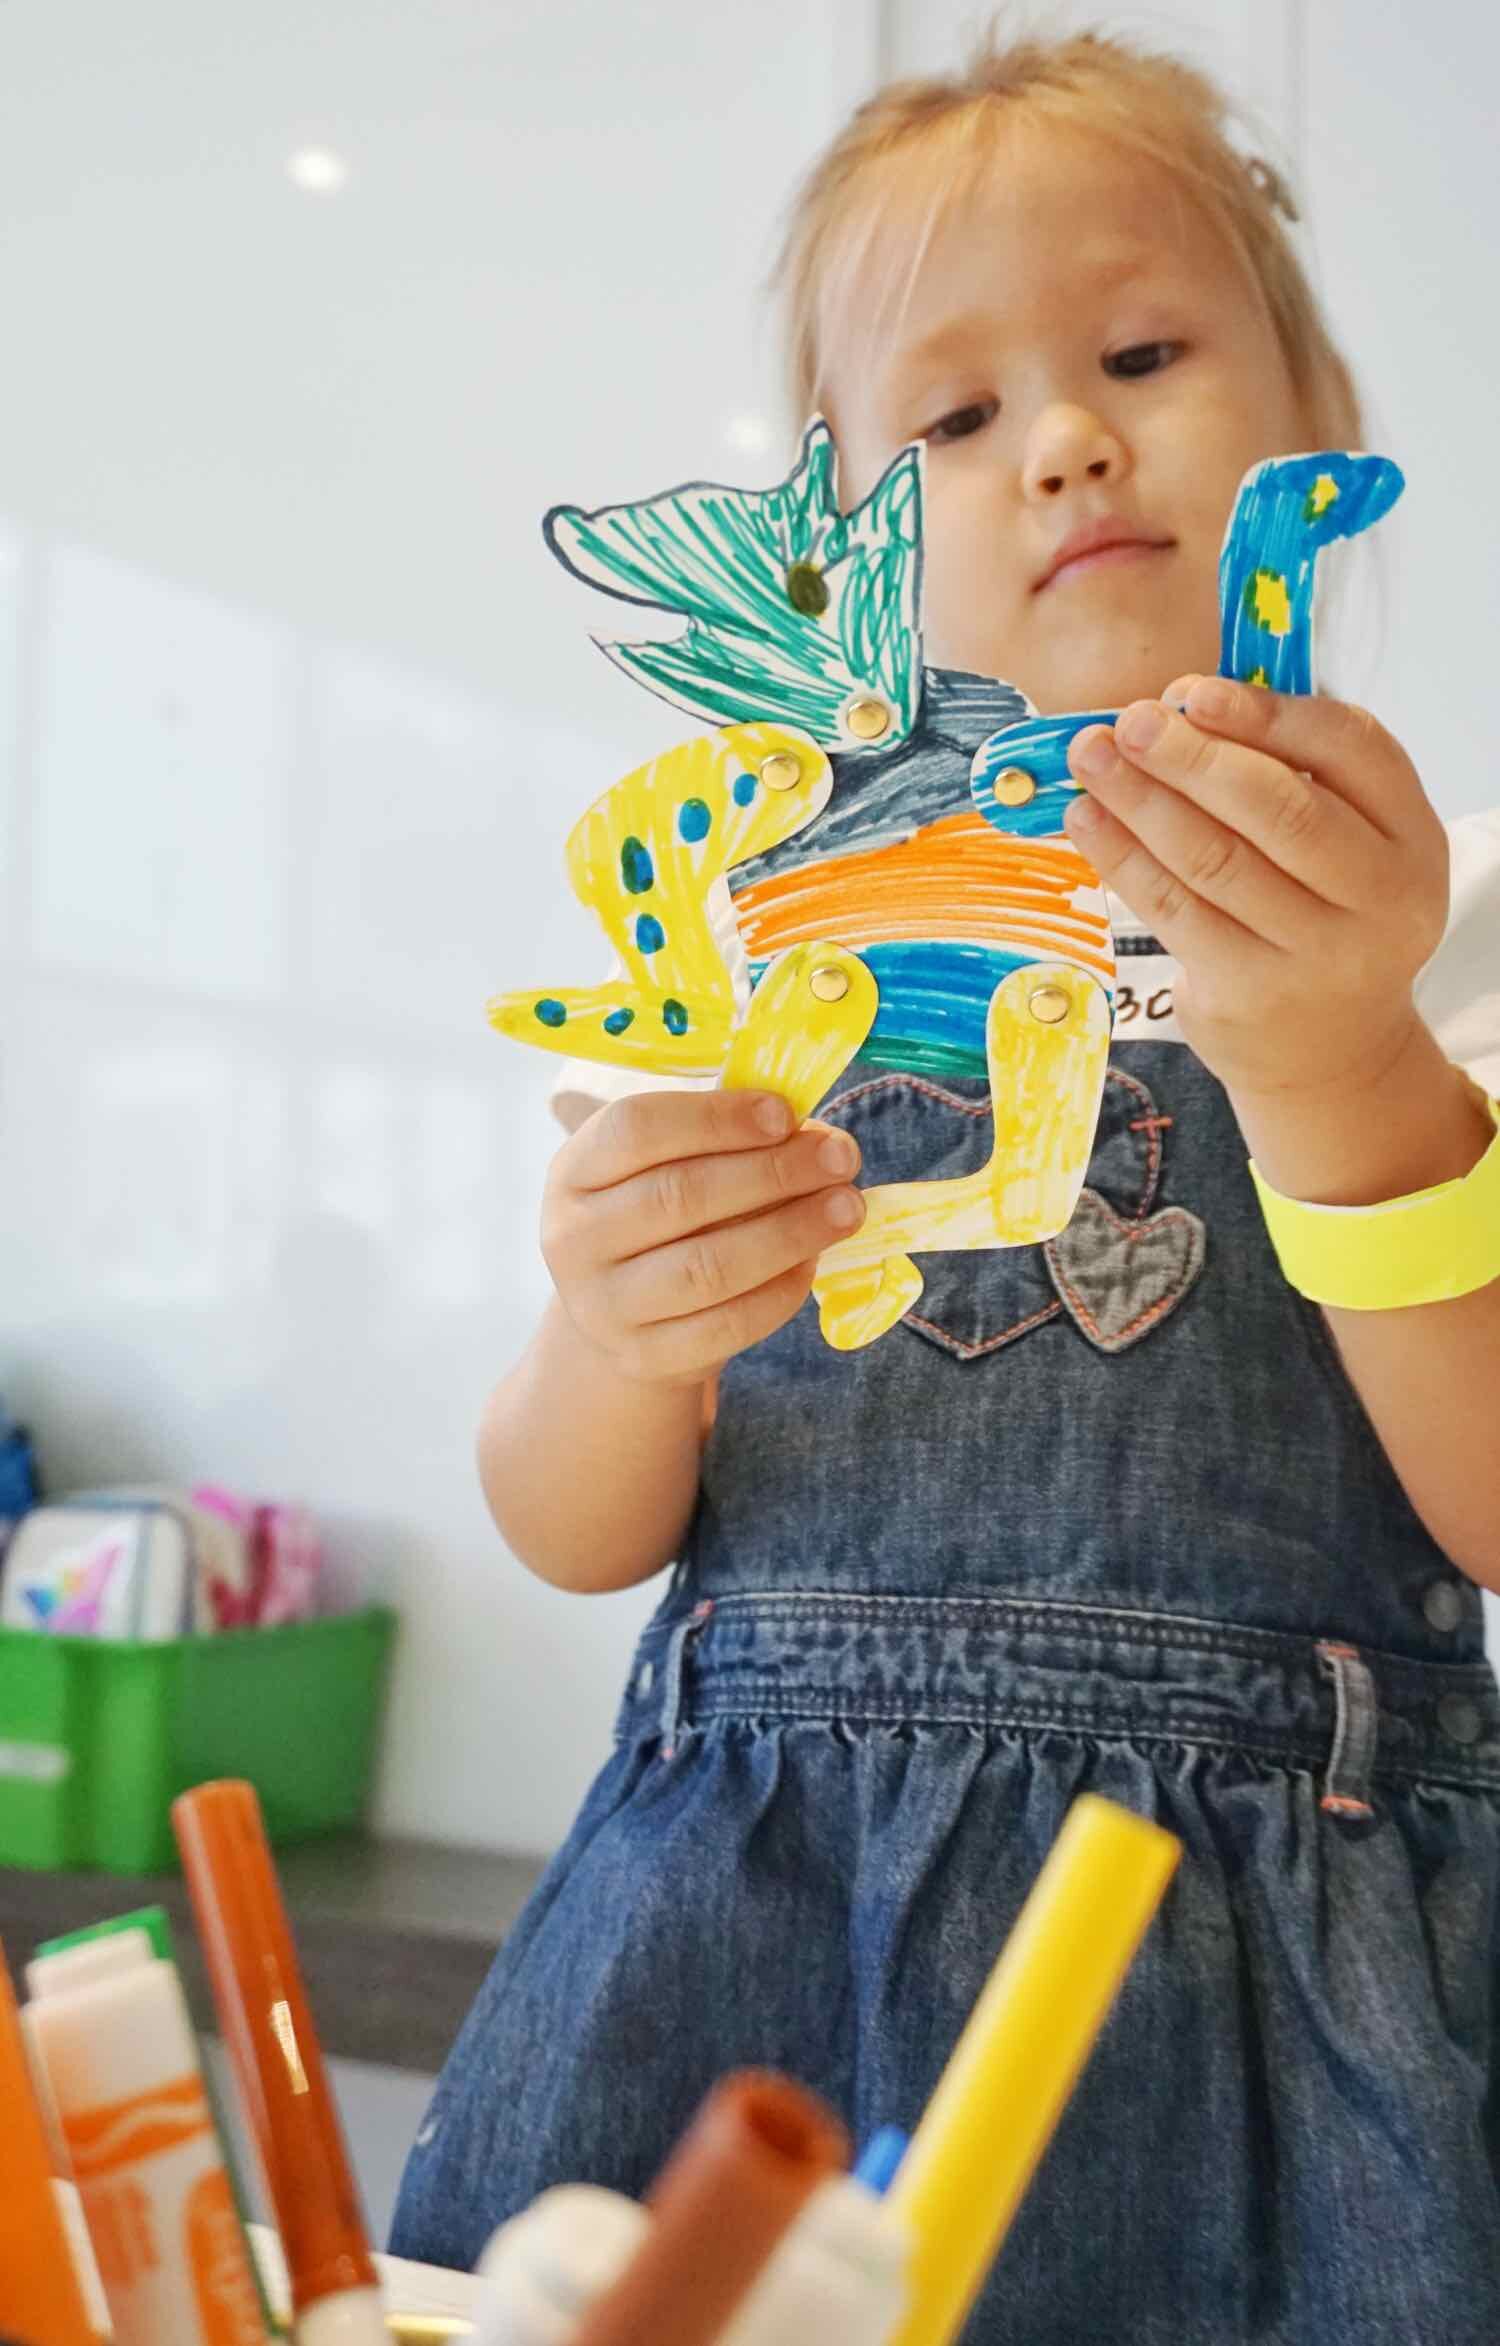
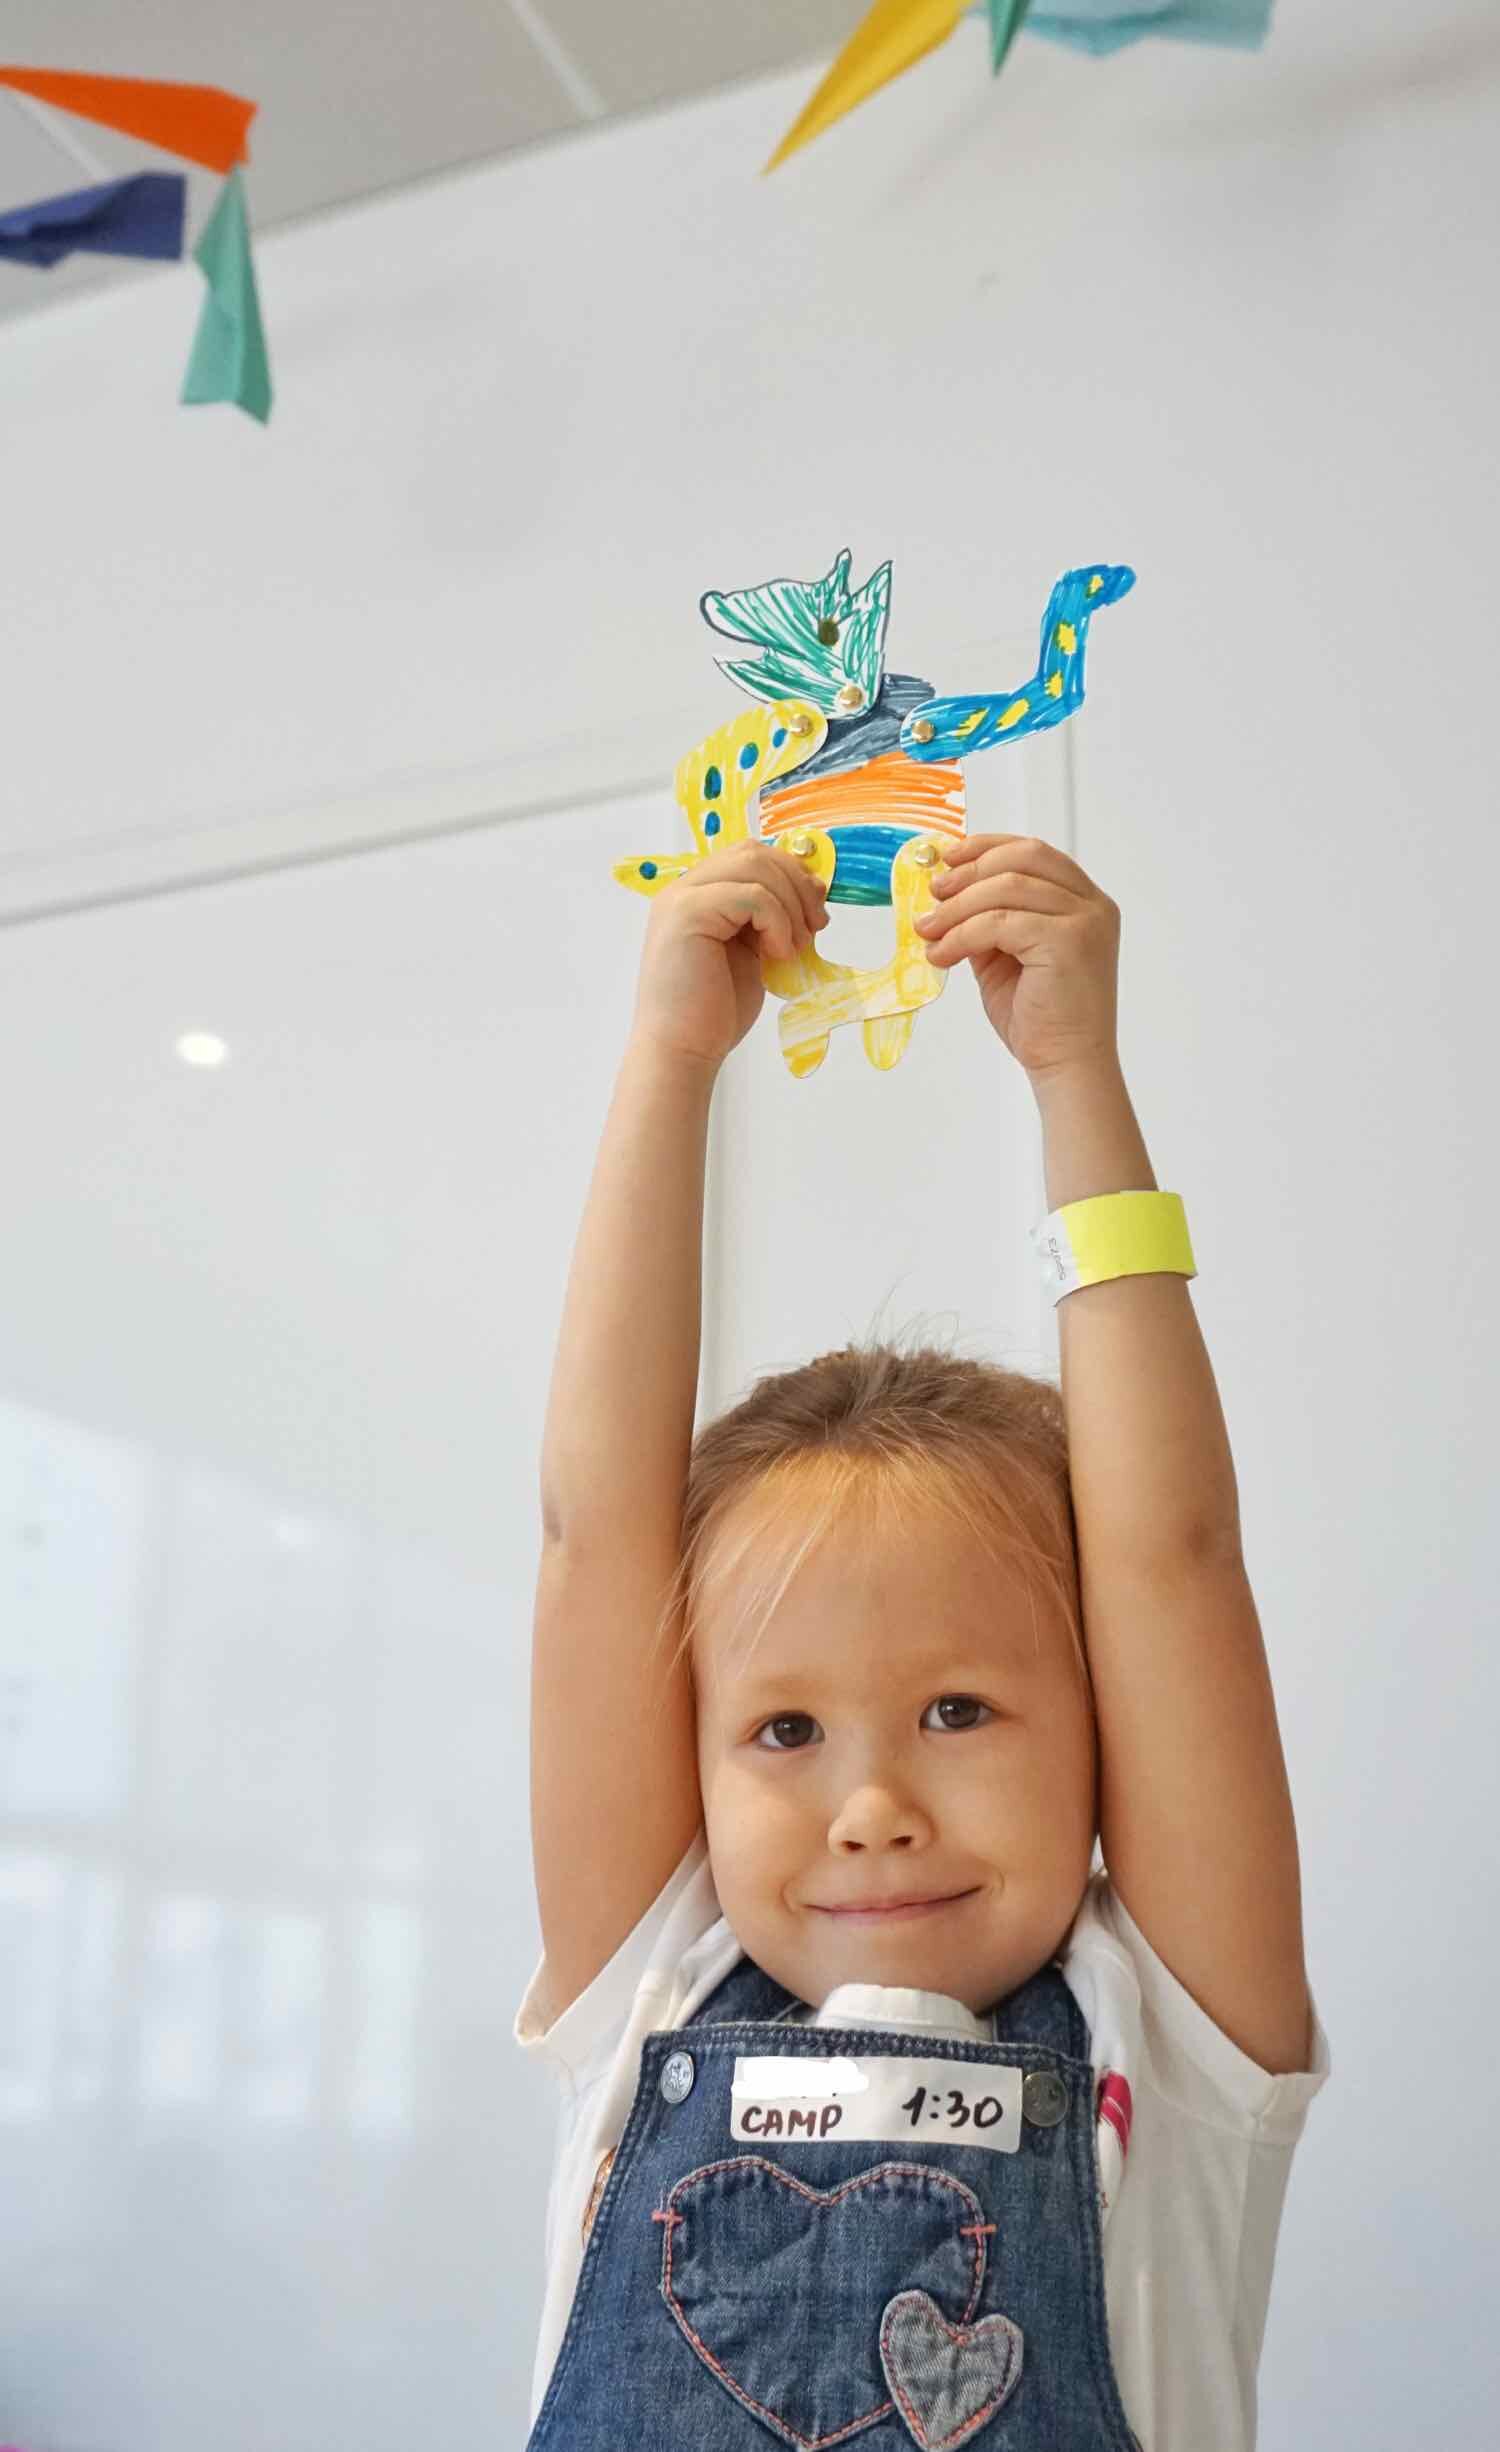
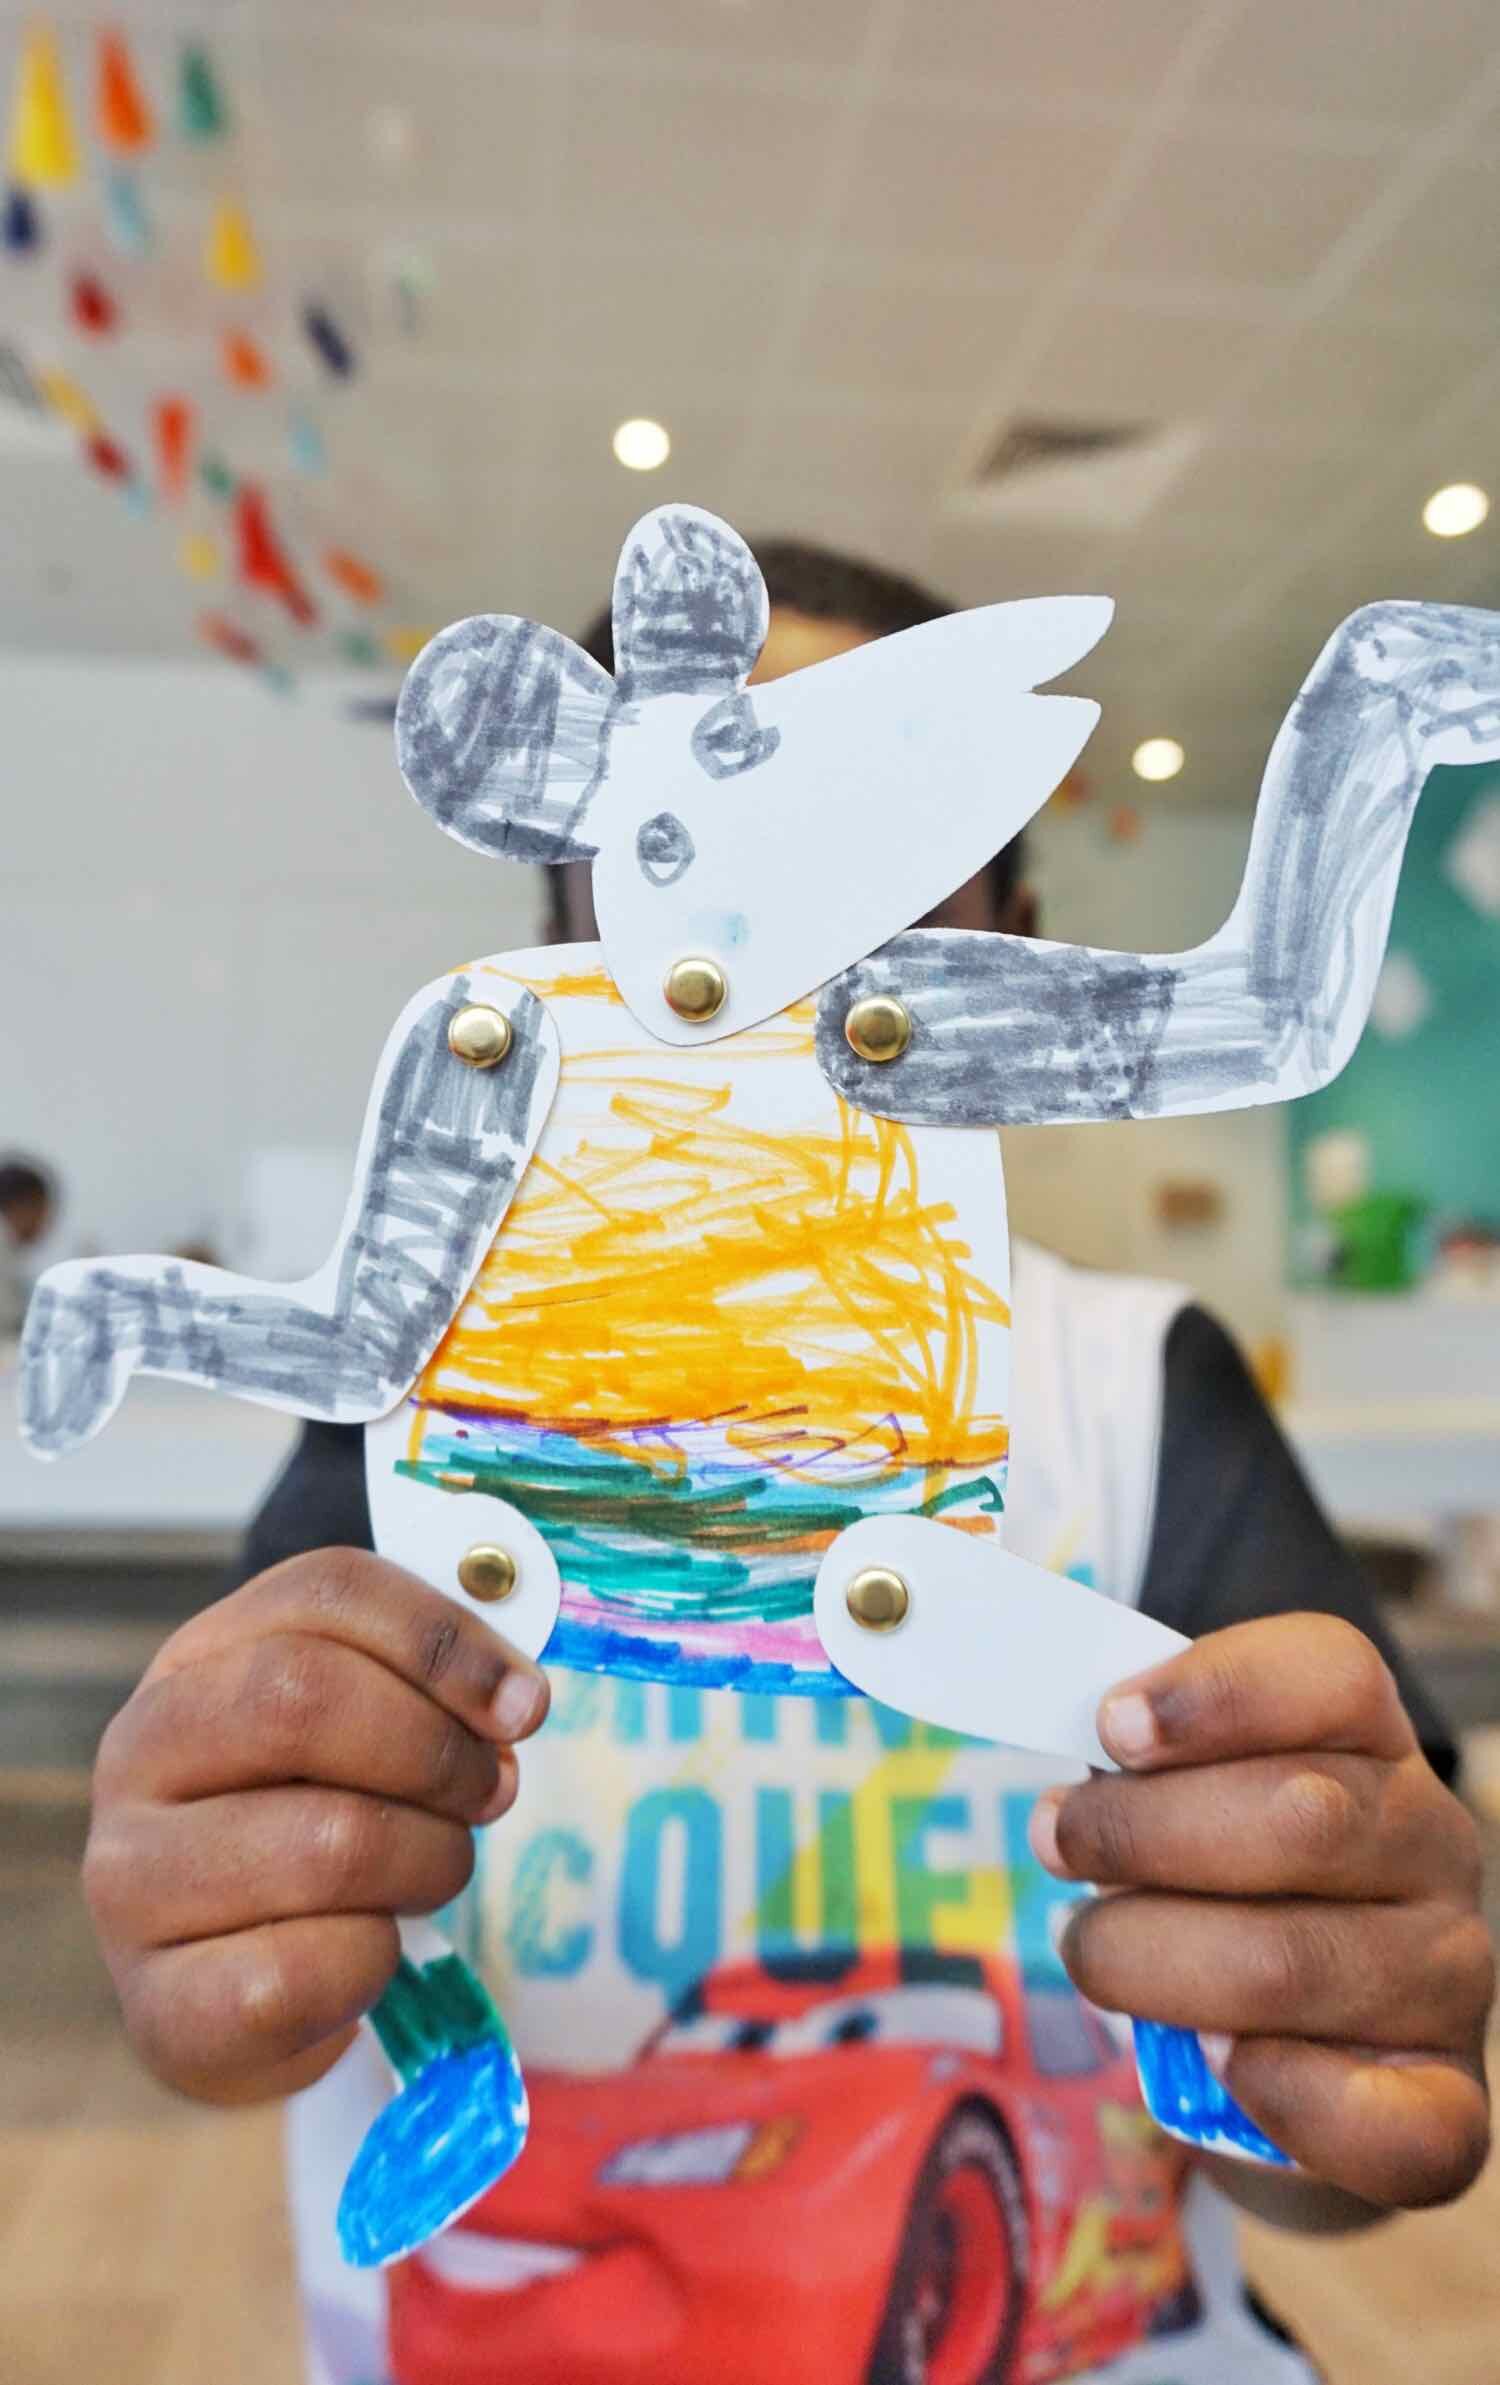
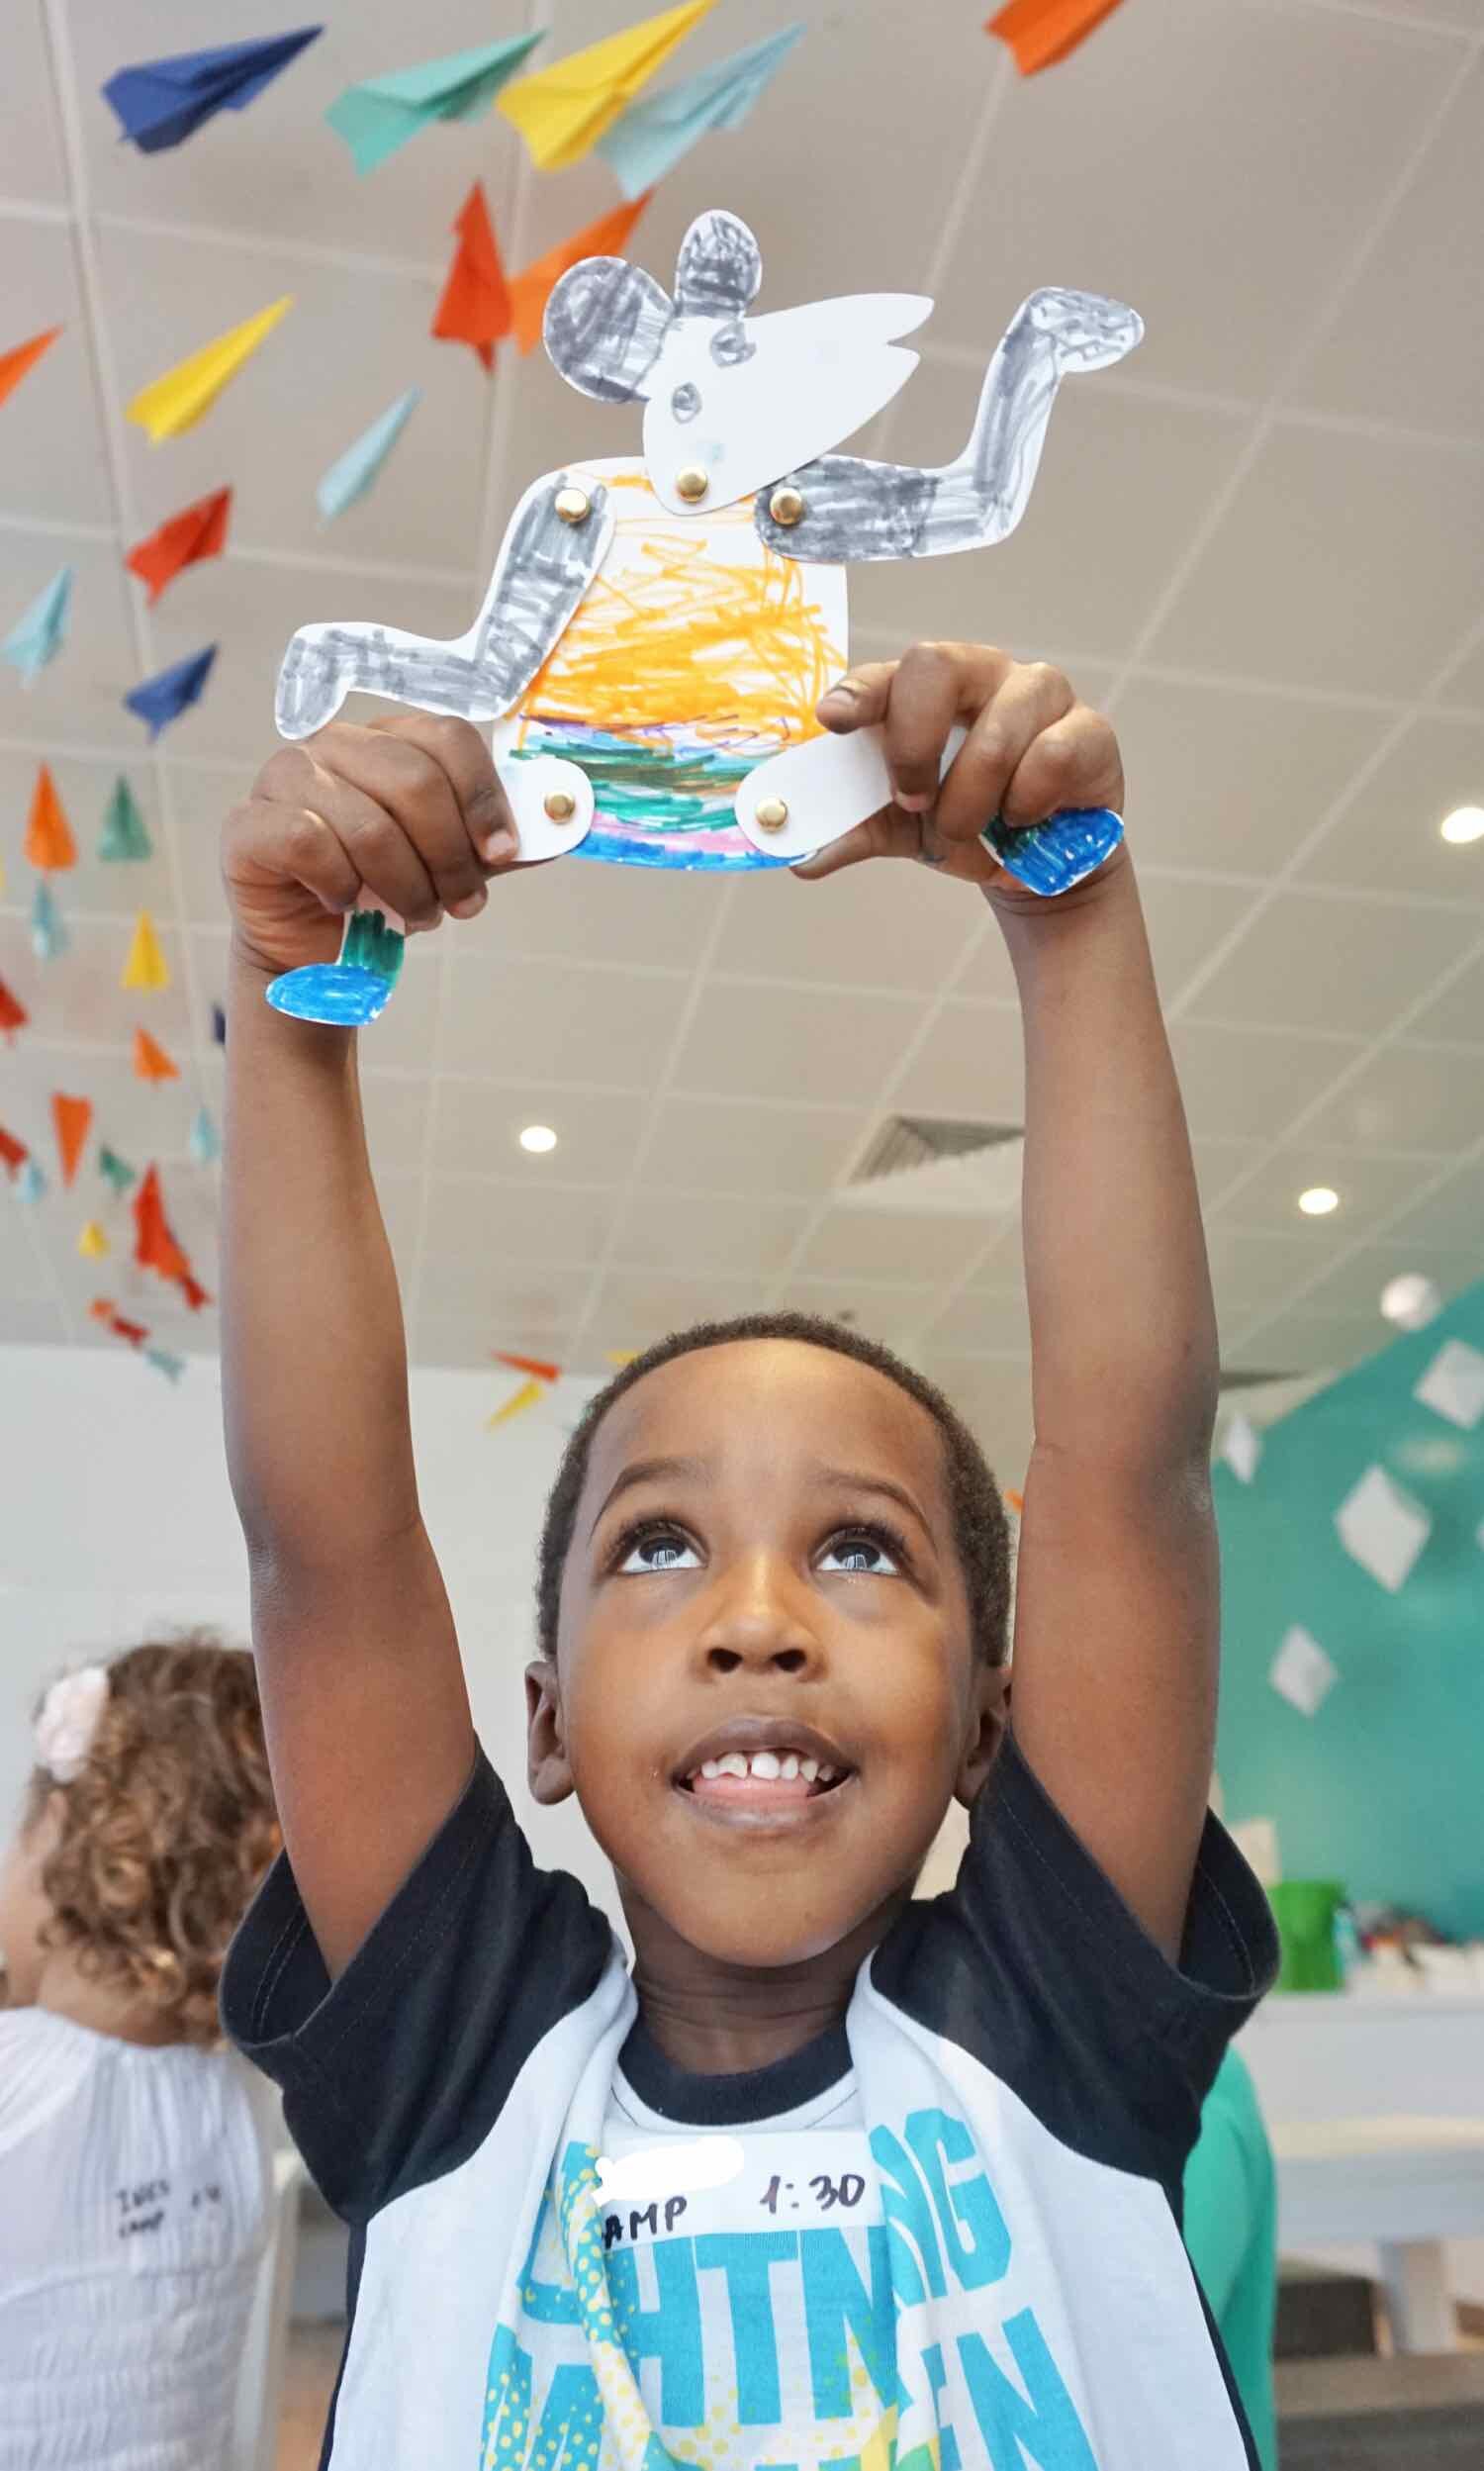
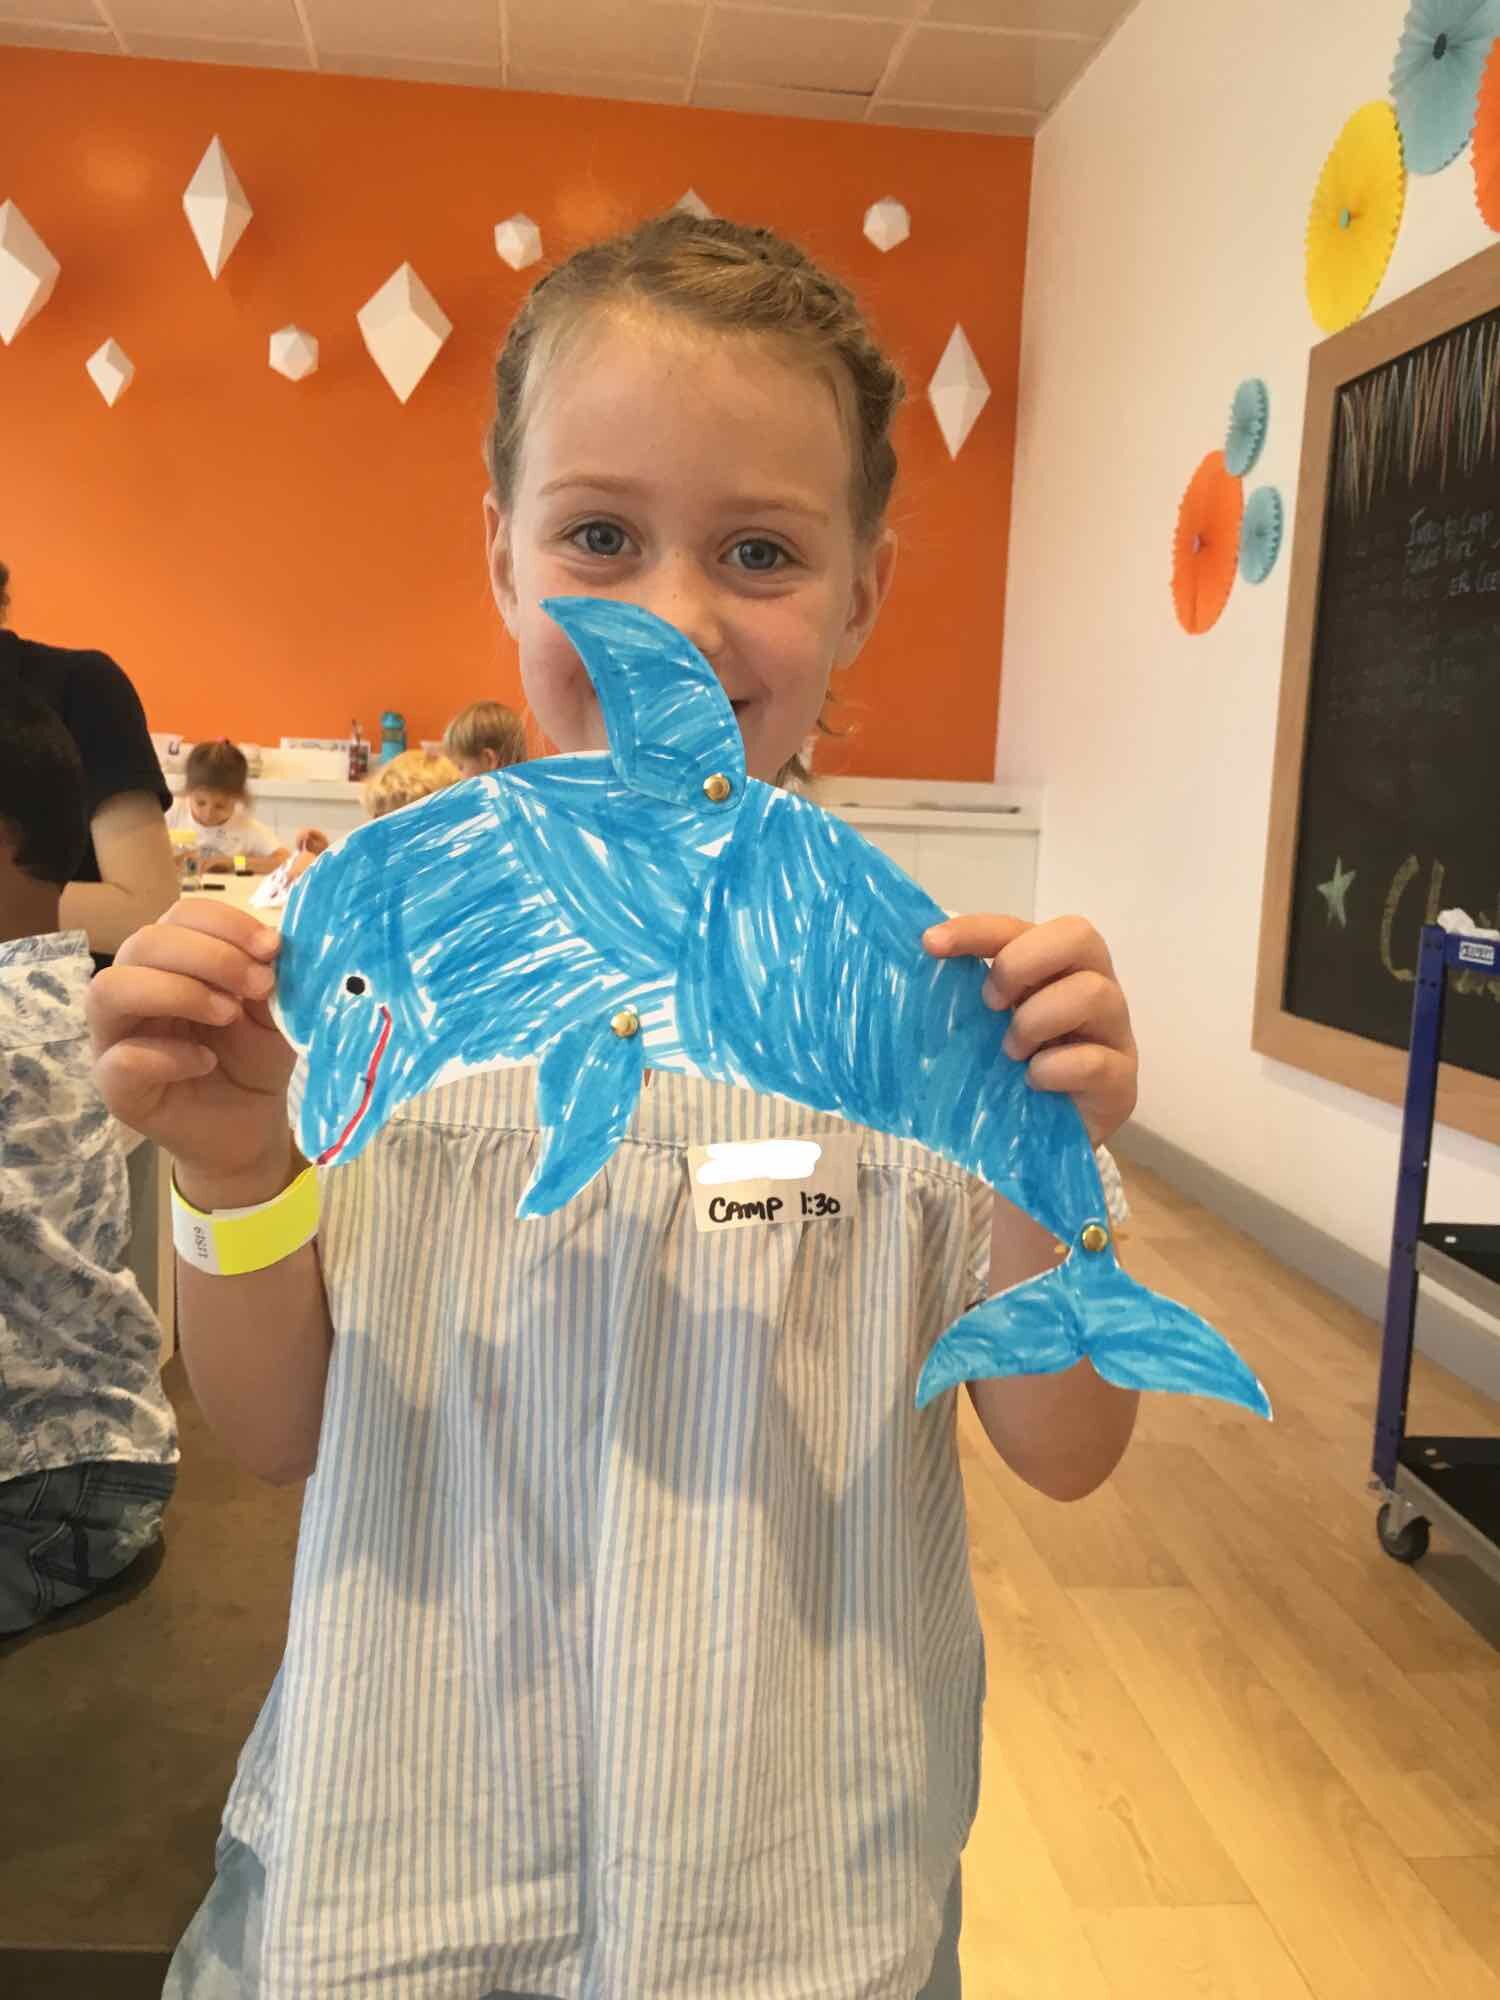
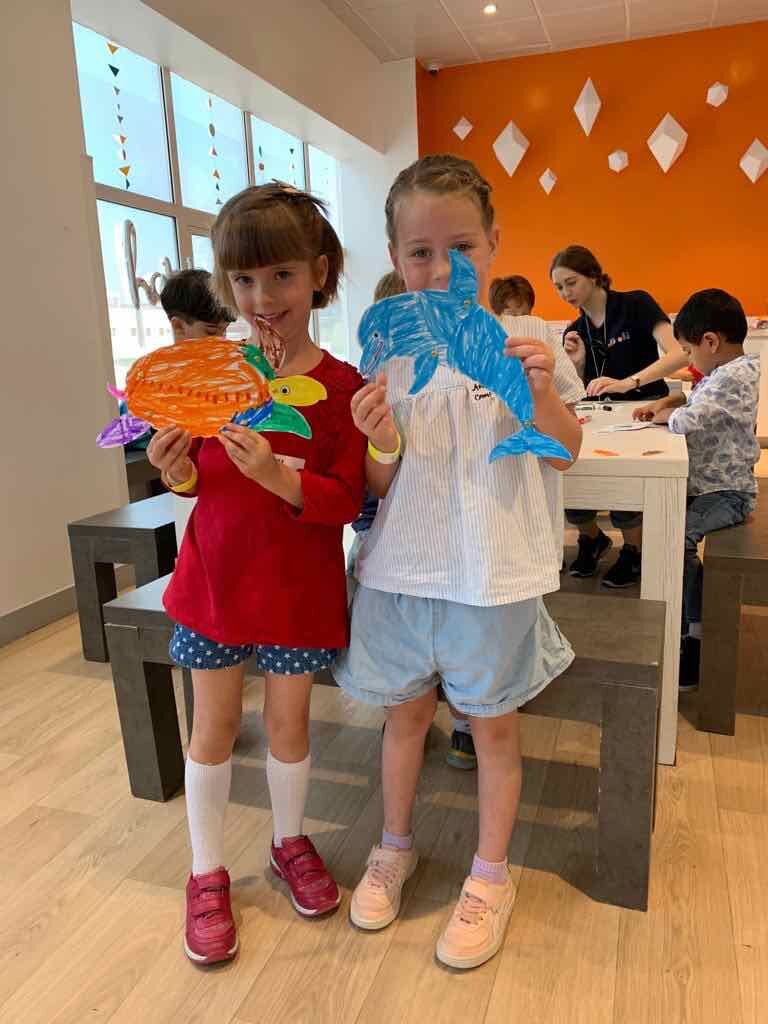
Laser Cut Paper Puppets
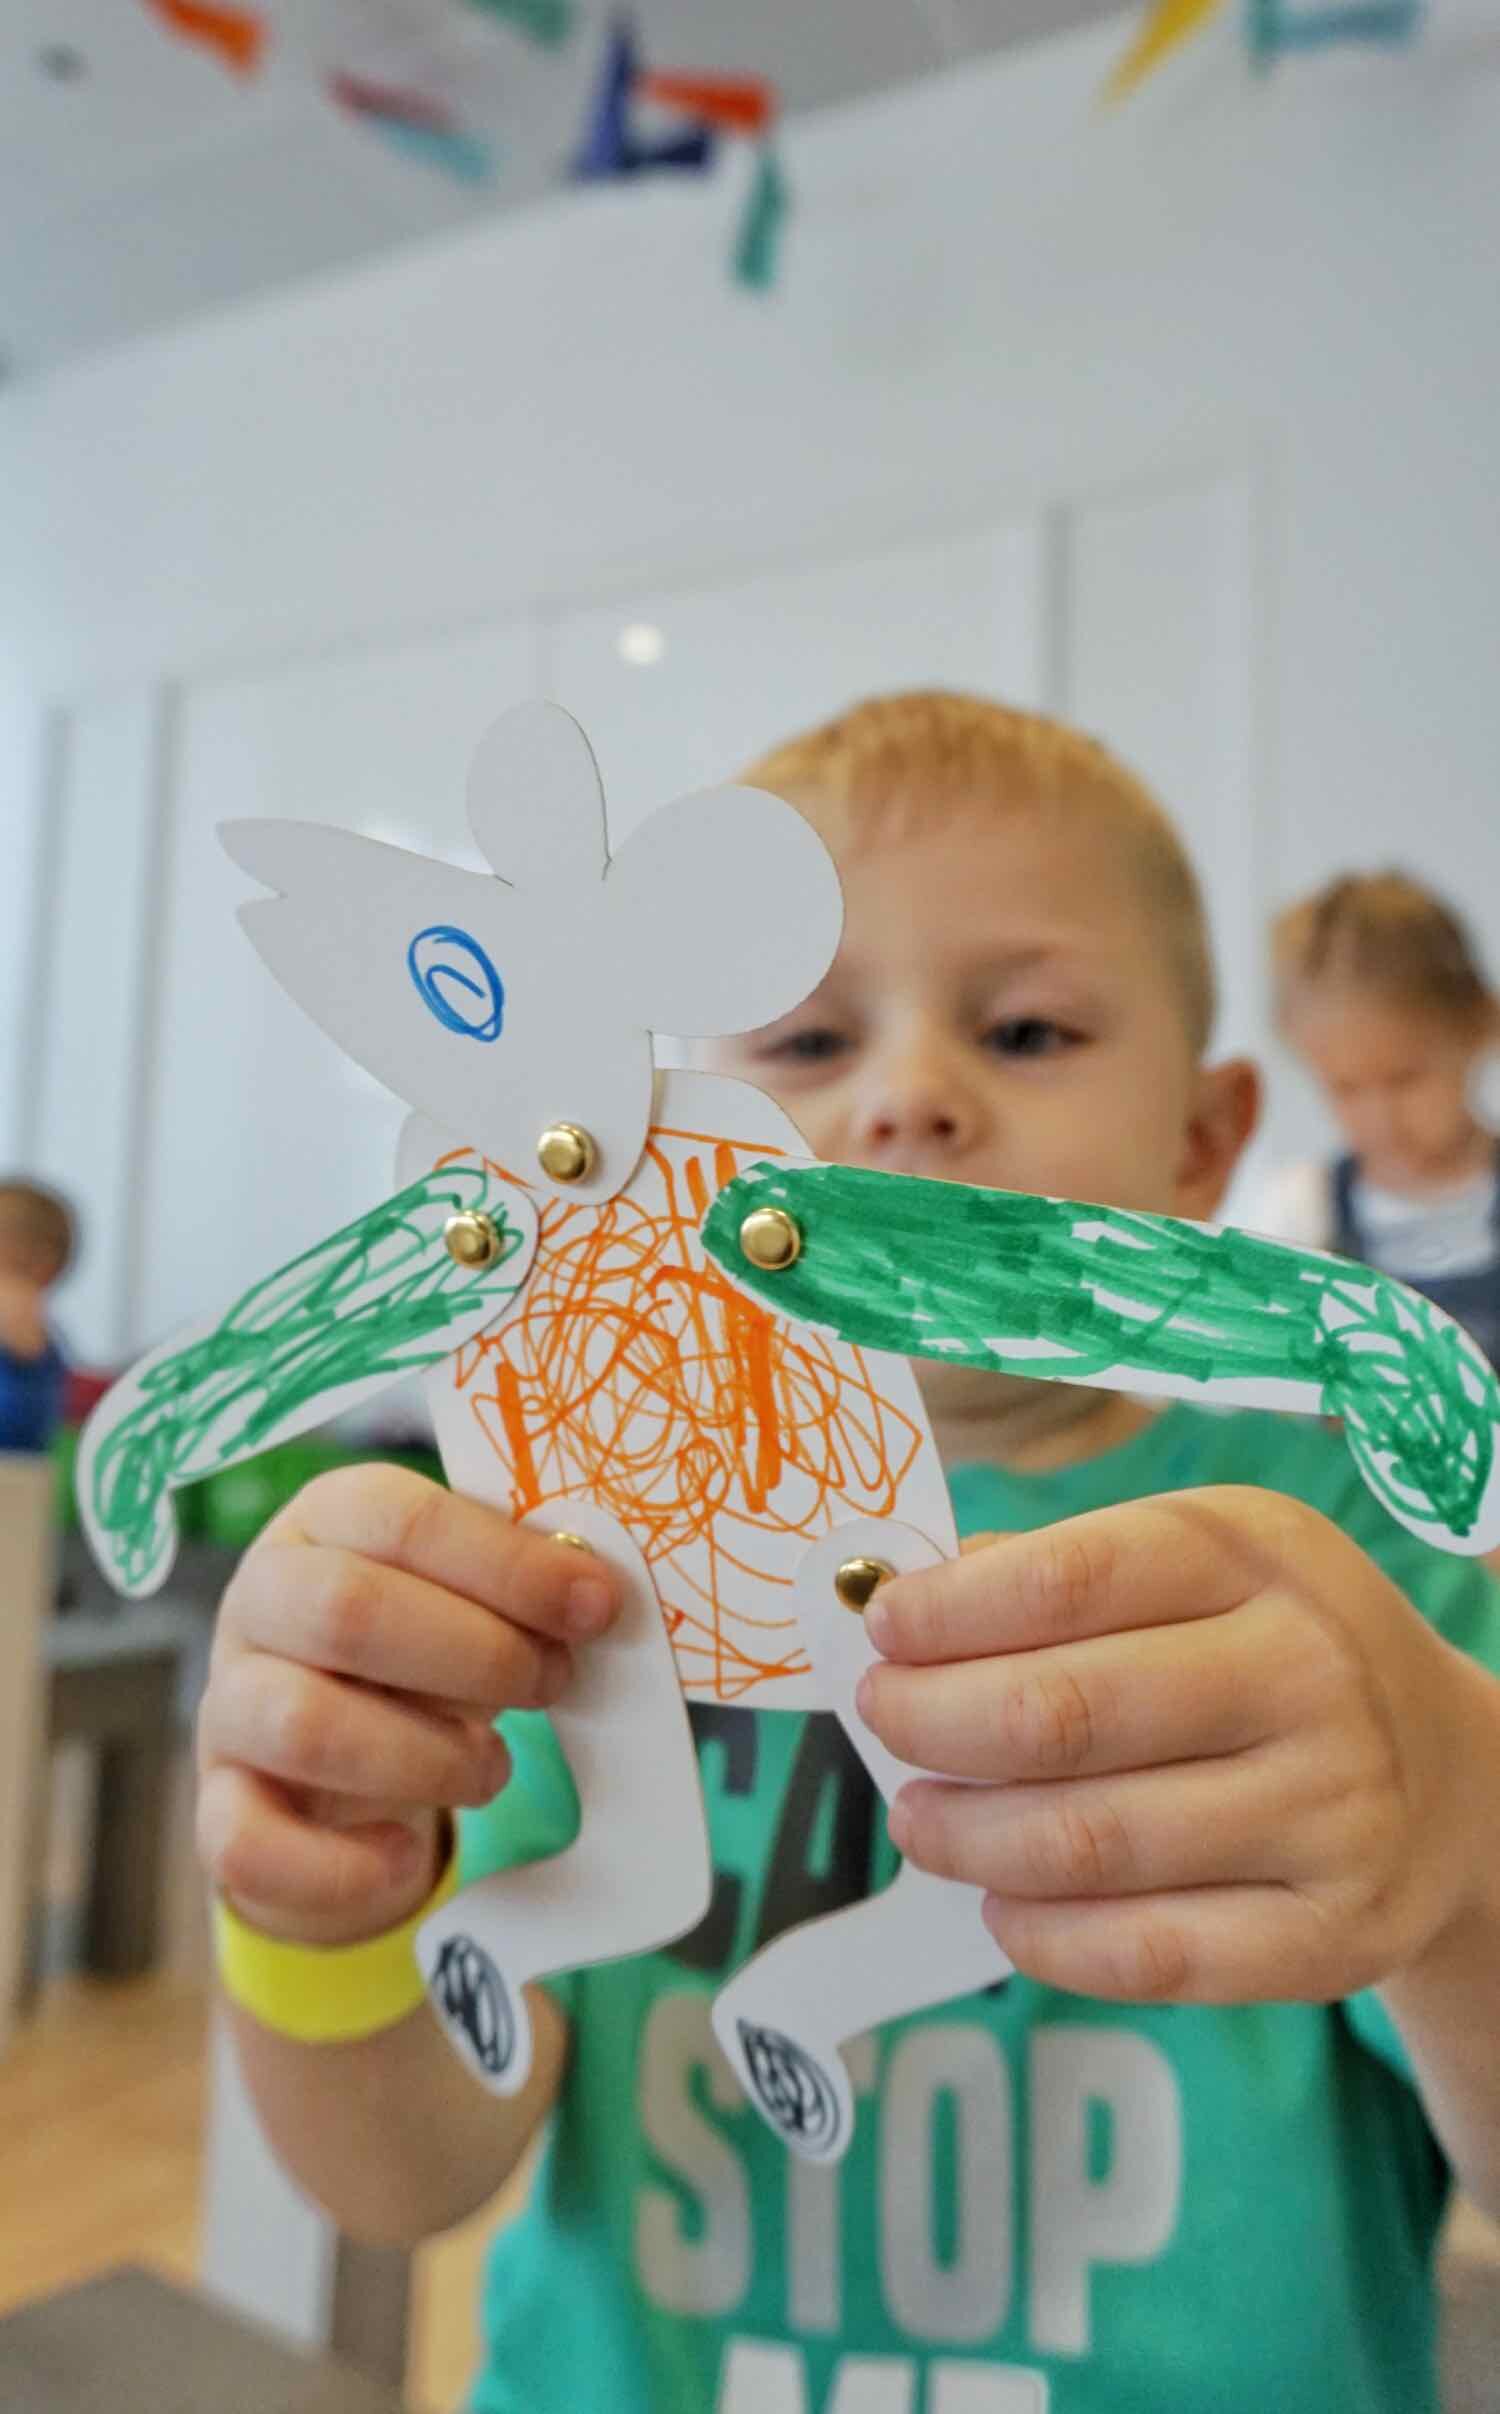
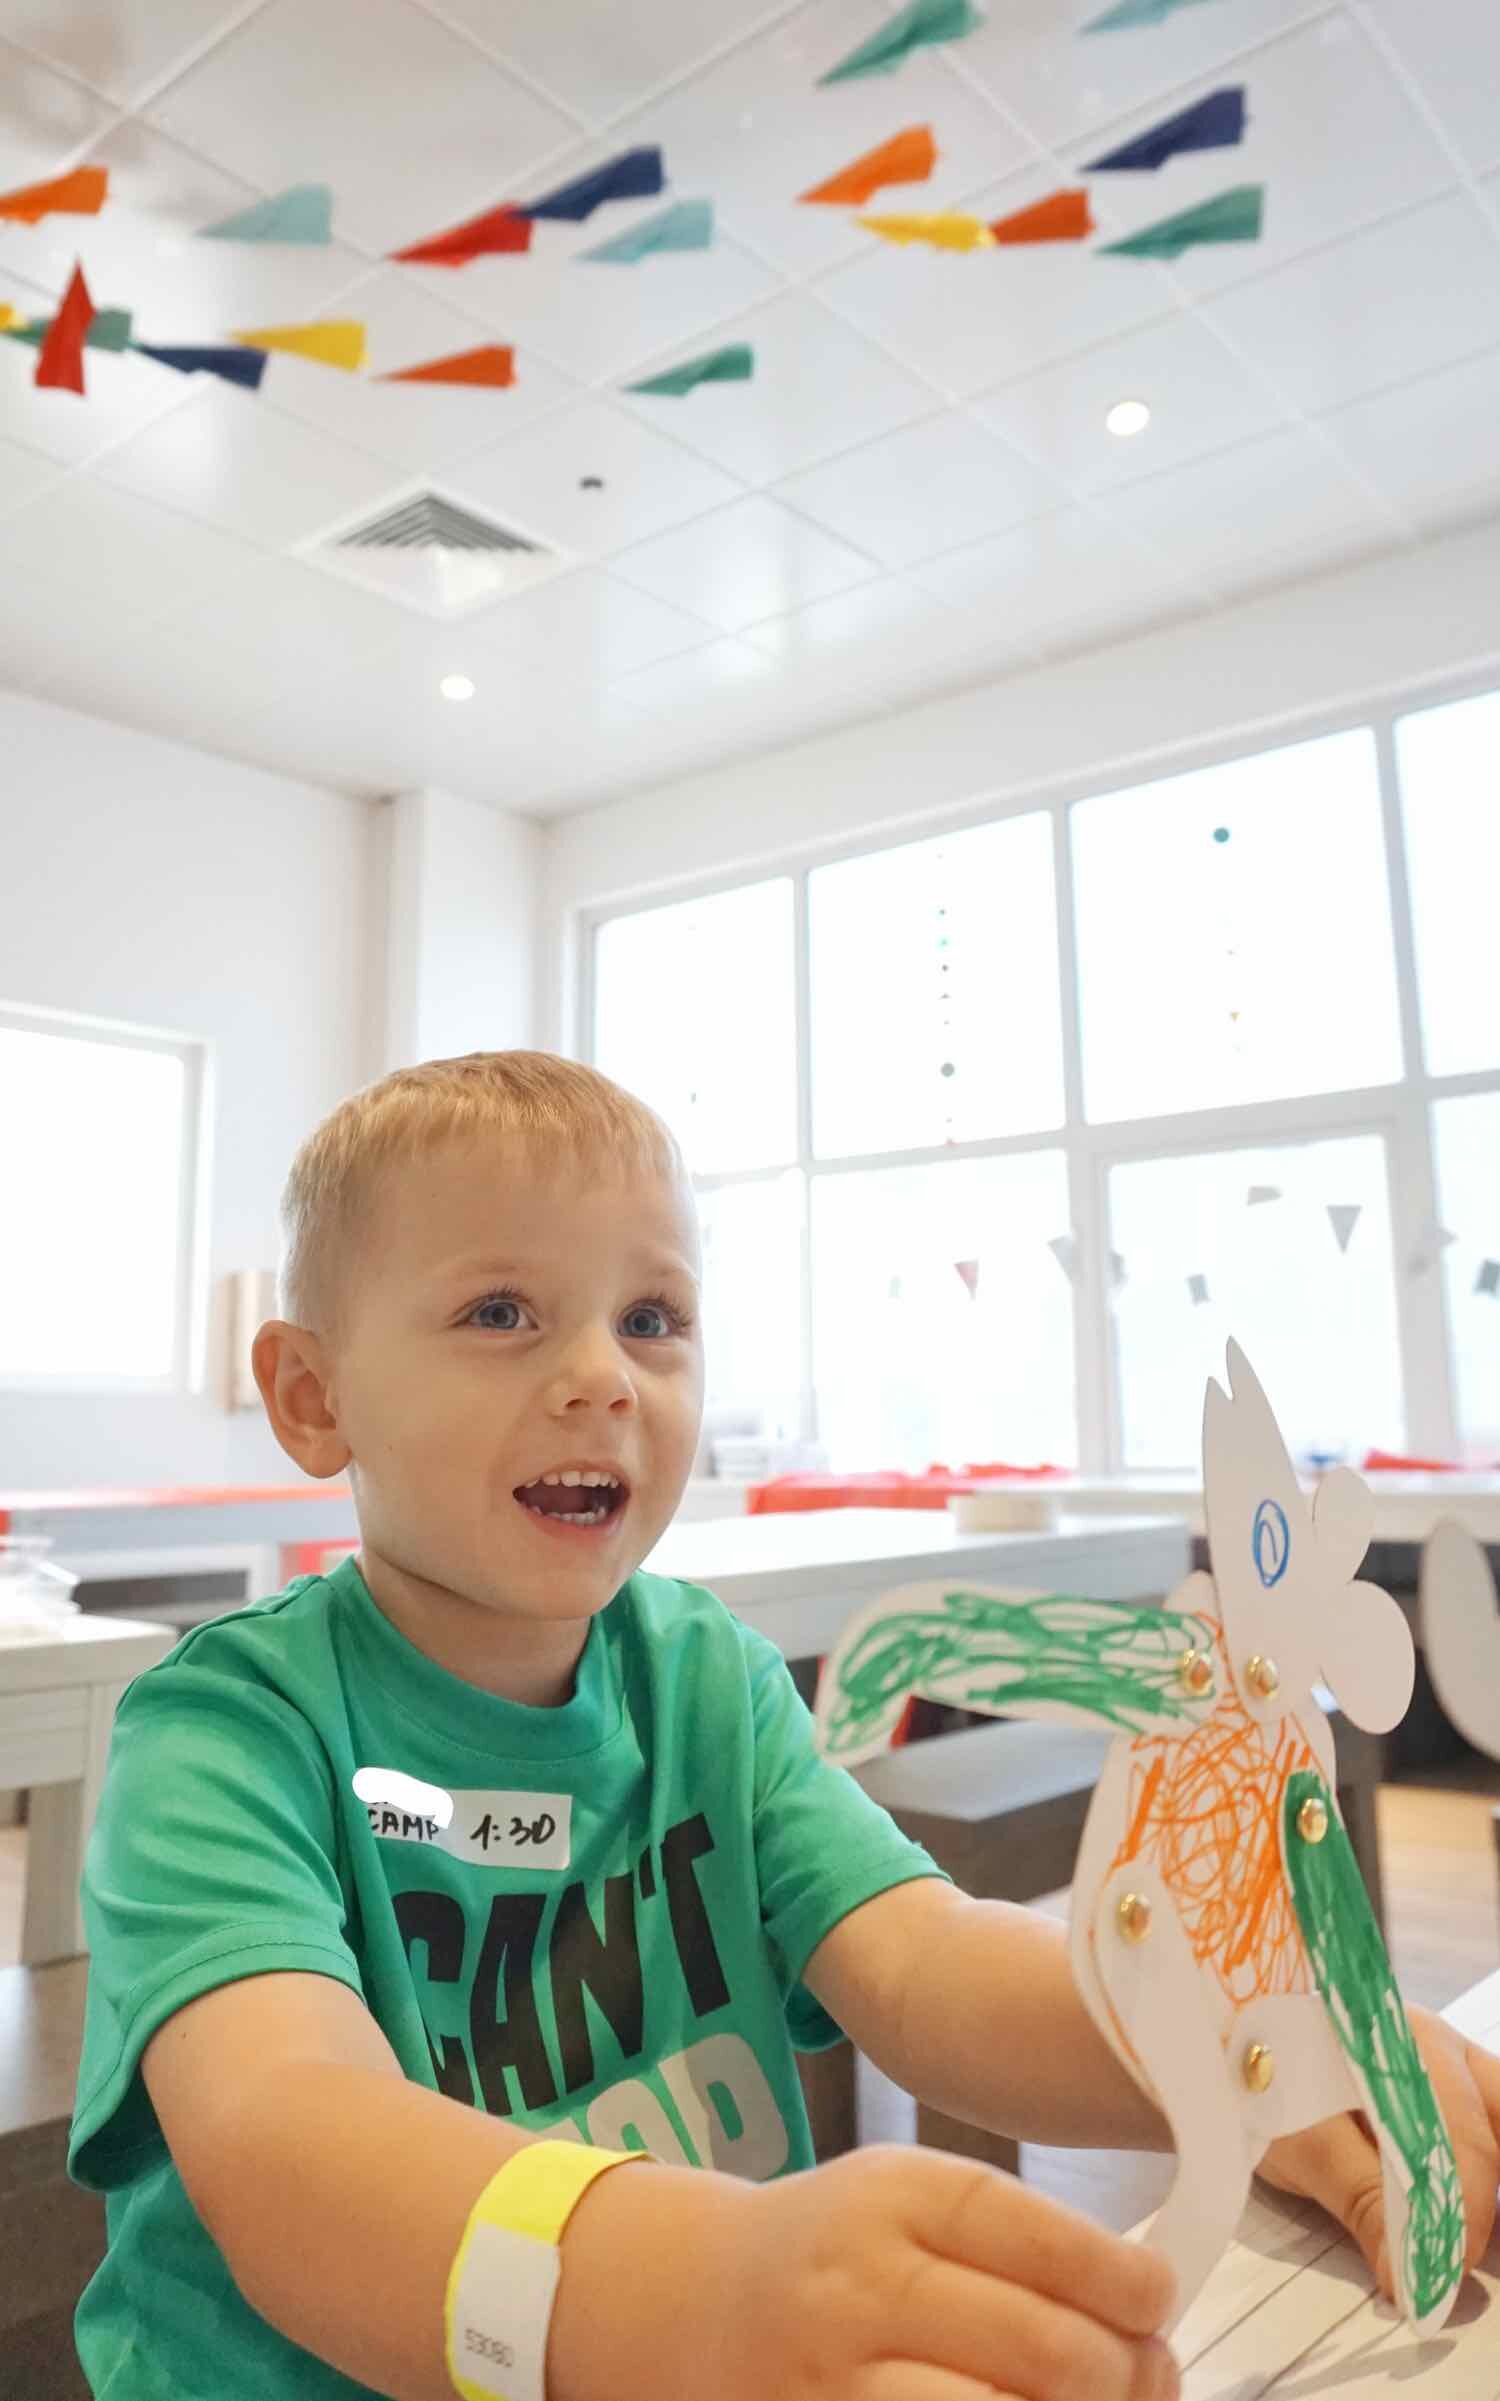
Posable paper puppets (dolls?) are a simple favorite with our younger campers. They get to do the whole process themselves, picking their pieces, coloring, and assembling with brass fasteners, and then most importantly, playing! We laser cut the pieces so the kids can focus on the drawing and fine motor skills of getting those brass fasteners right.
So far we’ve made Keith Haring inspired Paper People, Paper Animals, Sea Creatures, and as a way to use all our left over bits and pieces, Monsters. To make a new set on a theme, I just find some images I like and then draw over them with the pen tool in Illustrator.

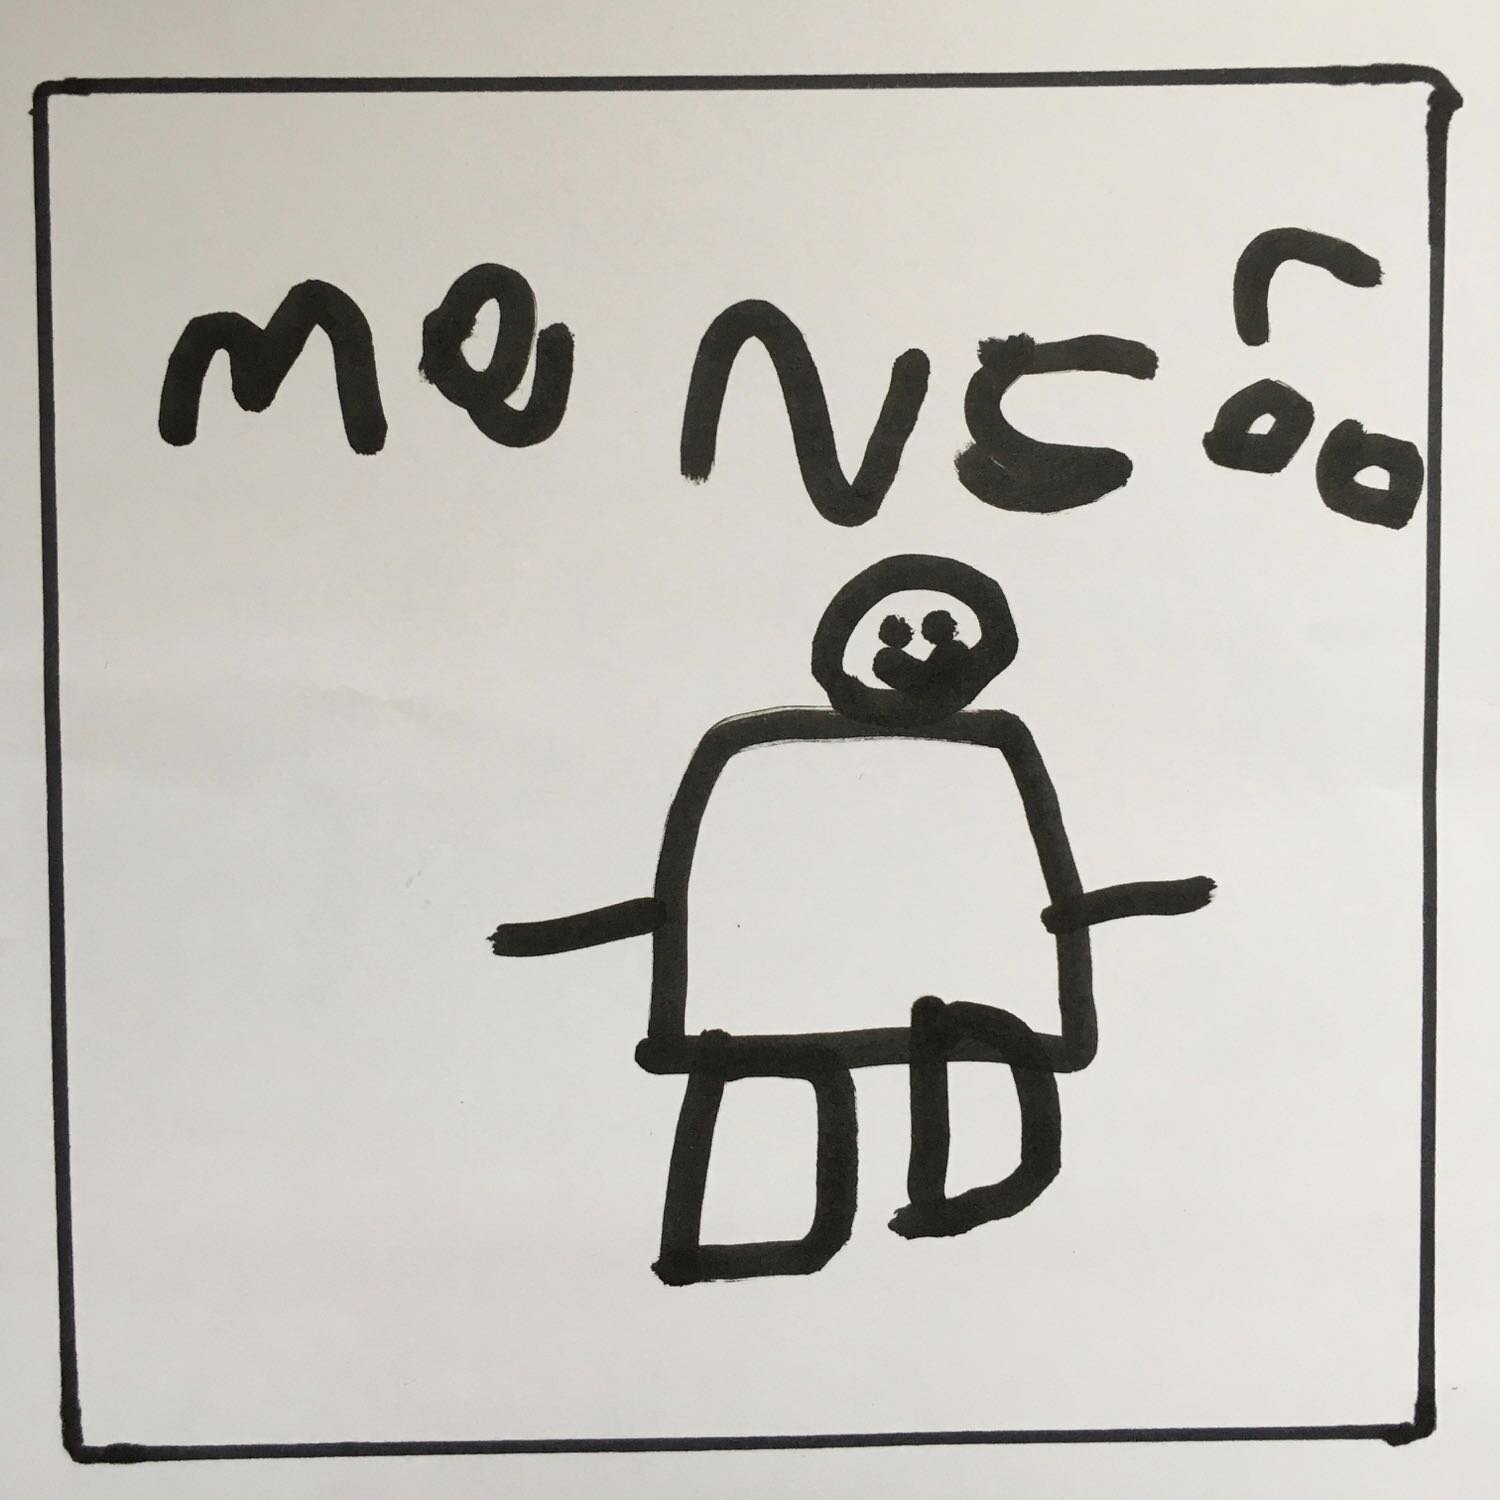
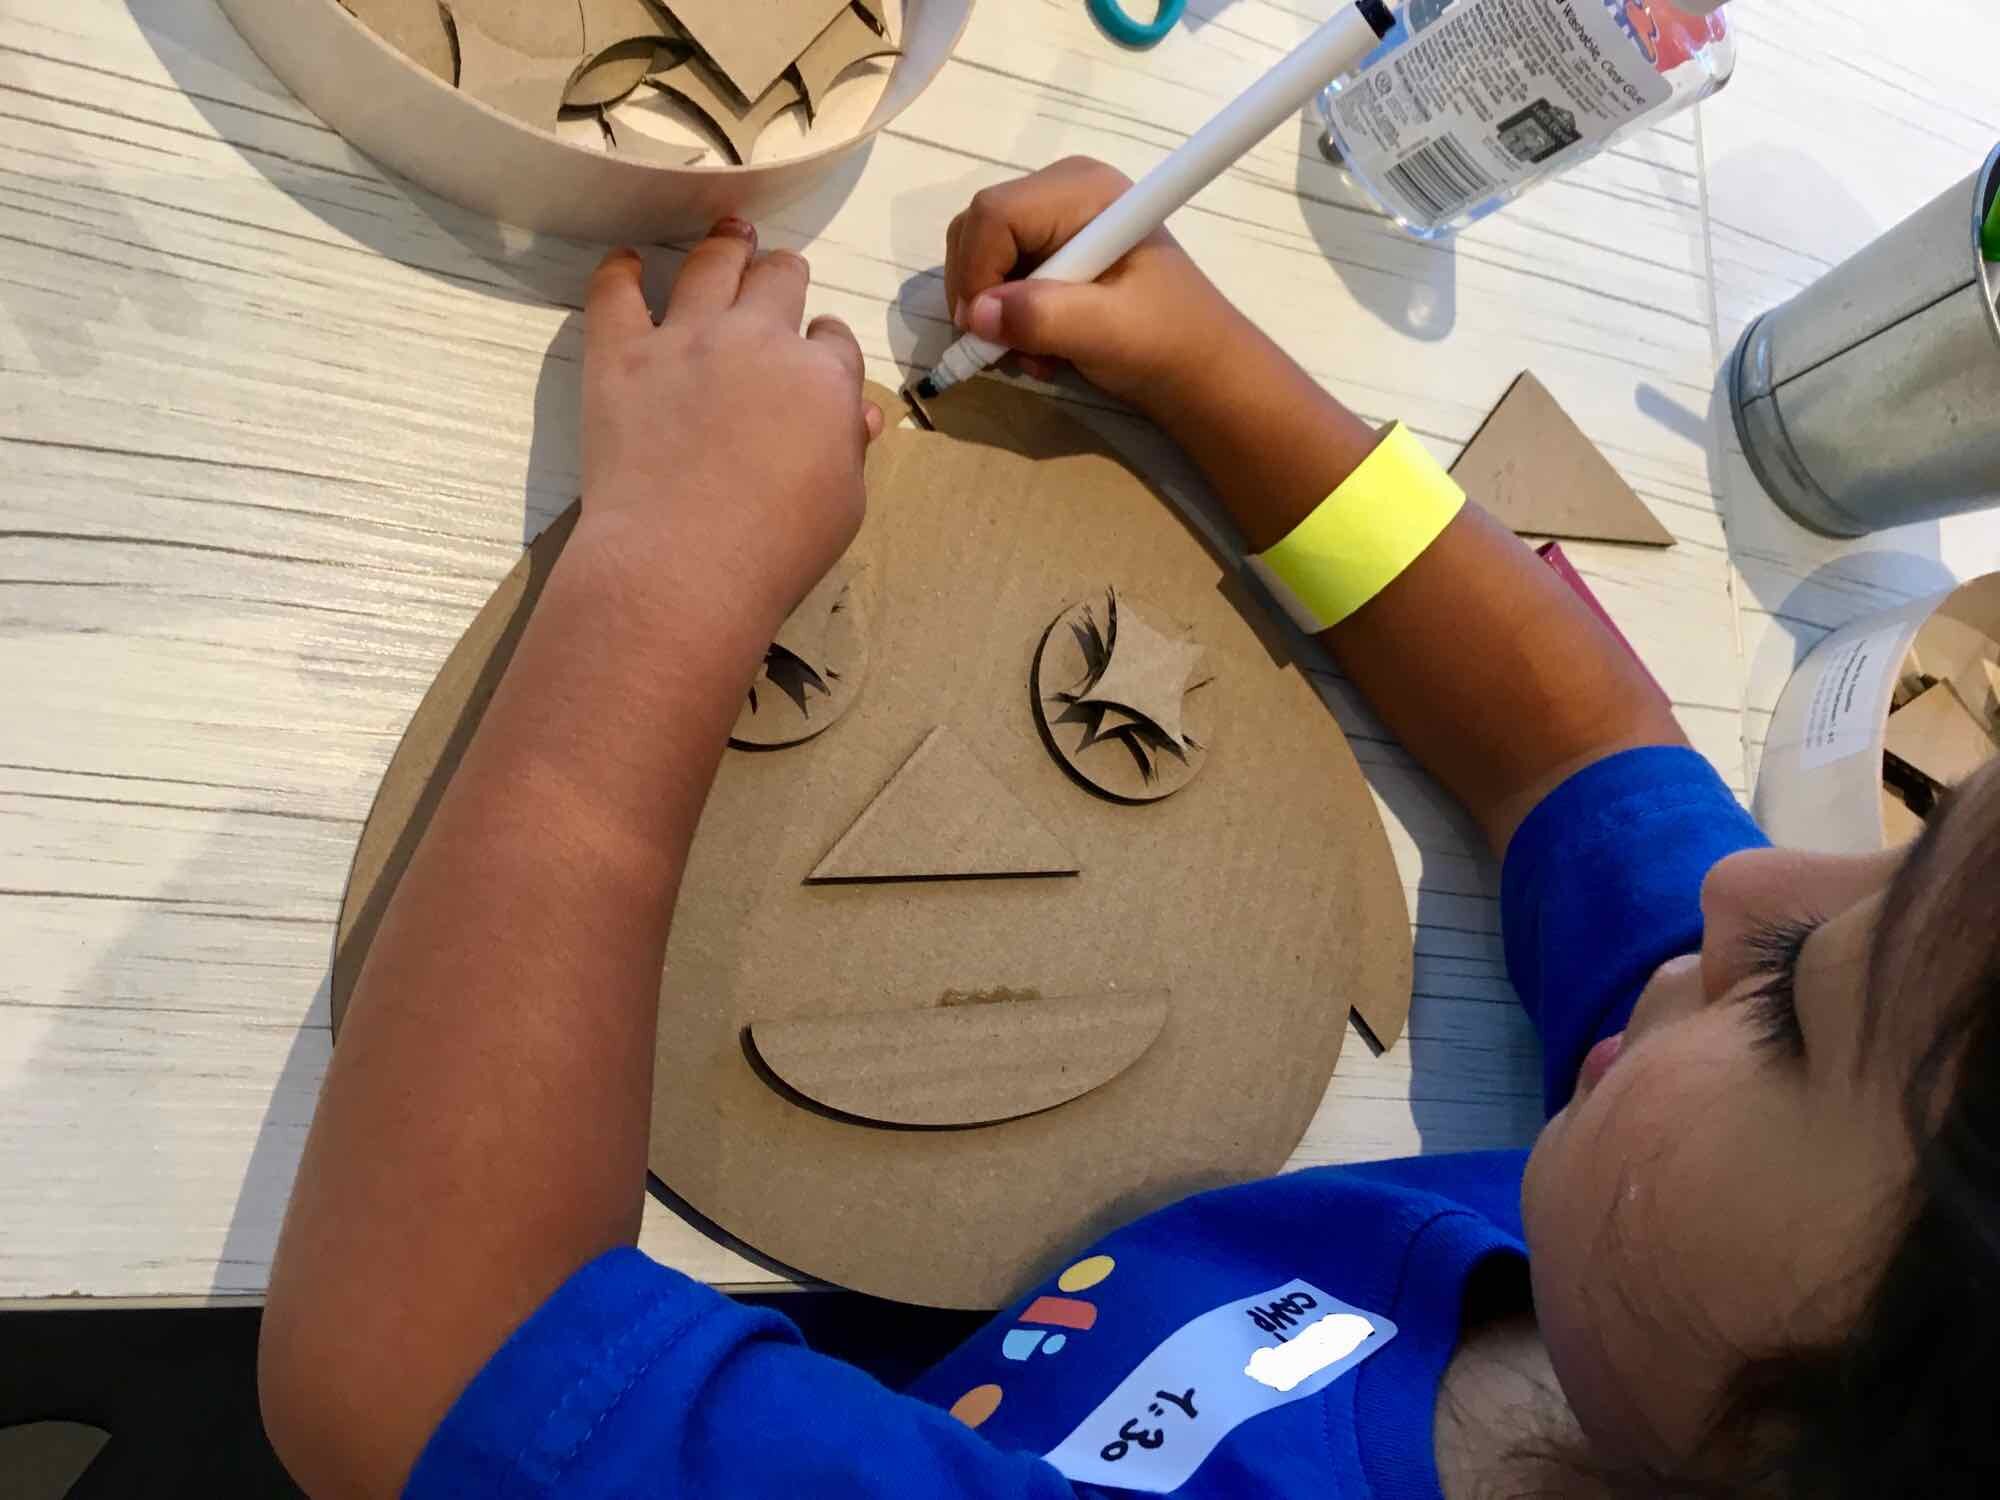
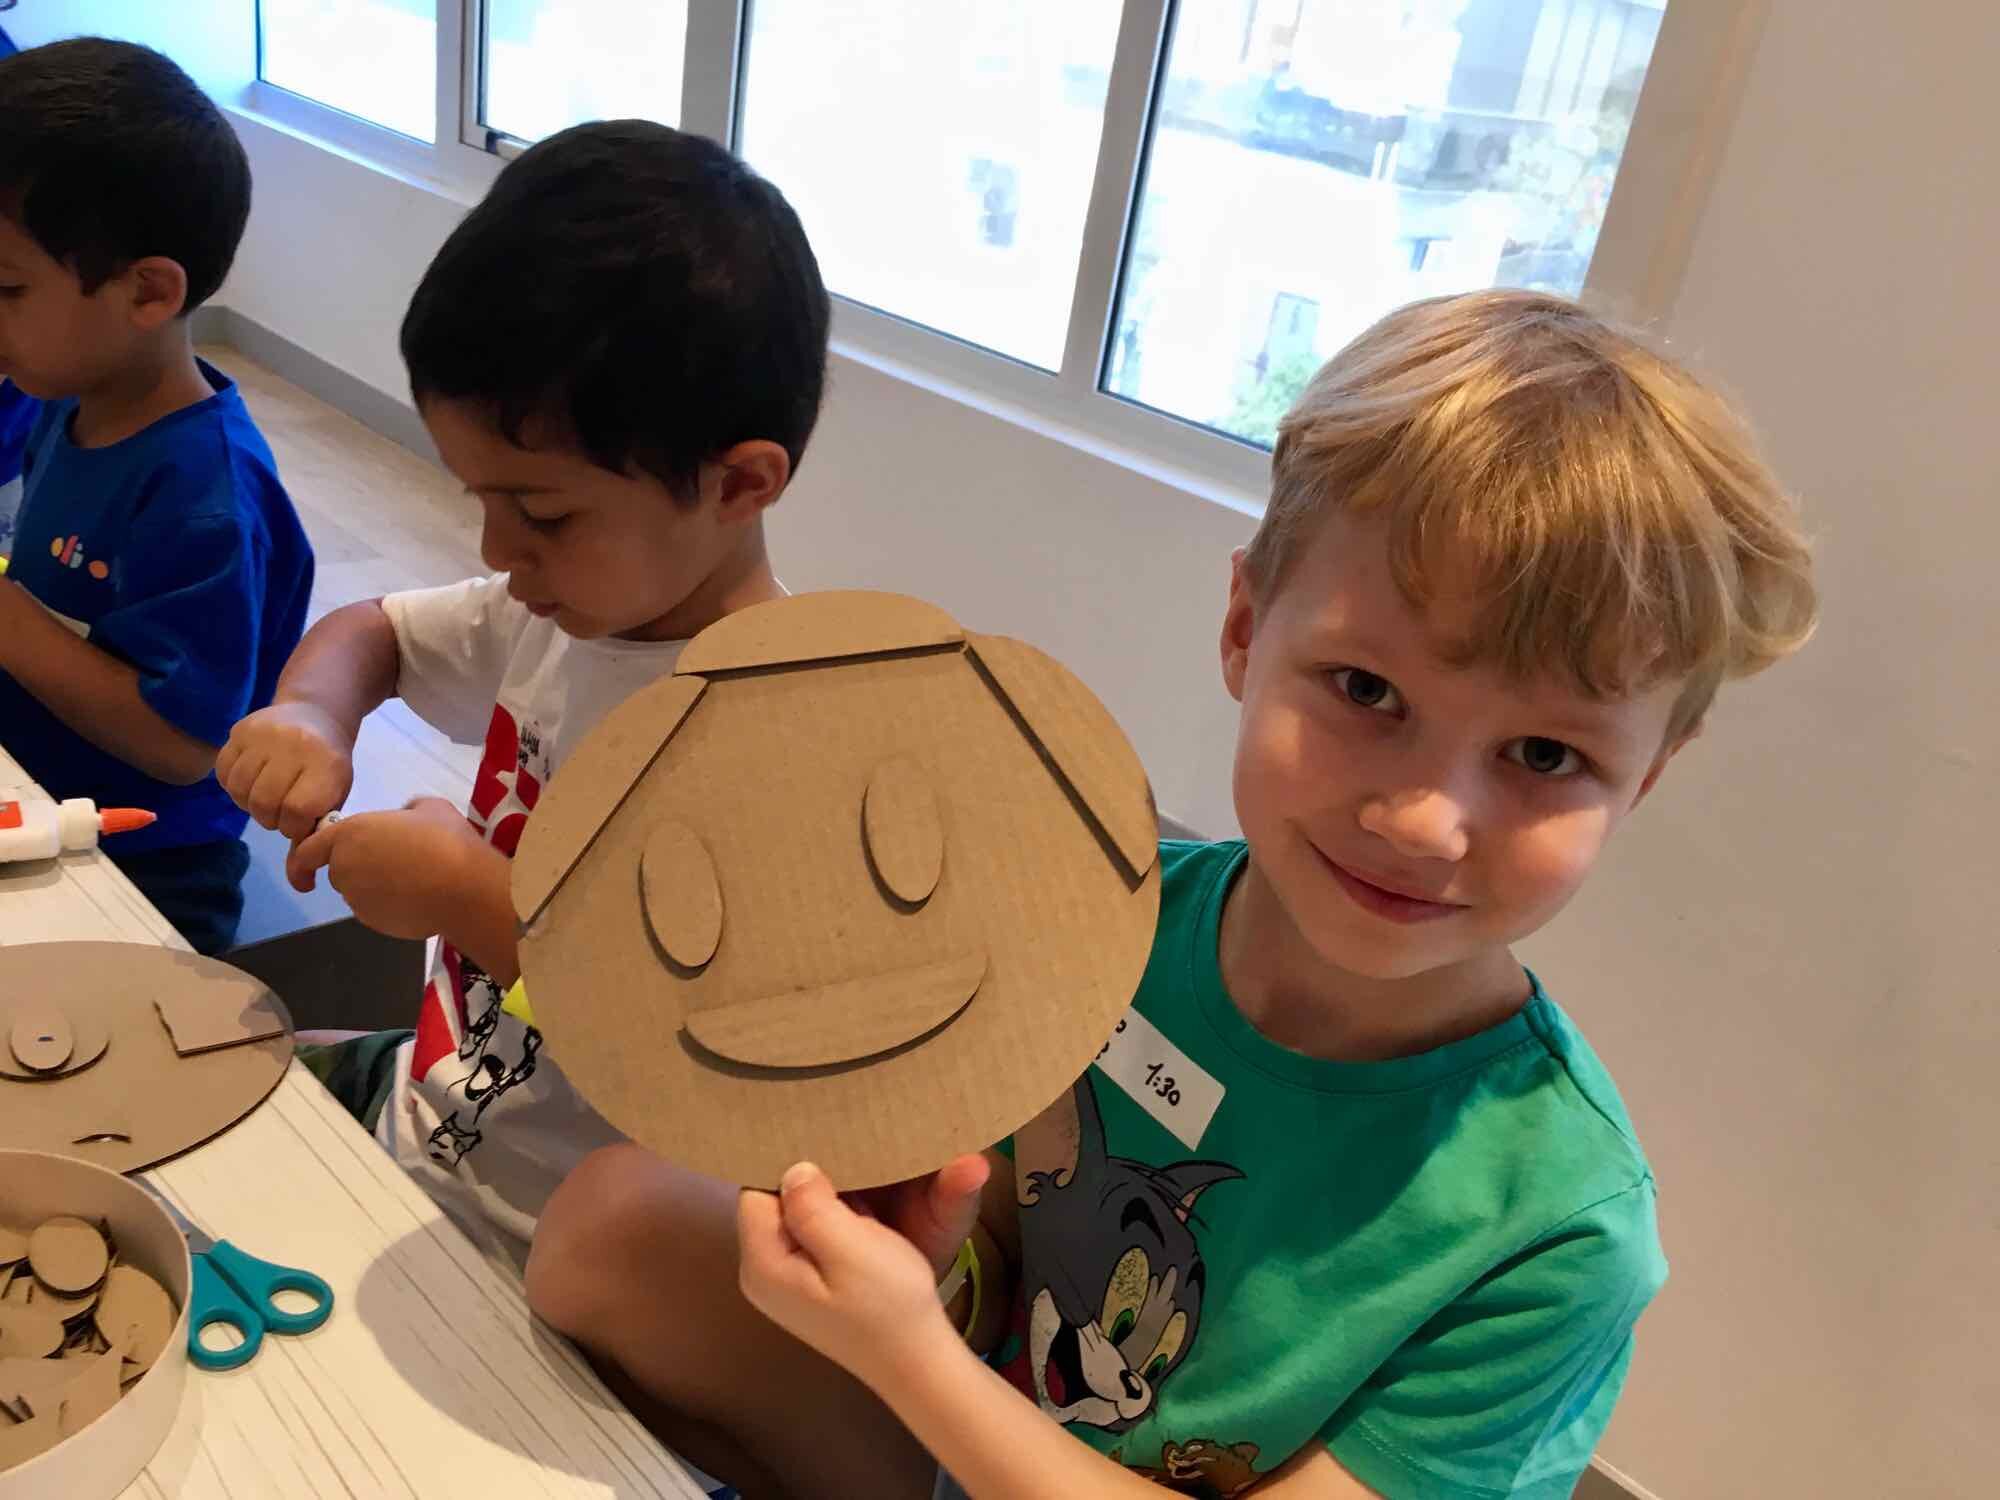
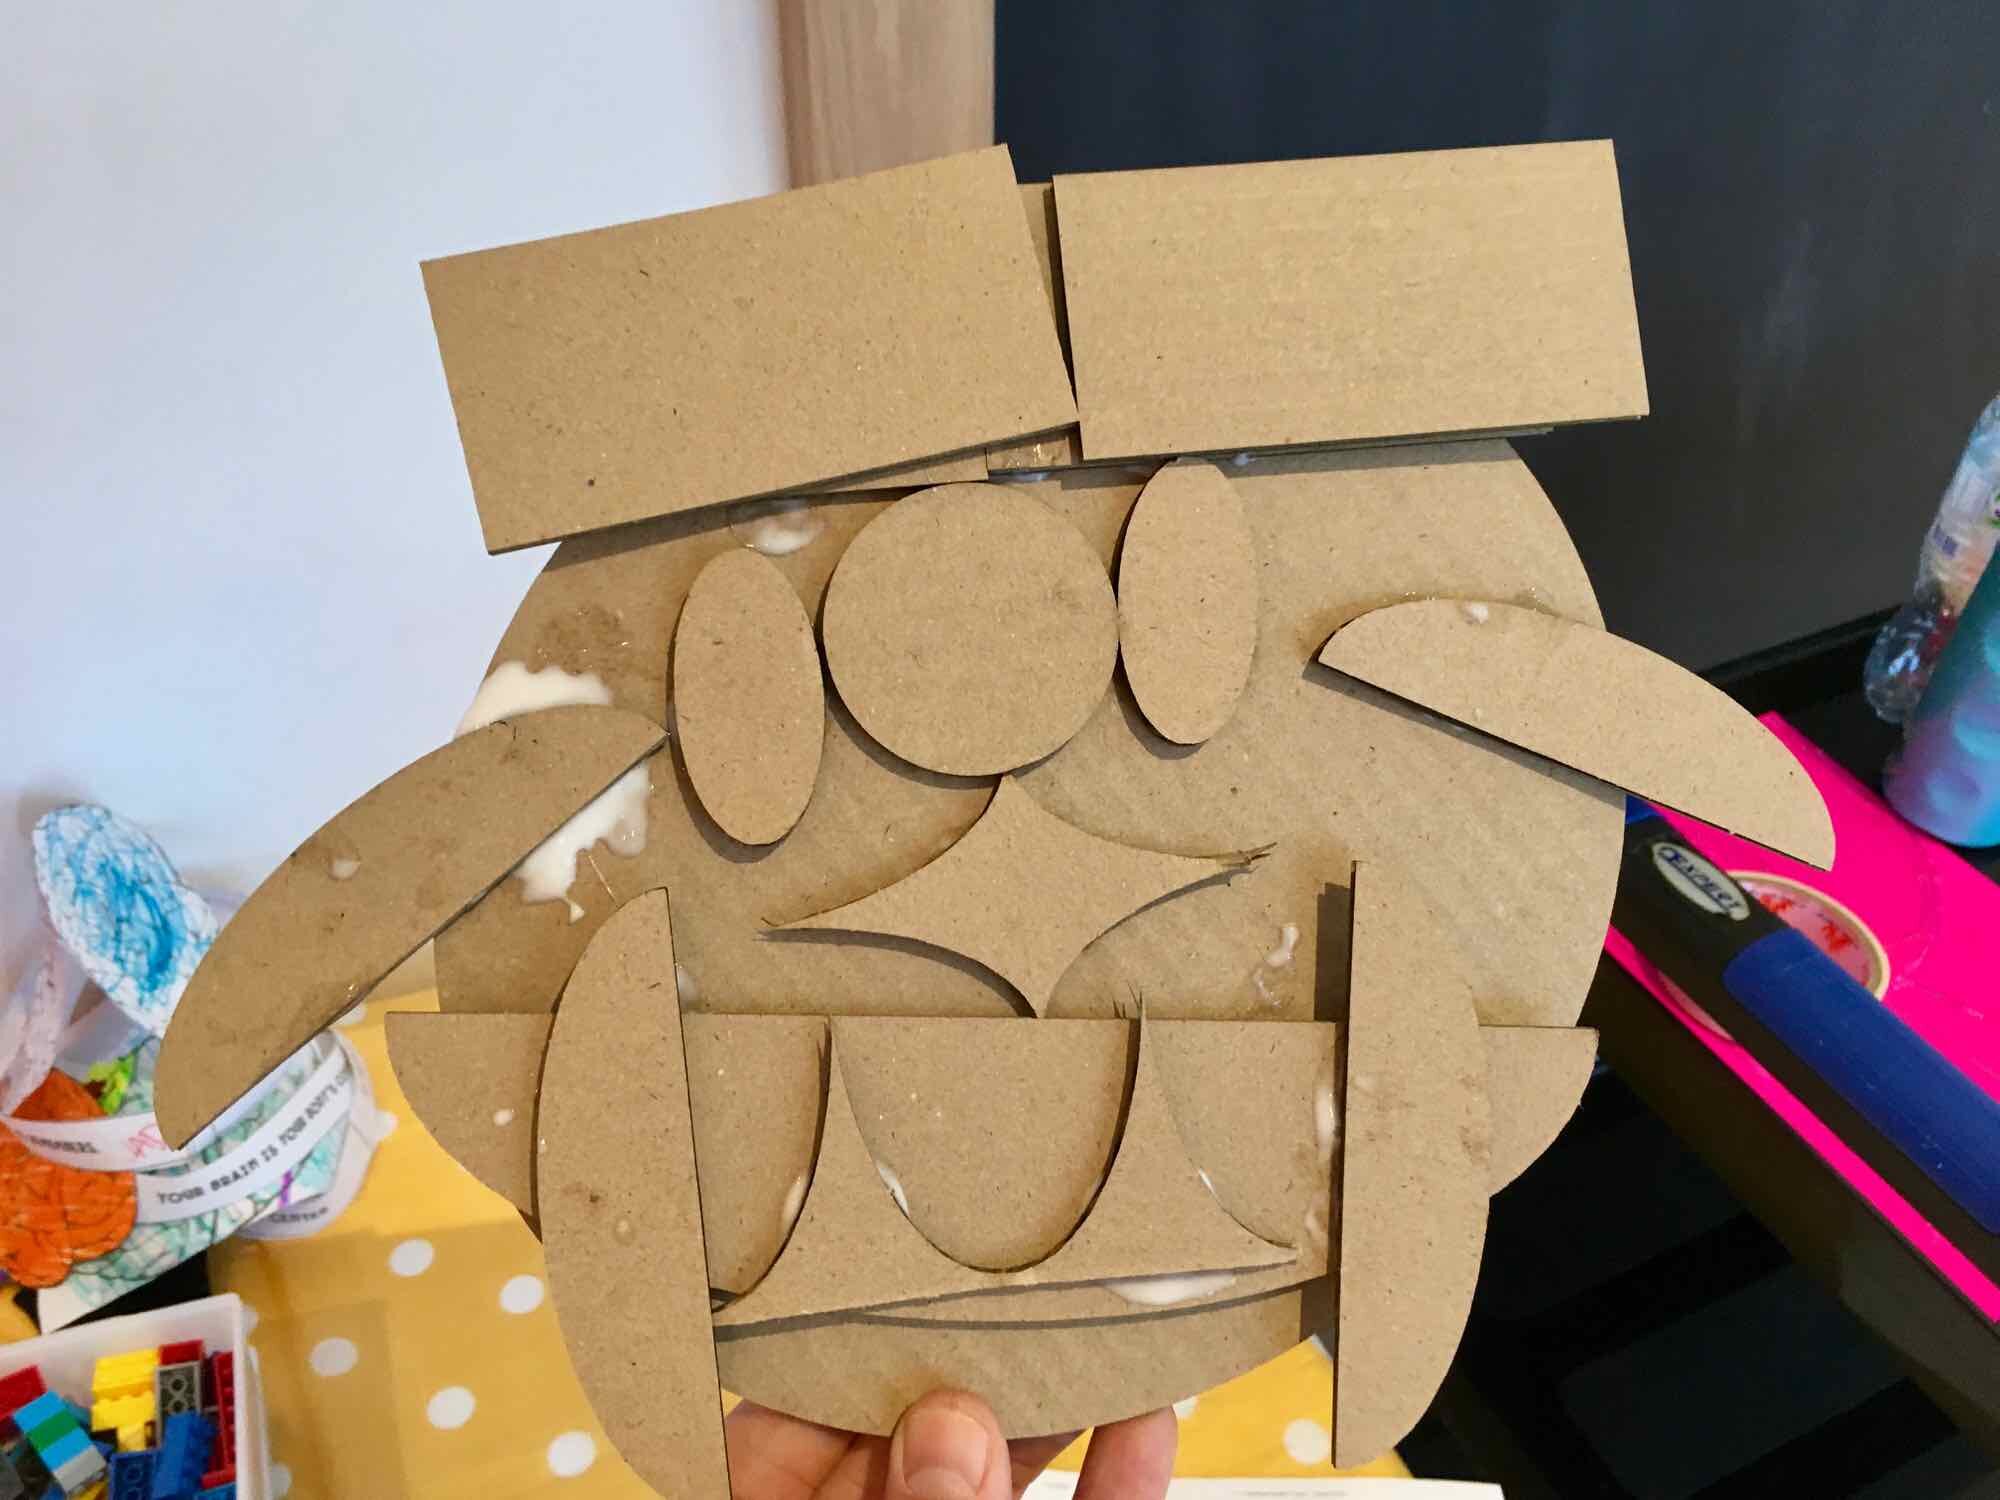
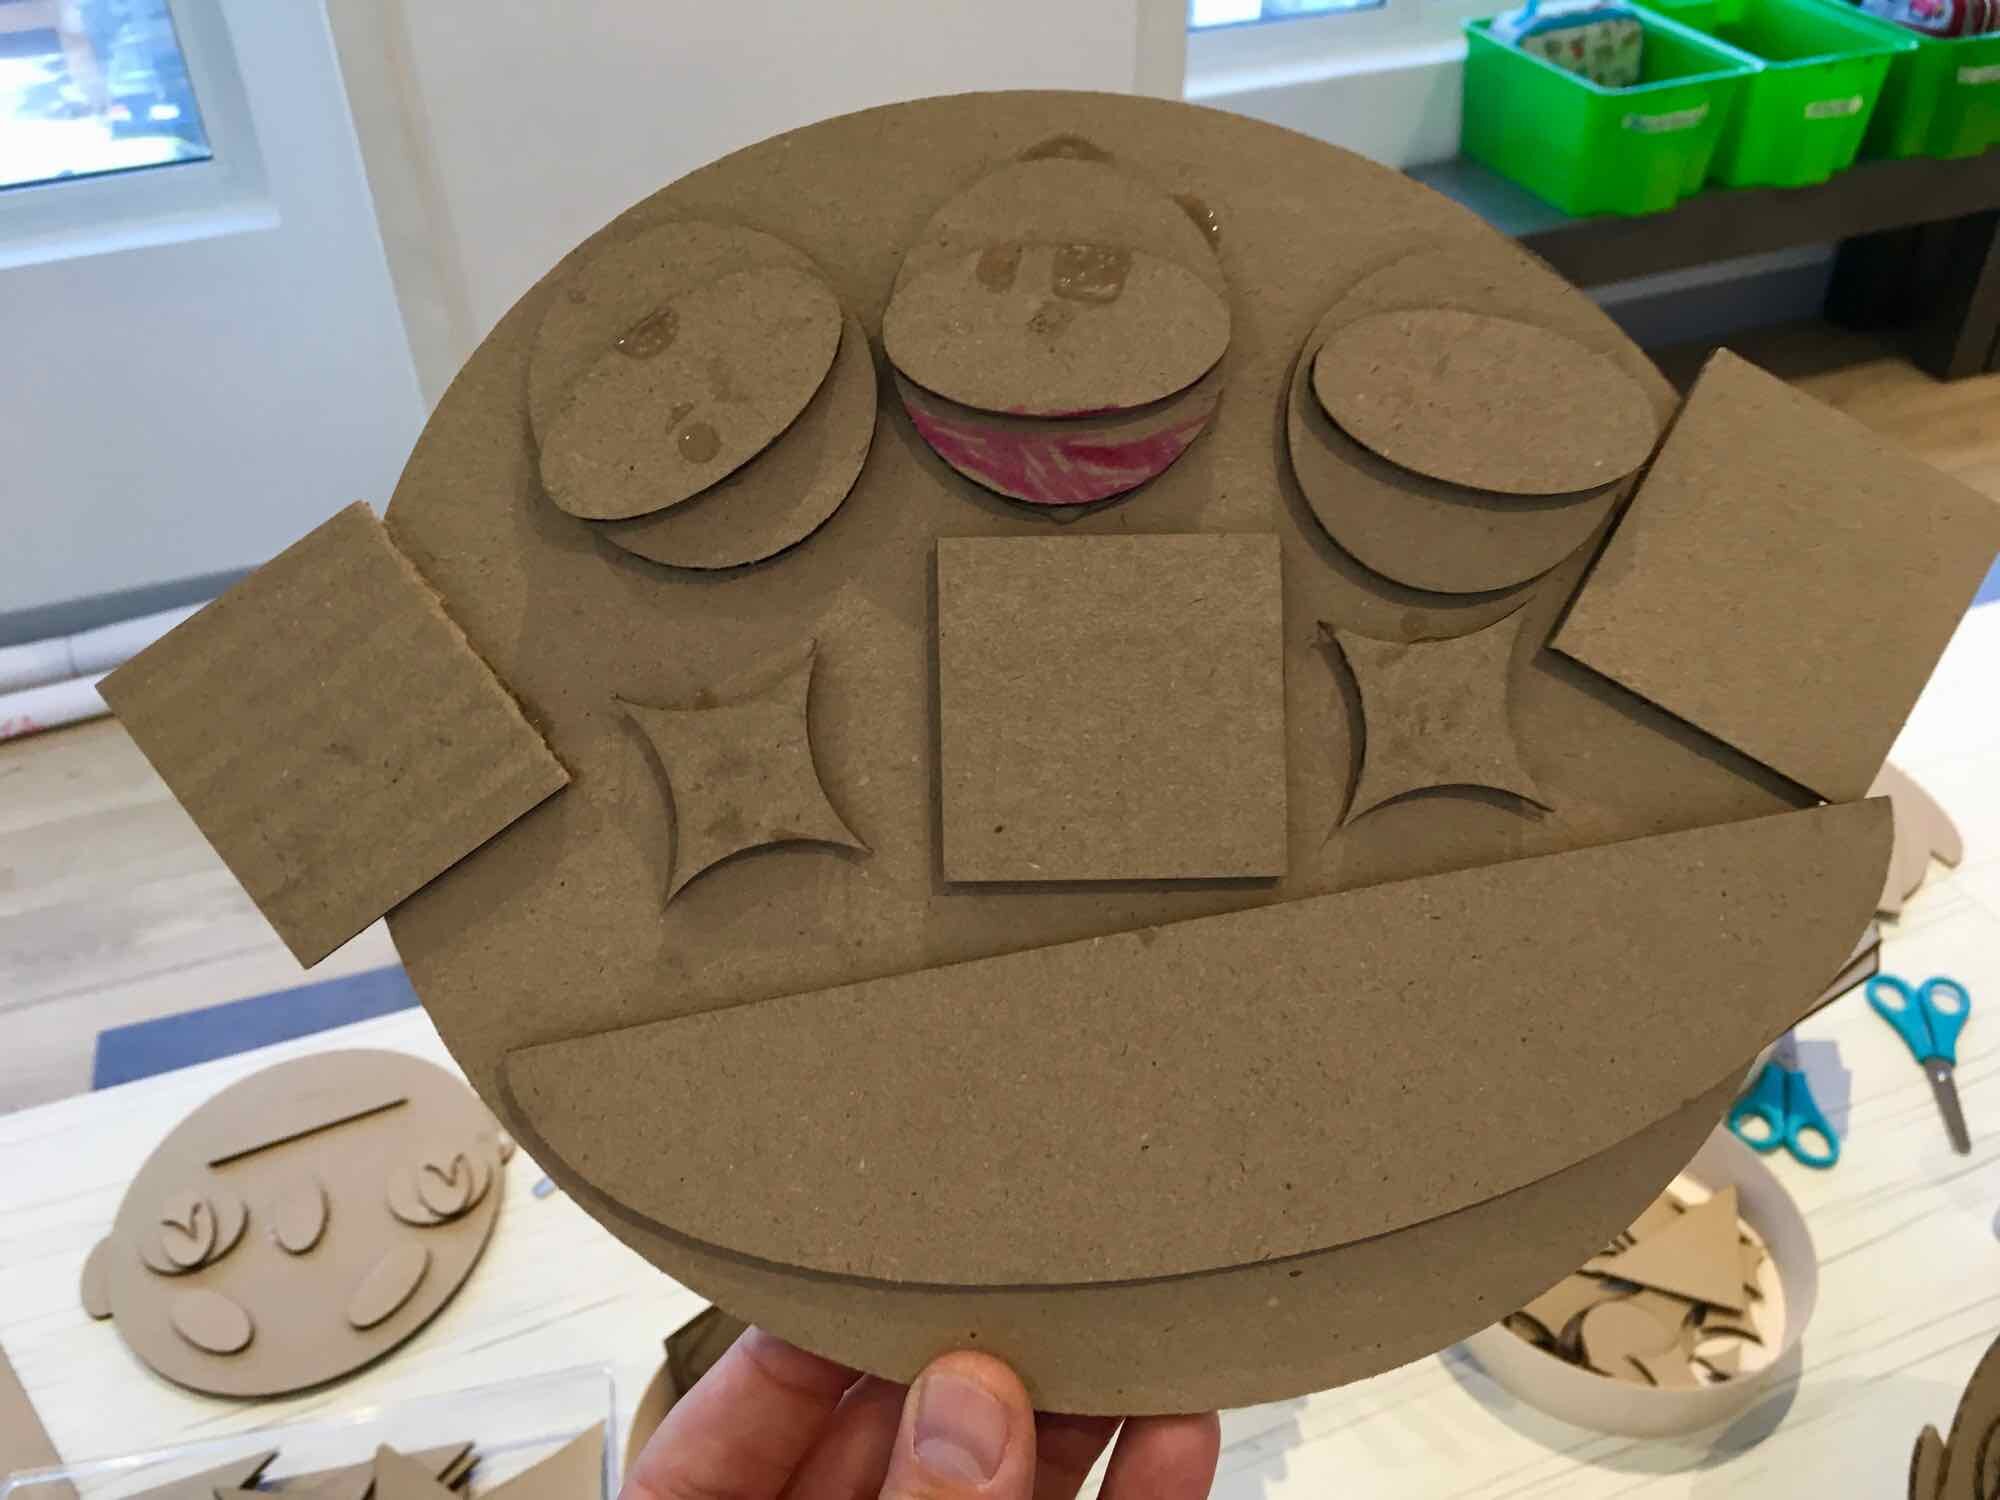
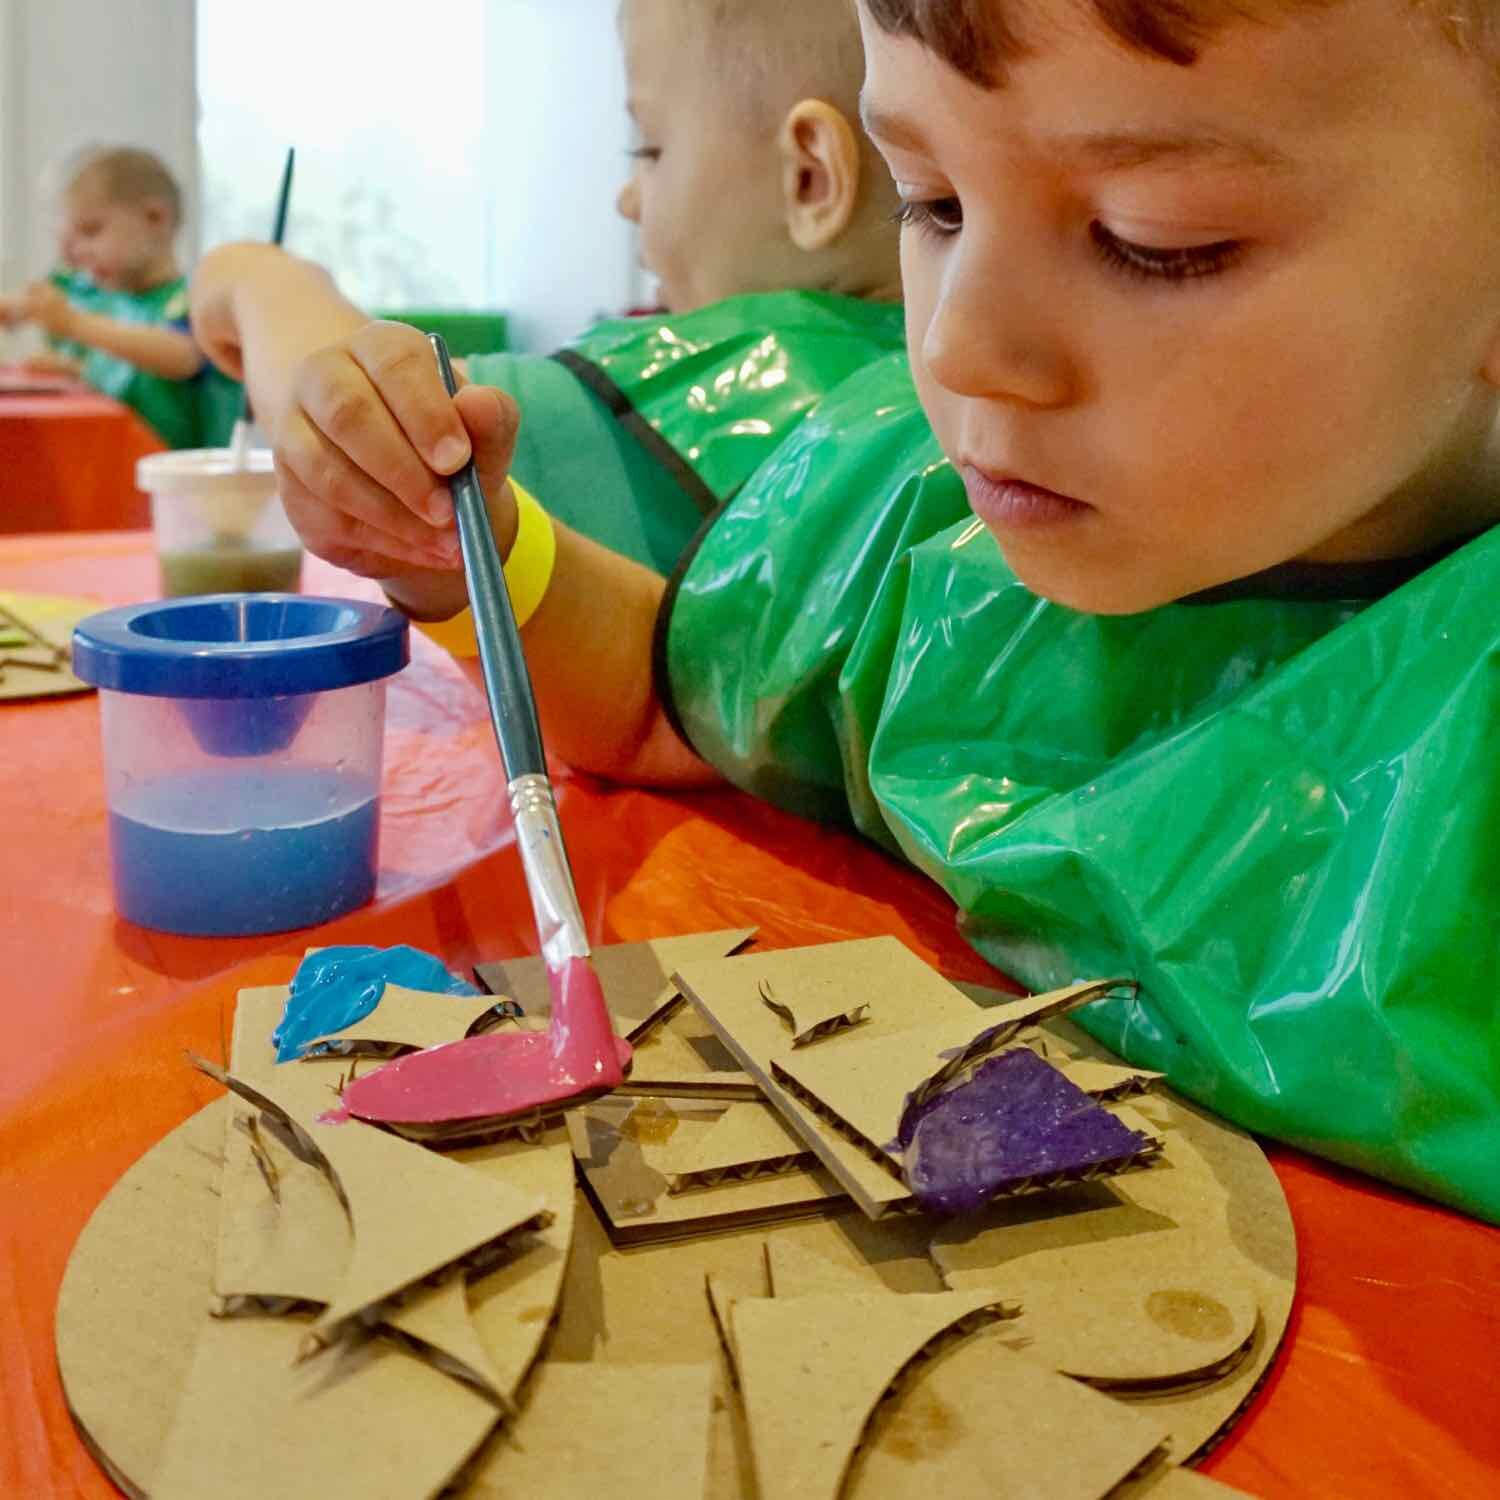
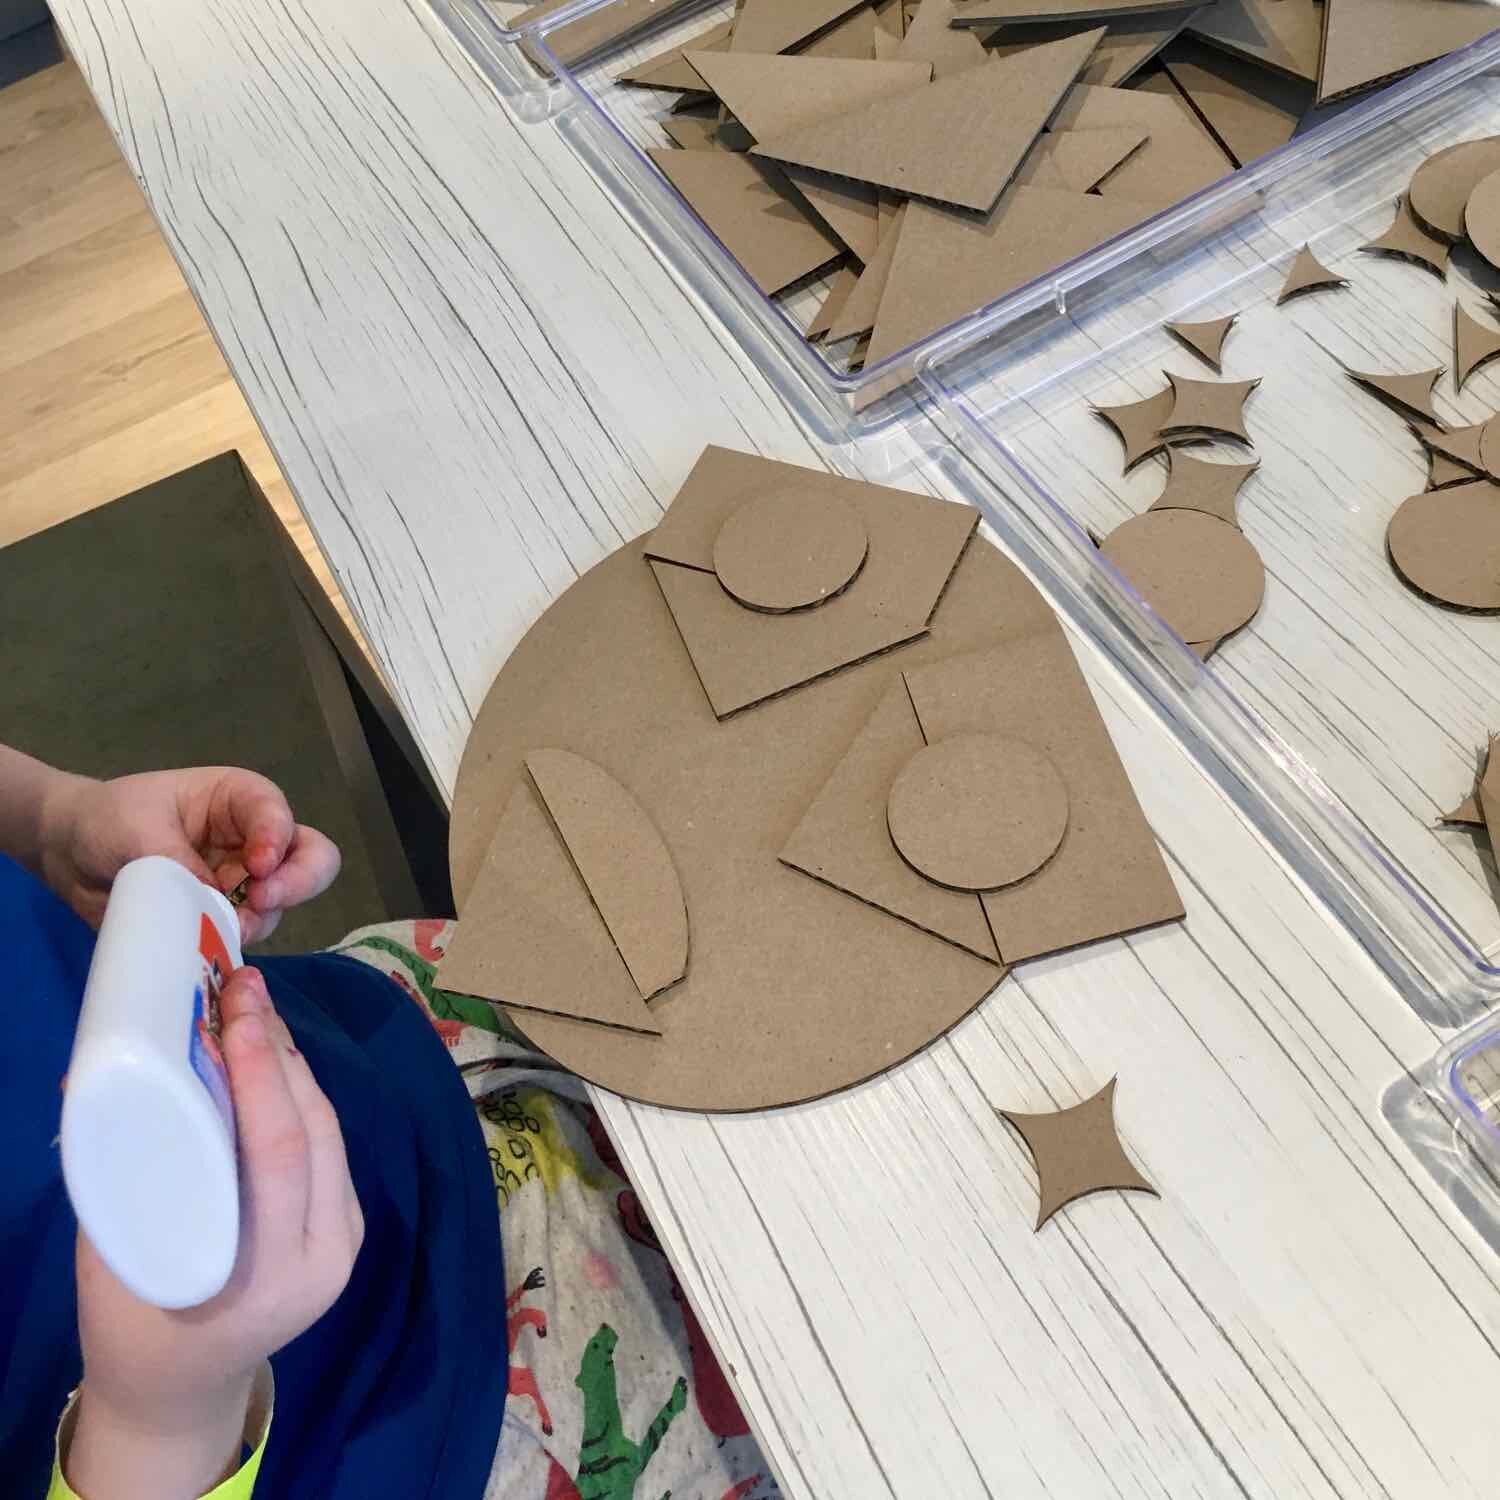
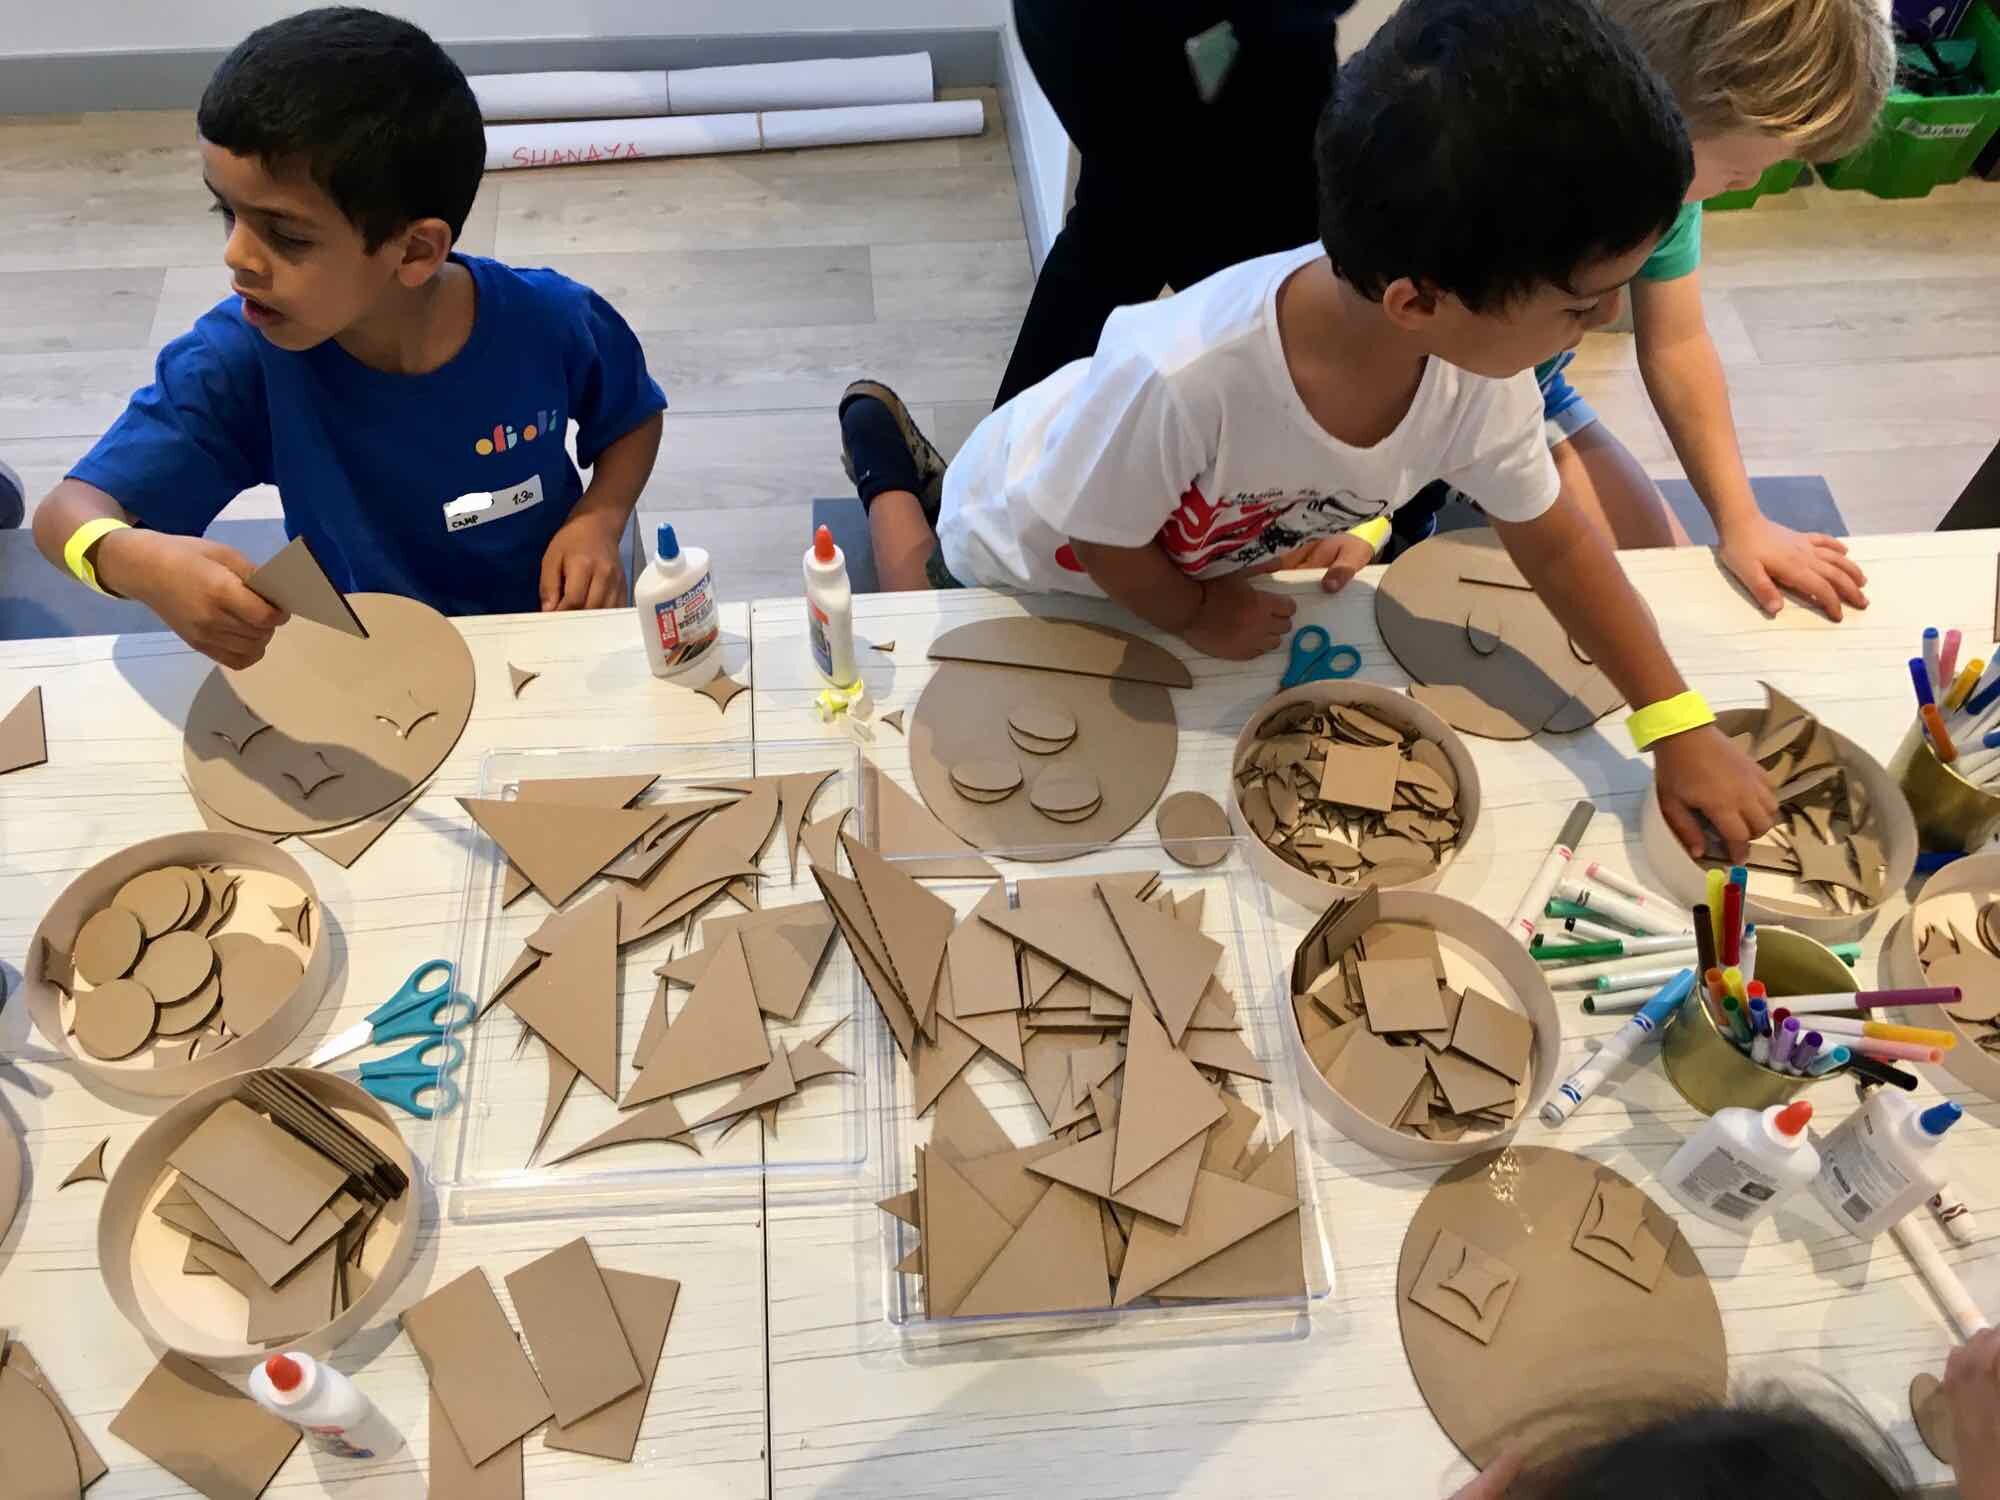
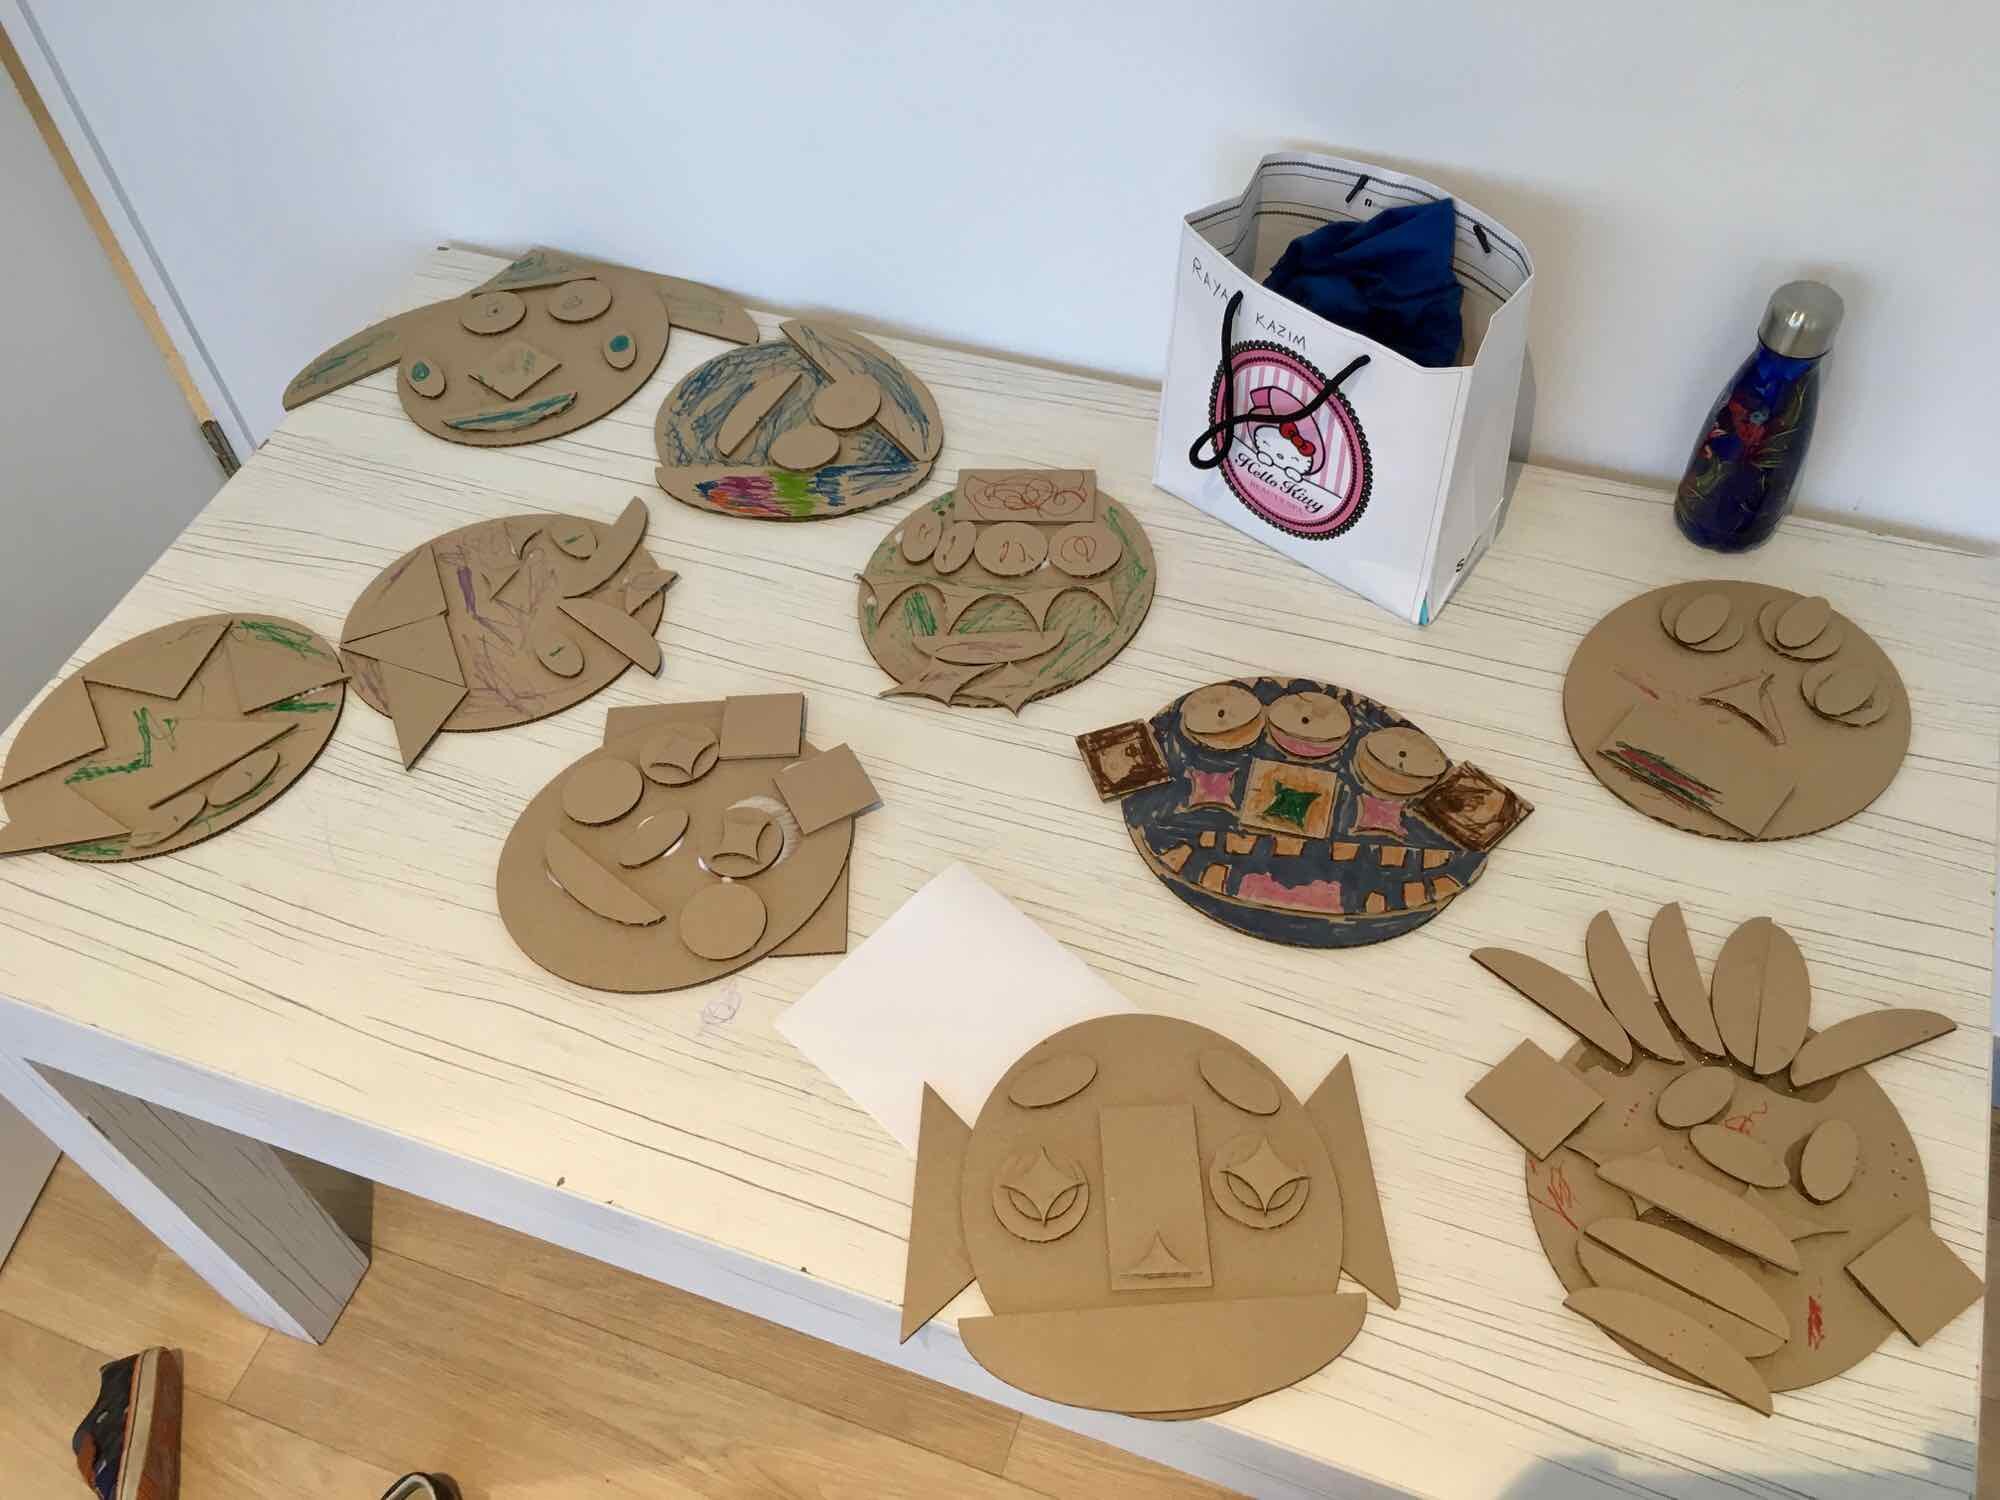
Laser Cut Cardboard Faces
This is a fun quick project inspired by Mr Potato Head, but instead of plastic pieces, we use laser cut cardboard shapes. If you are like me and are a hoarder maker educator who saves everything, then this is a great way to use all those laser cutter off cuts and random small pieces you’ve stashed away somewhere. We did this activity in our Bodies camp and our Monsters camp, hence the wilder looking faces.


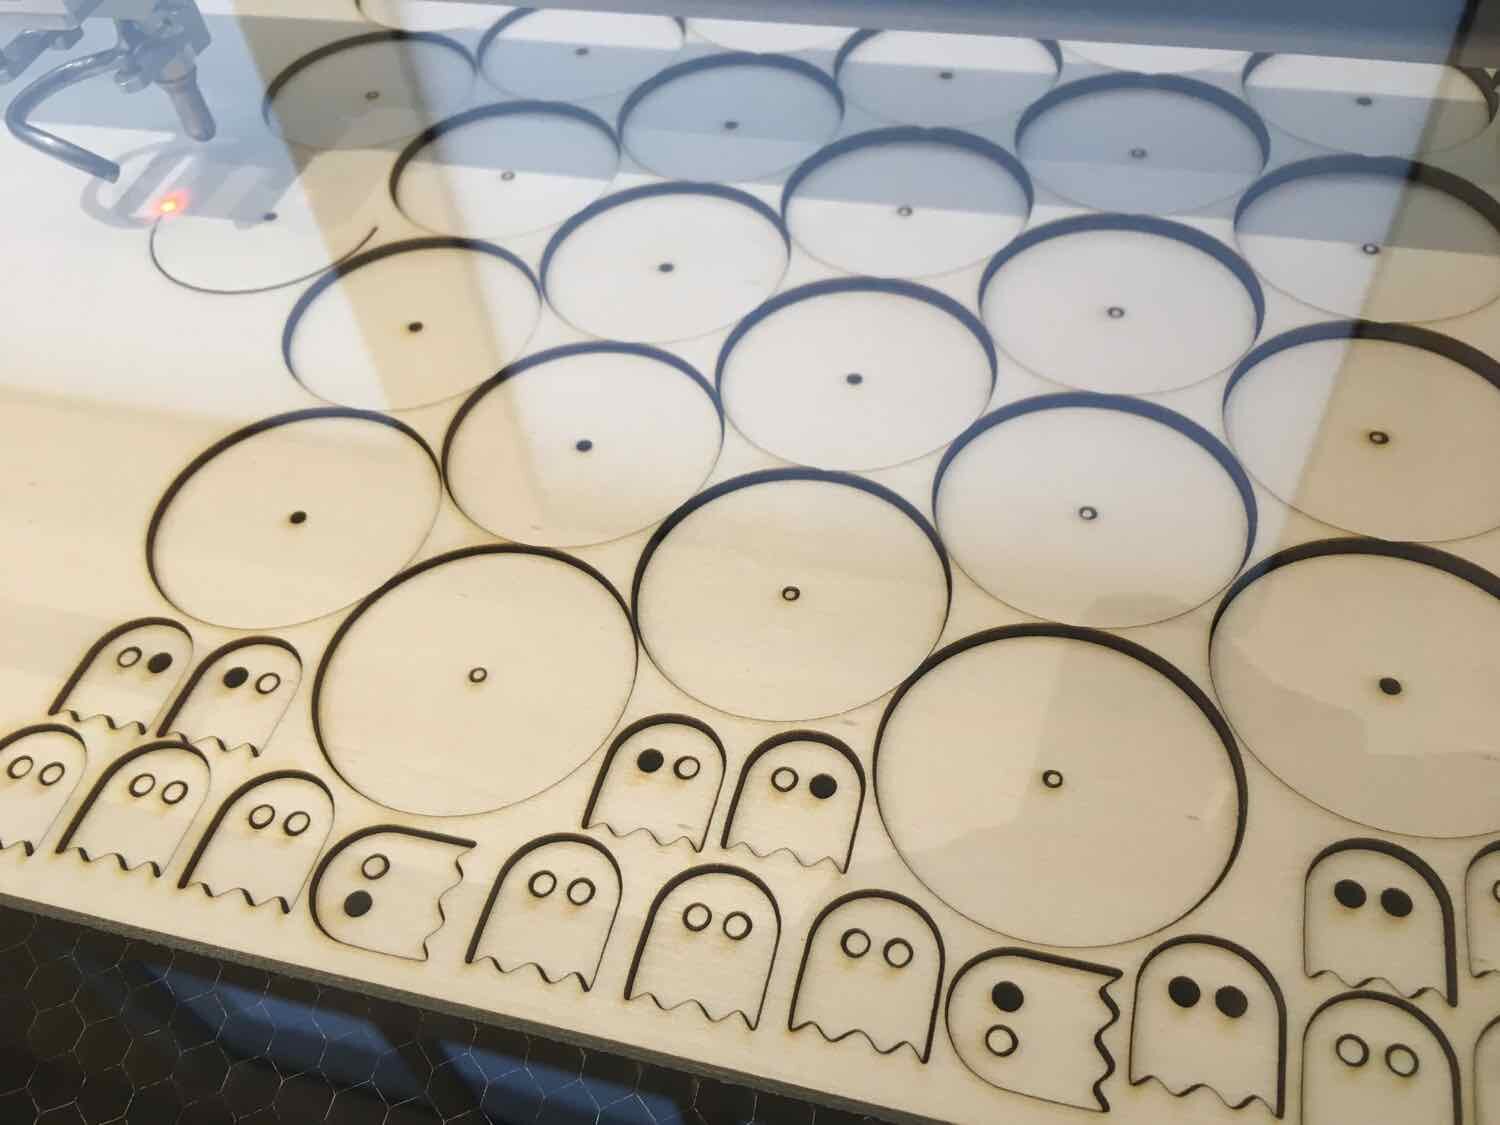
Laser Cut Magnet Mazes
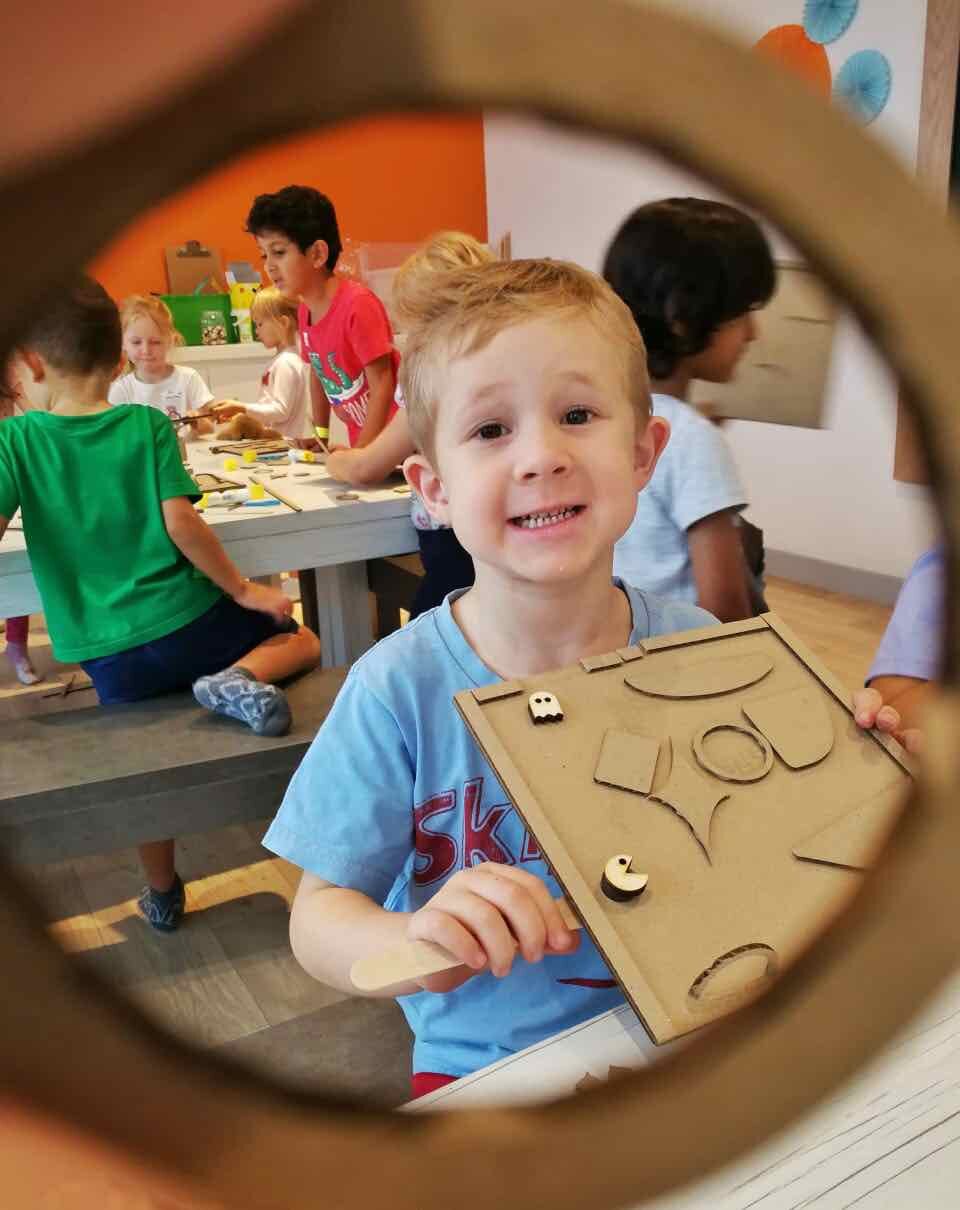
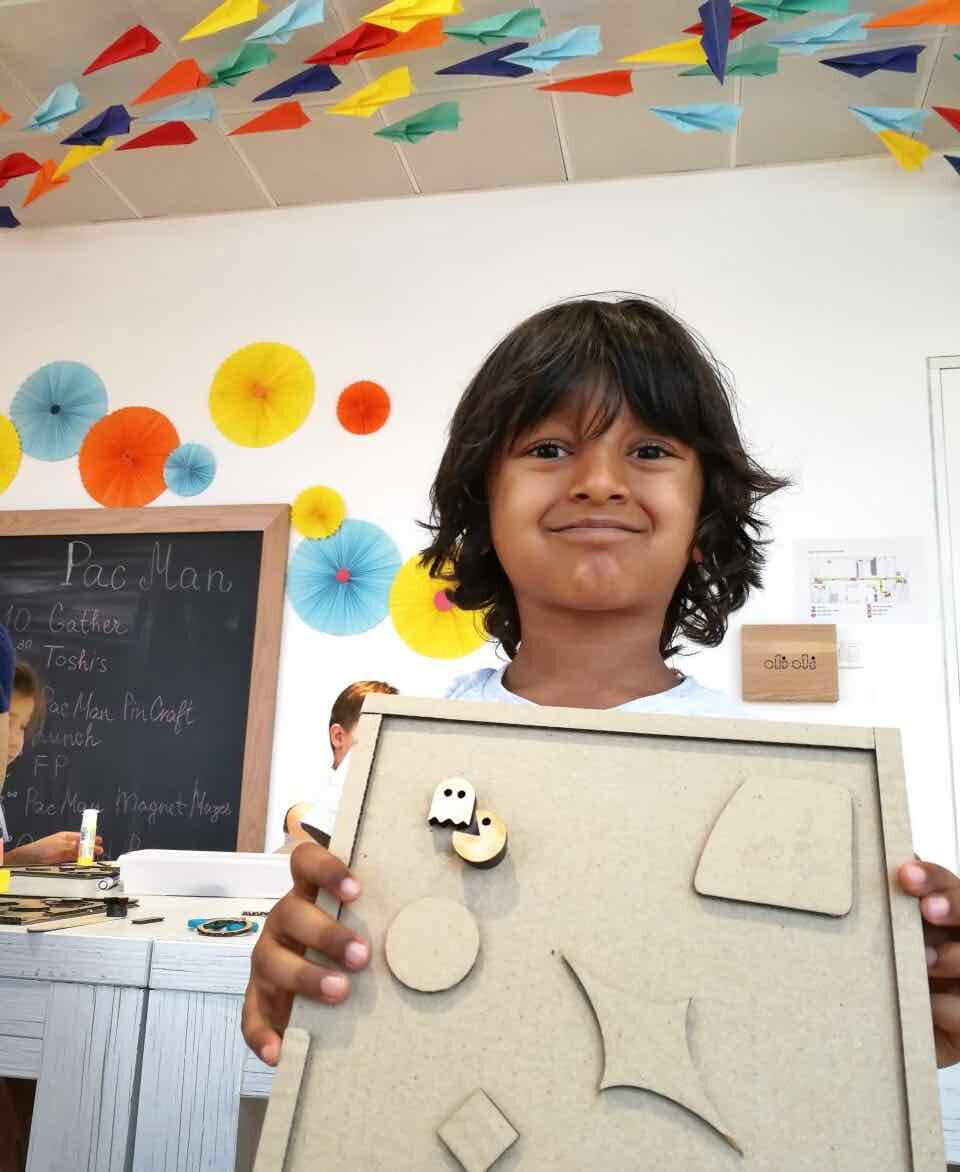
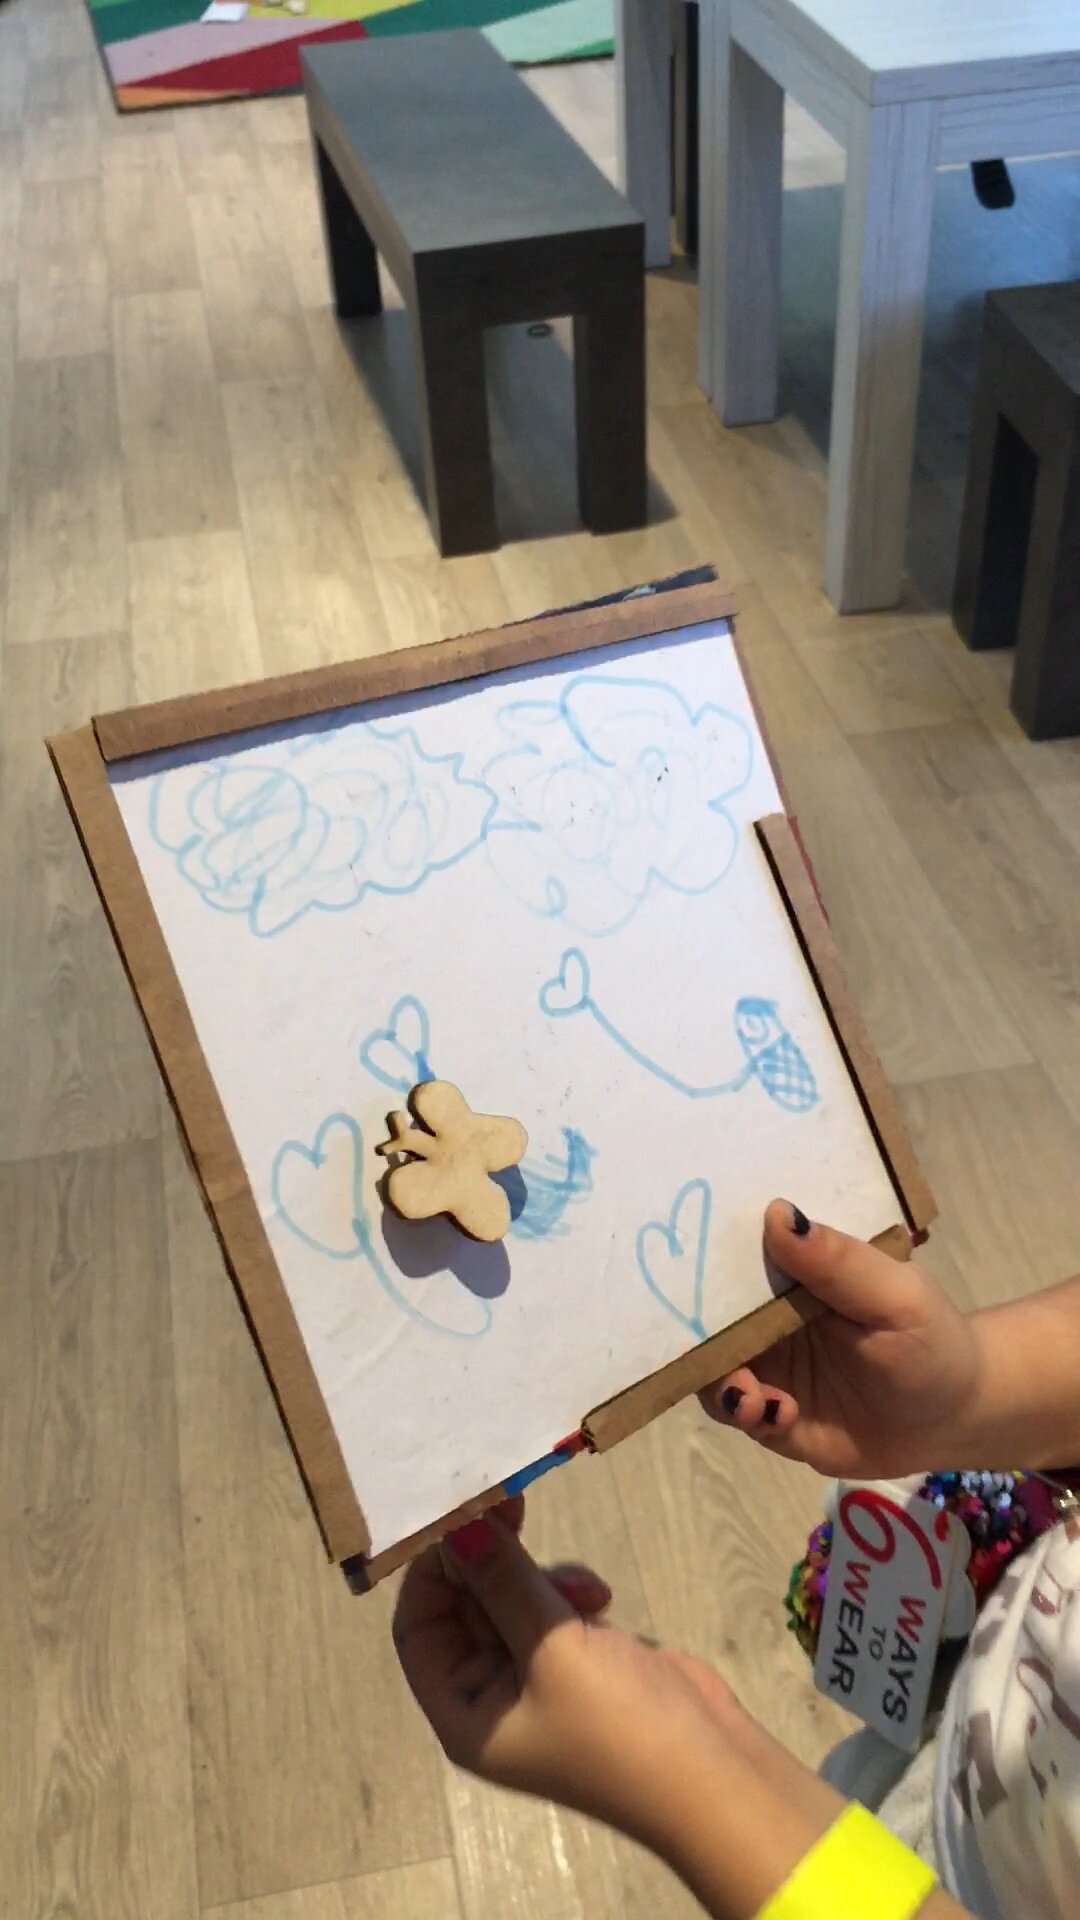
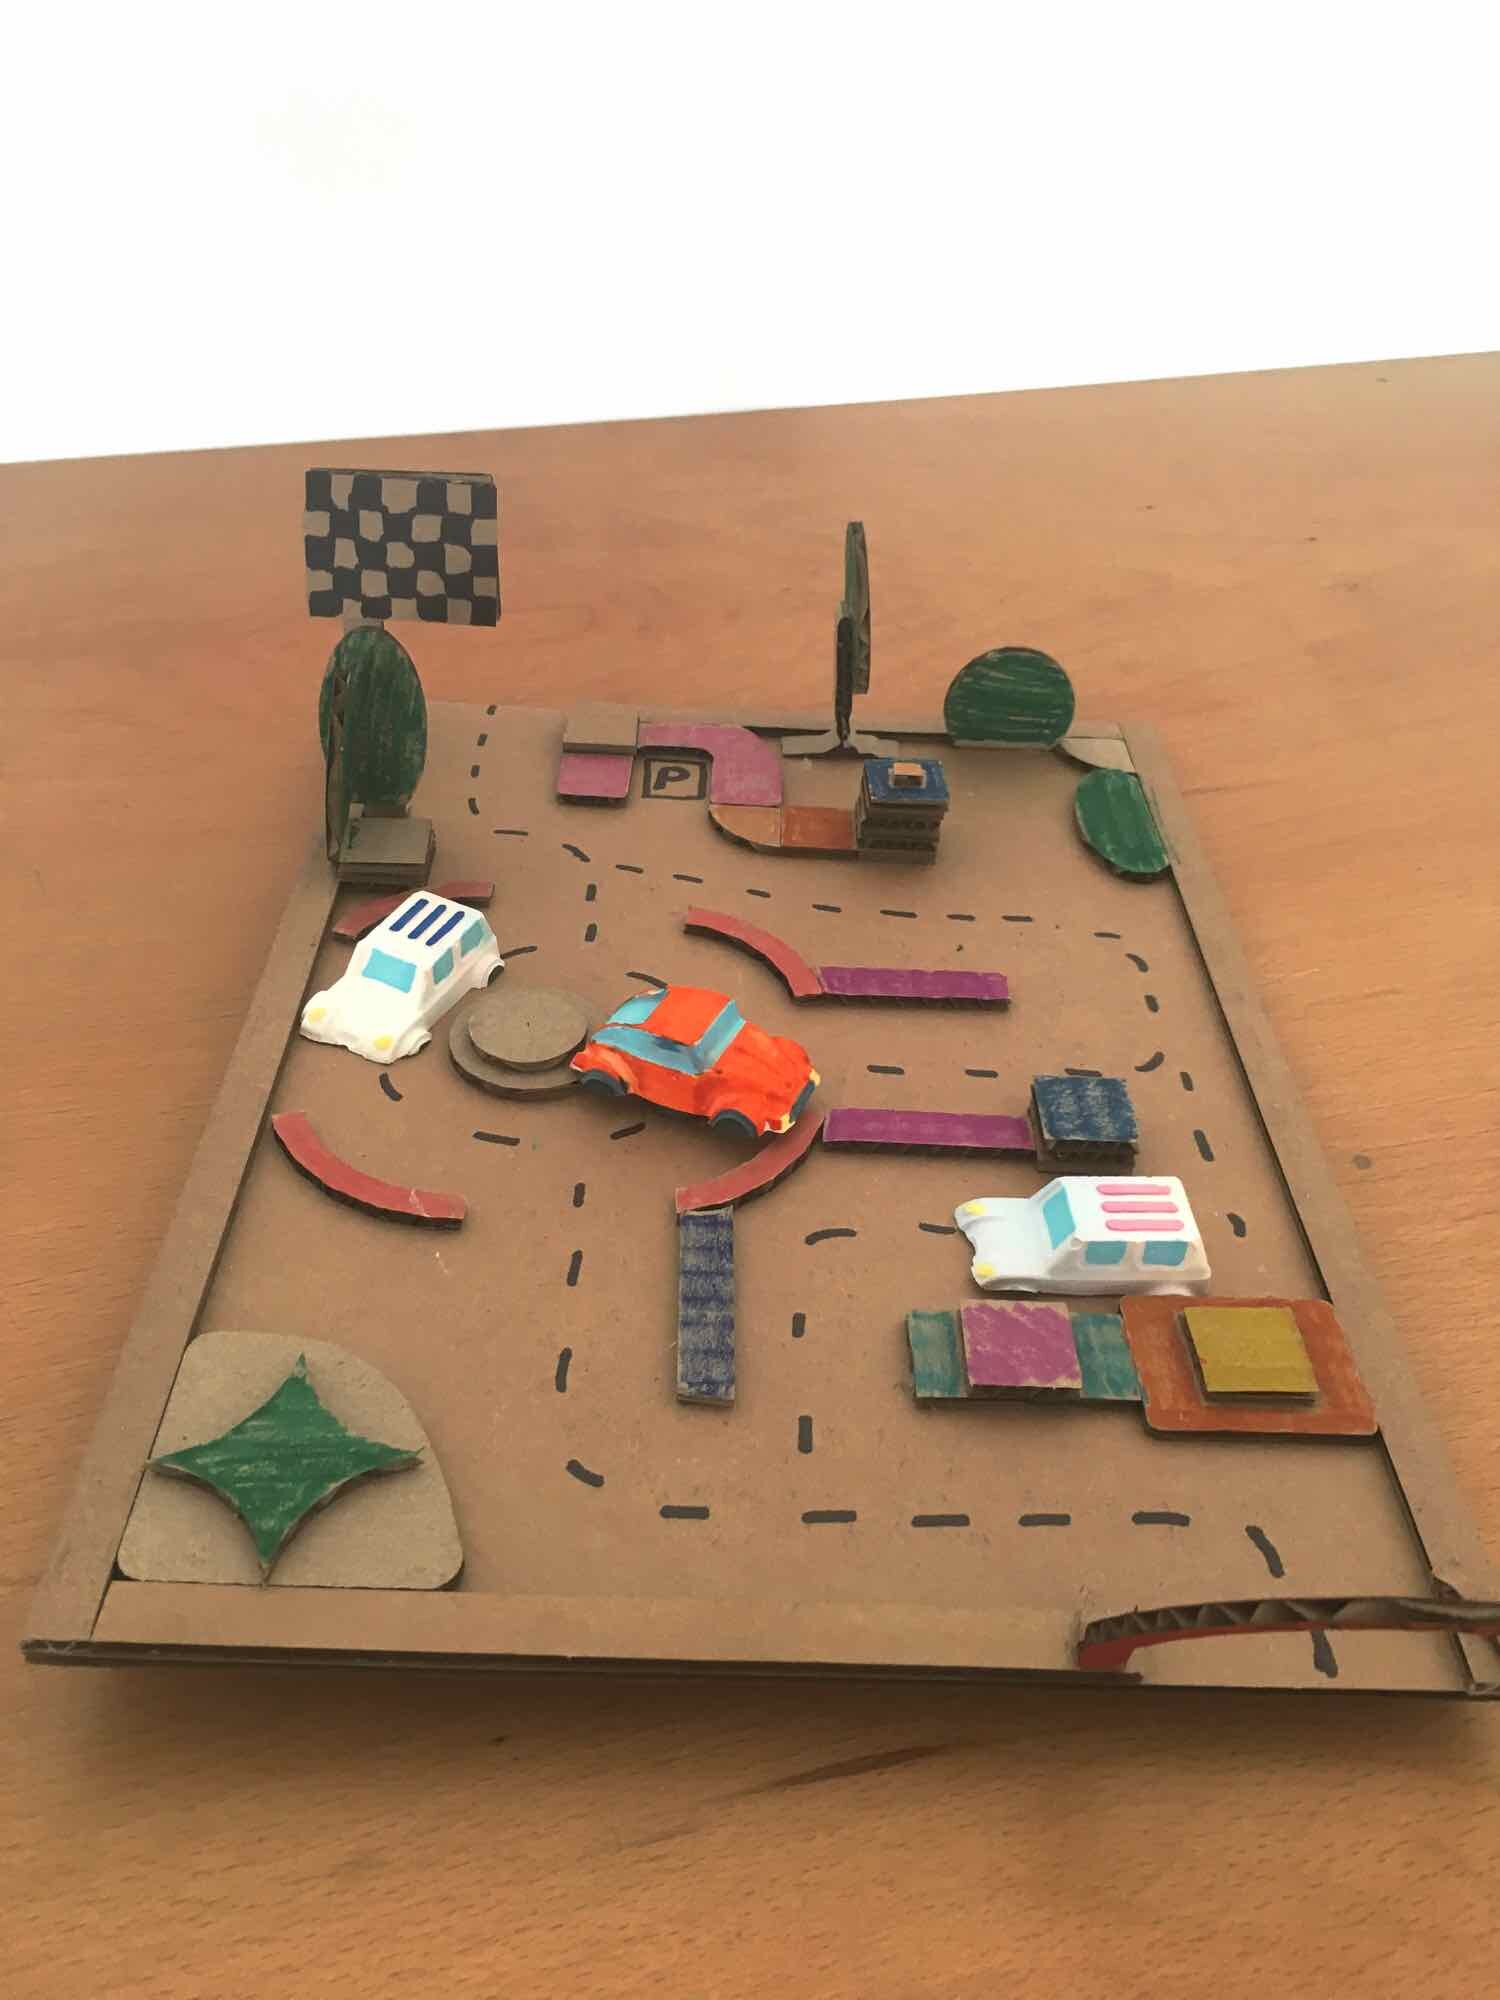
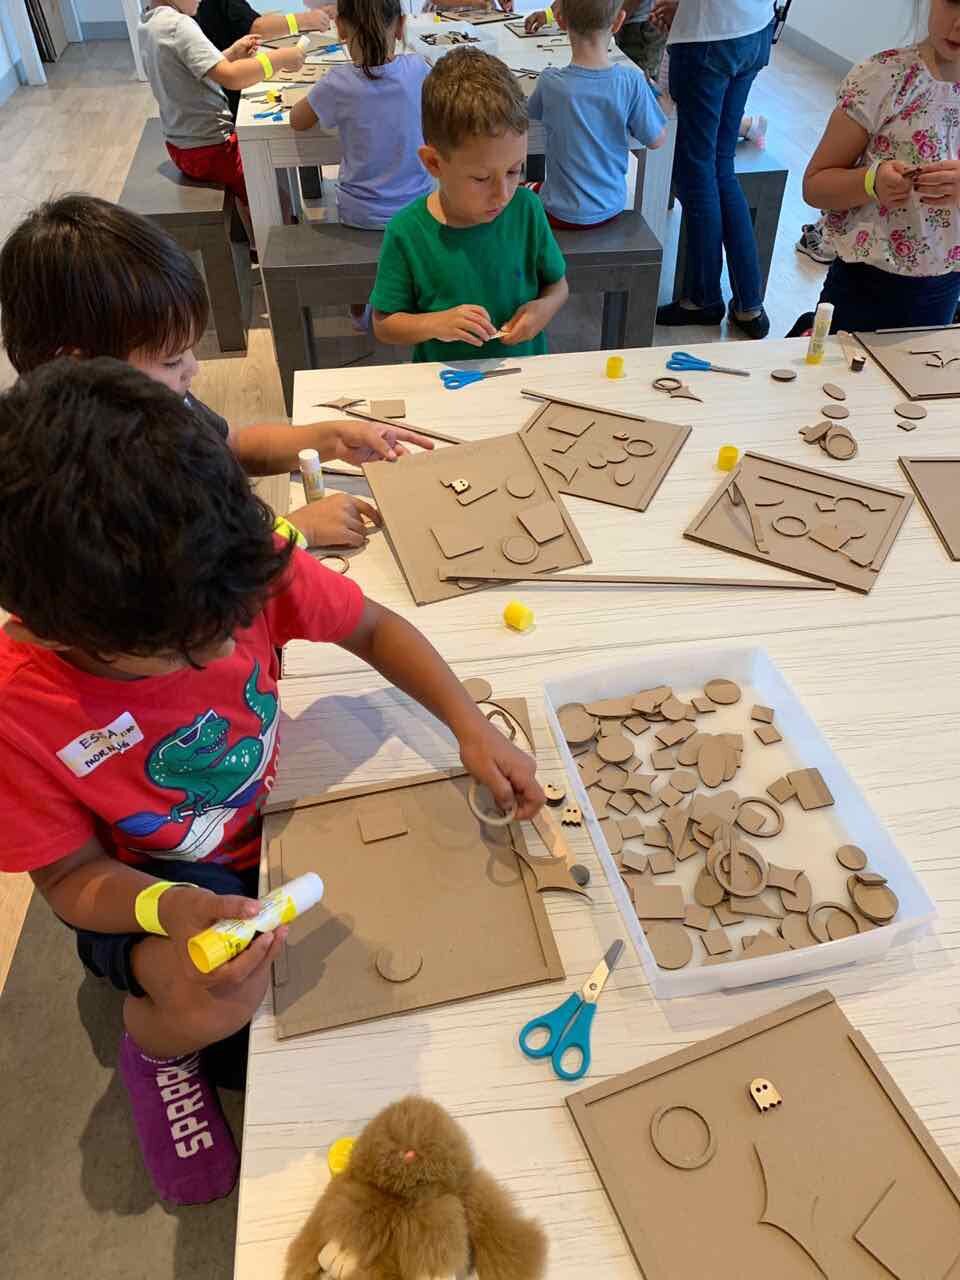
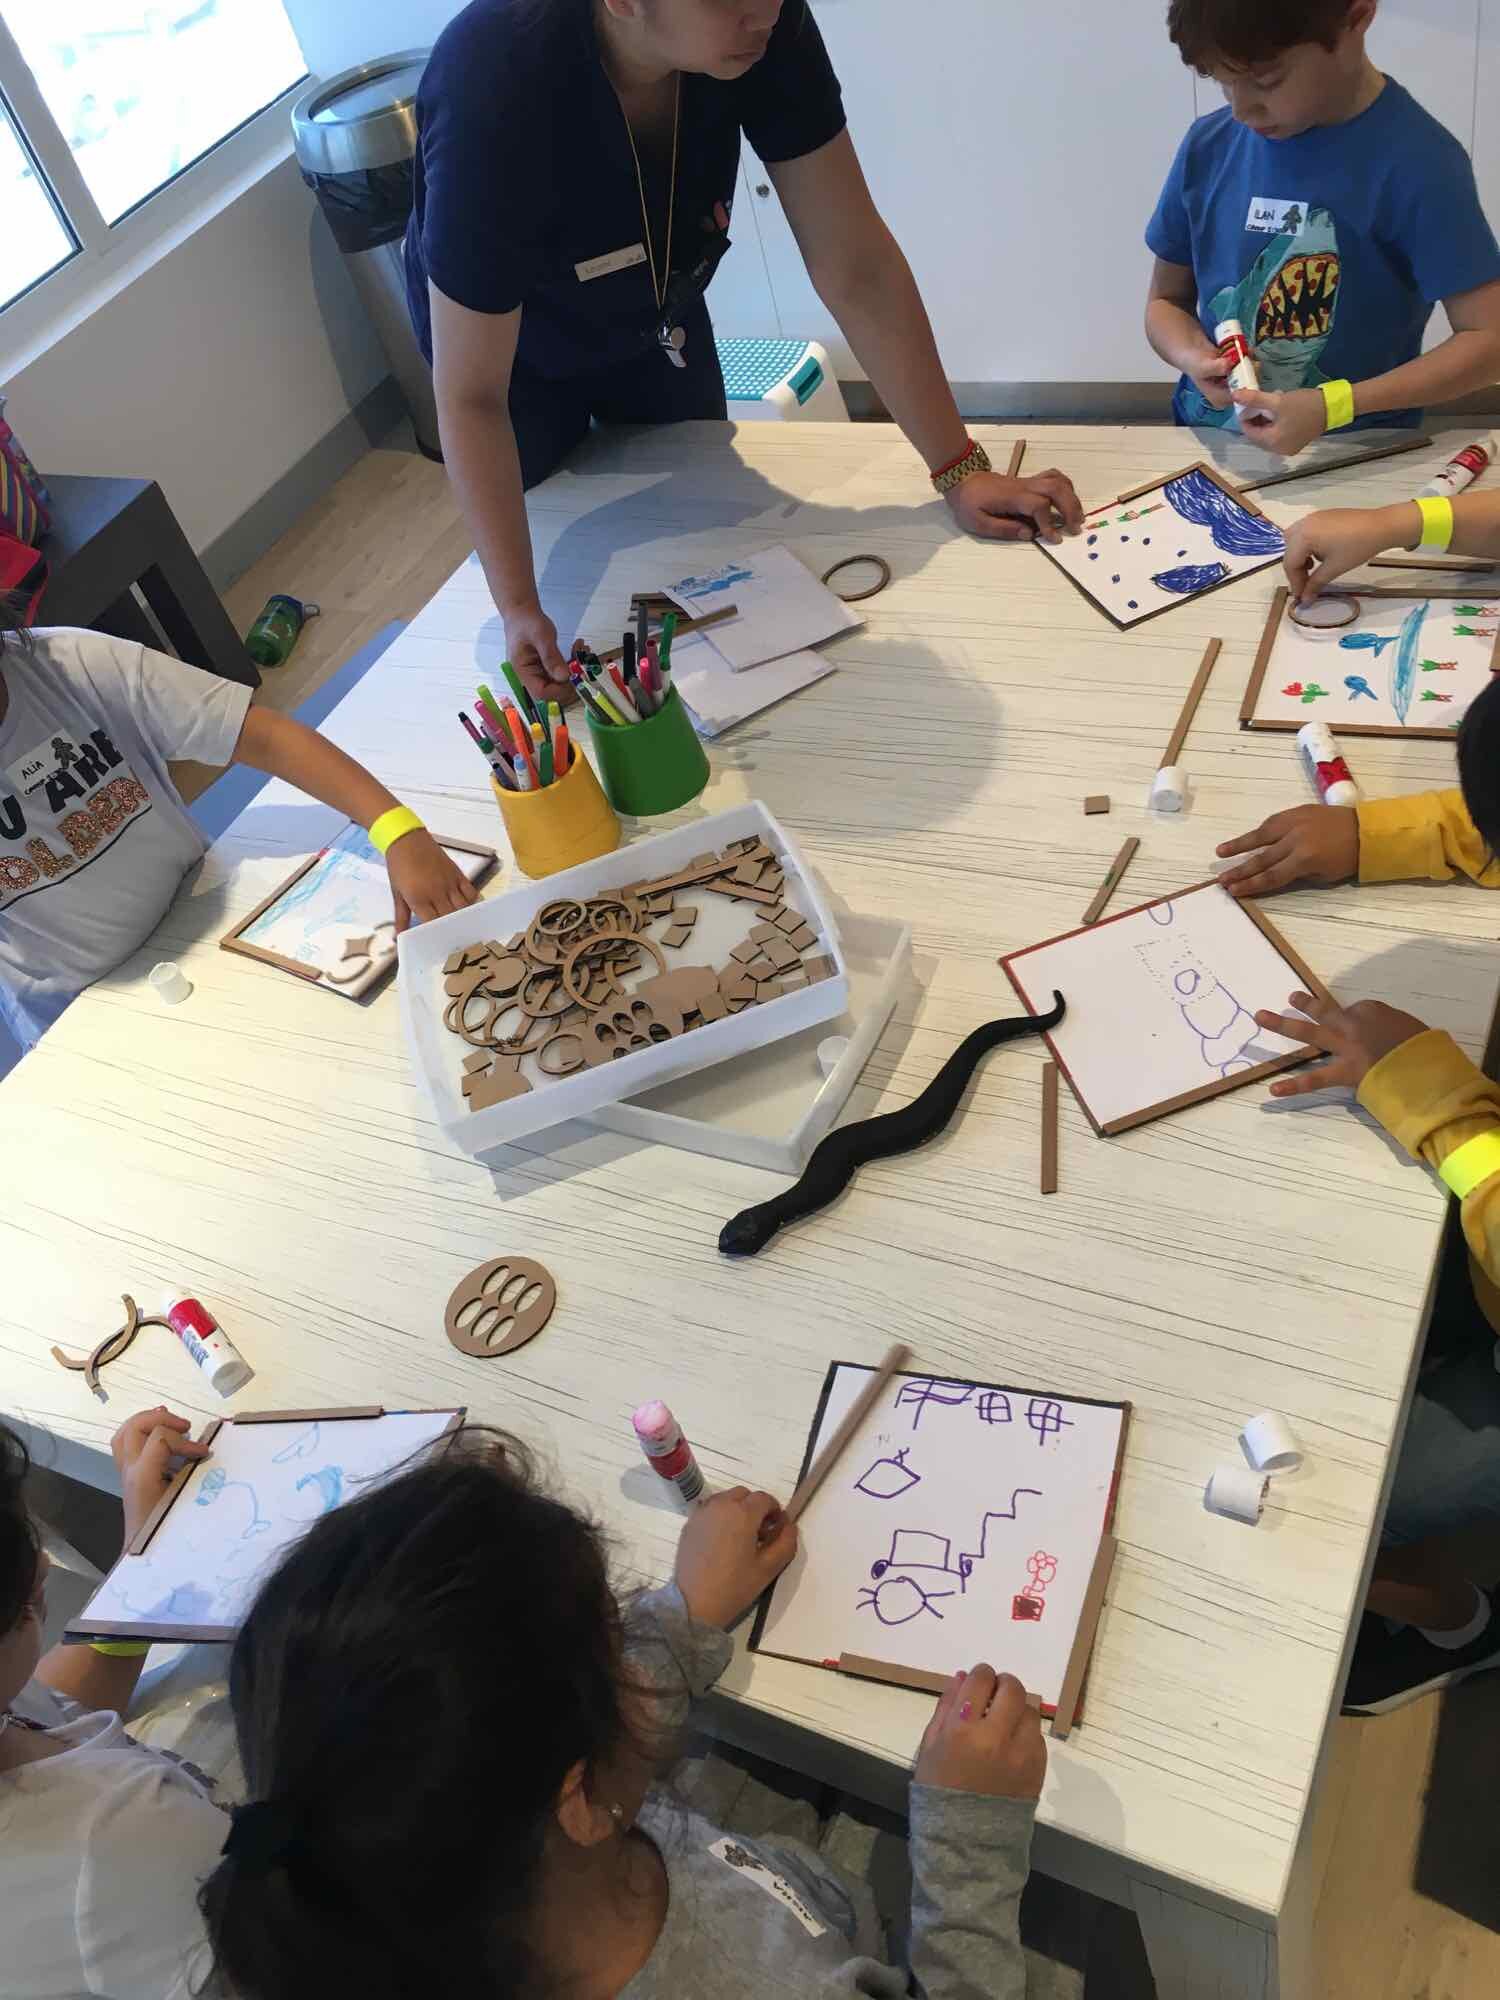
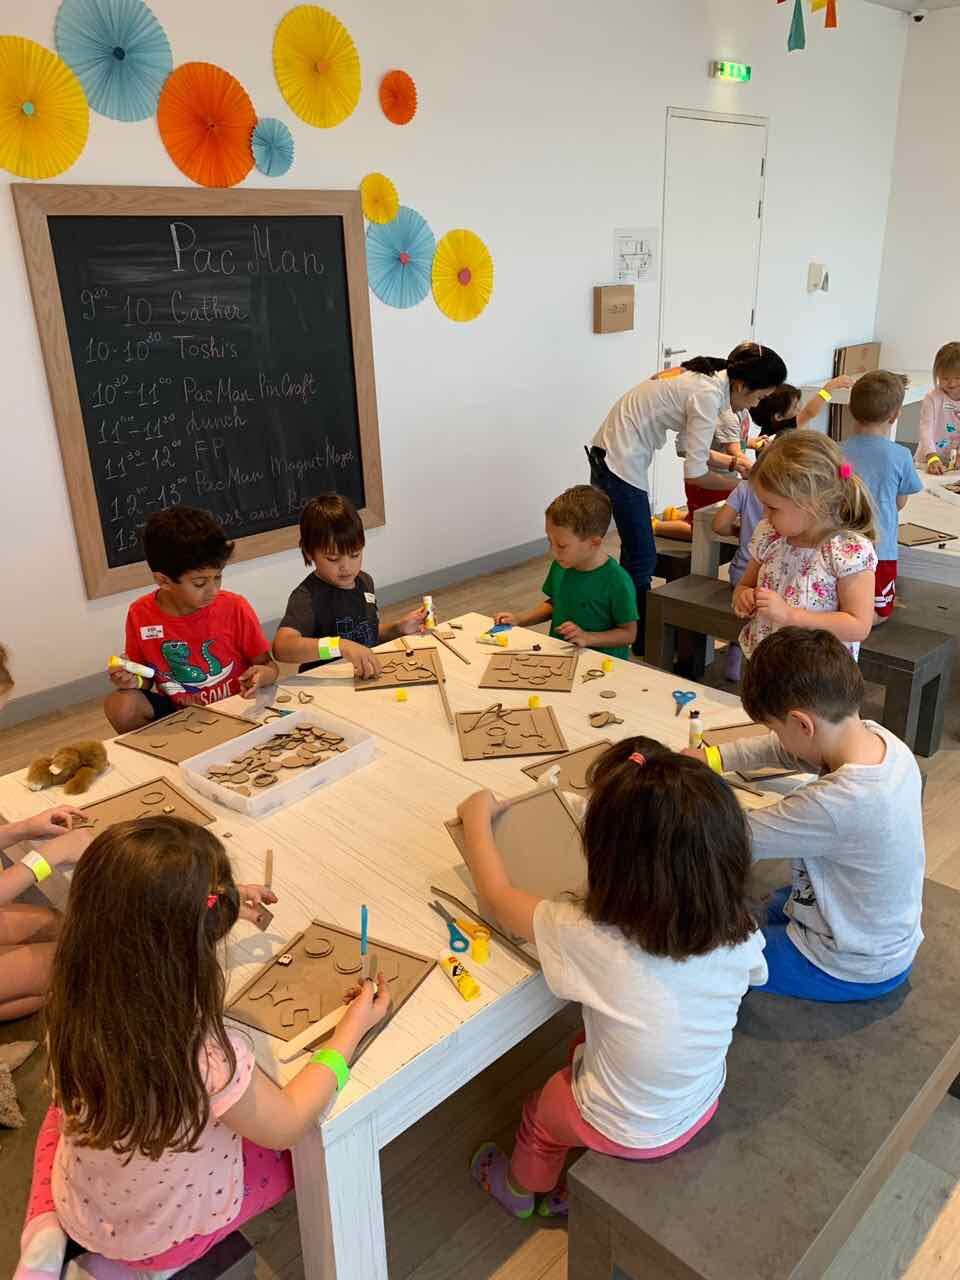
This activity worked great for our video game themed camp, Fortweek (get it?). 4+5 yo’s generally (hopefully!) are not playing video games yet, but many of them know who Pac-Man is, so we made Pac-Man Magnet Mazes. The first few times we ran this activity, we tried to focus our group discussion on what mazes are, how you need a start and end point, and so on. The activity became a lot more fun, however, when we started to emphasize storytelling, and the campers were able to create their own magnet pieces with a laser doodle. Some campers didn’t even want to add any cardboard pieces, preferring instead to draw their background and create their own story within it. For our DIY Derby week, the campers cast little cars in plaster for the magnet piece and built a mini city for their vehicles to drive around.
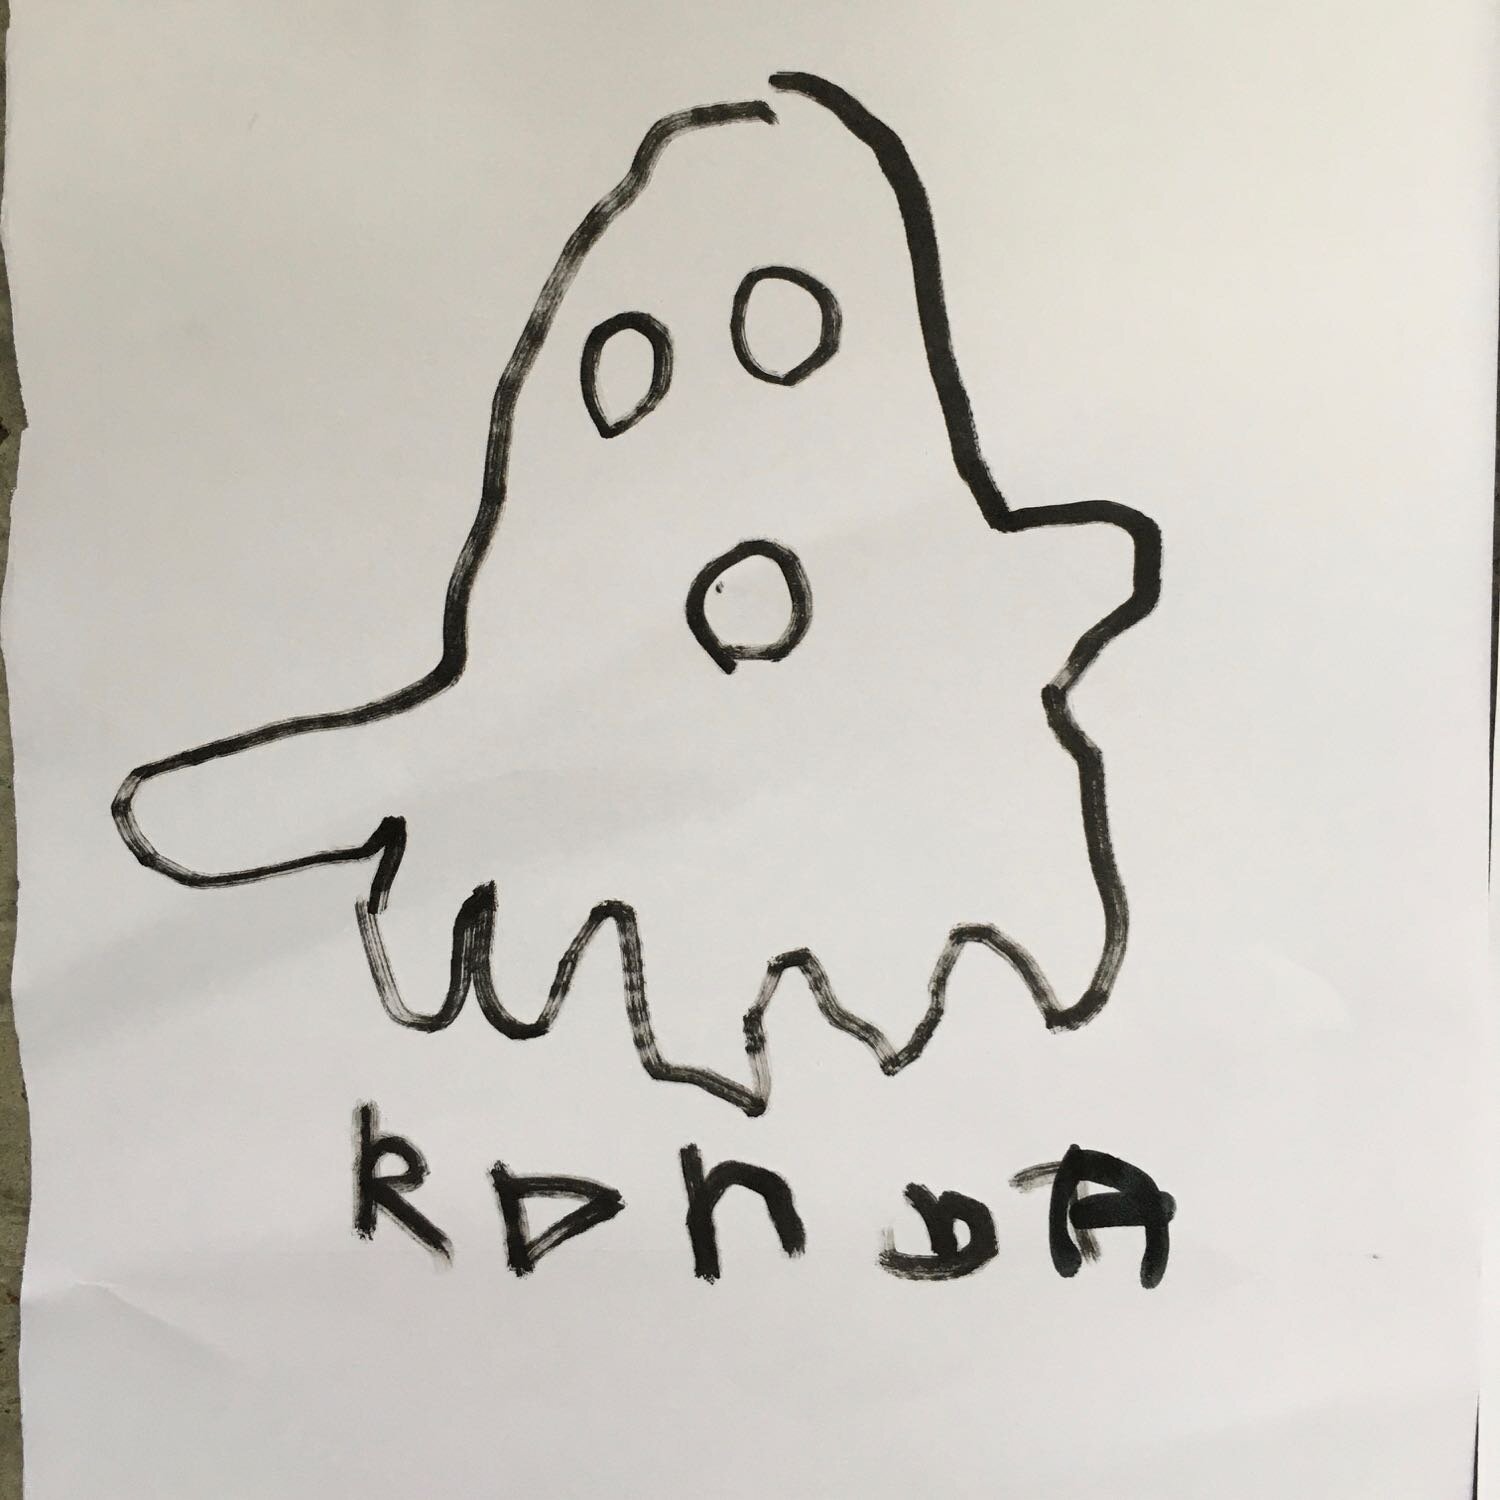
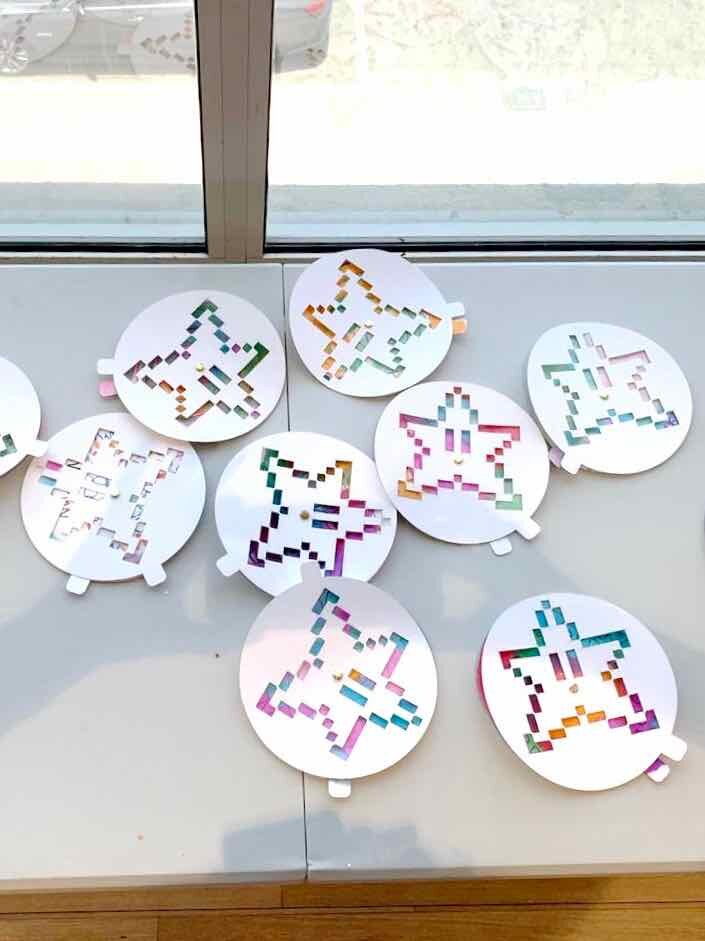
Laser Cut Monster Stencils
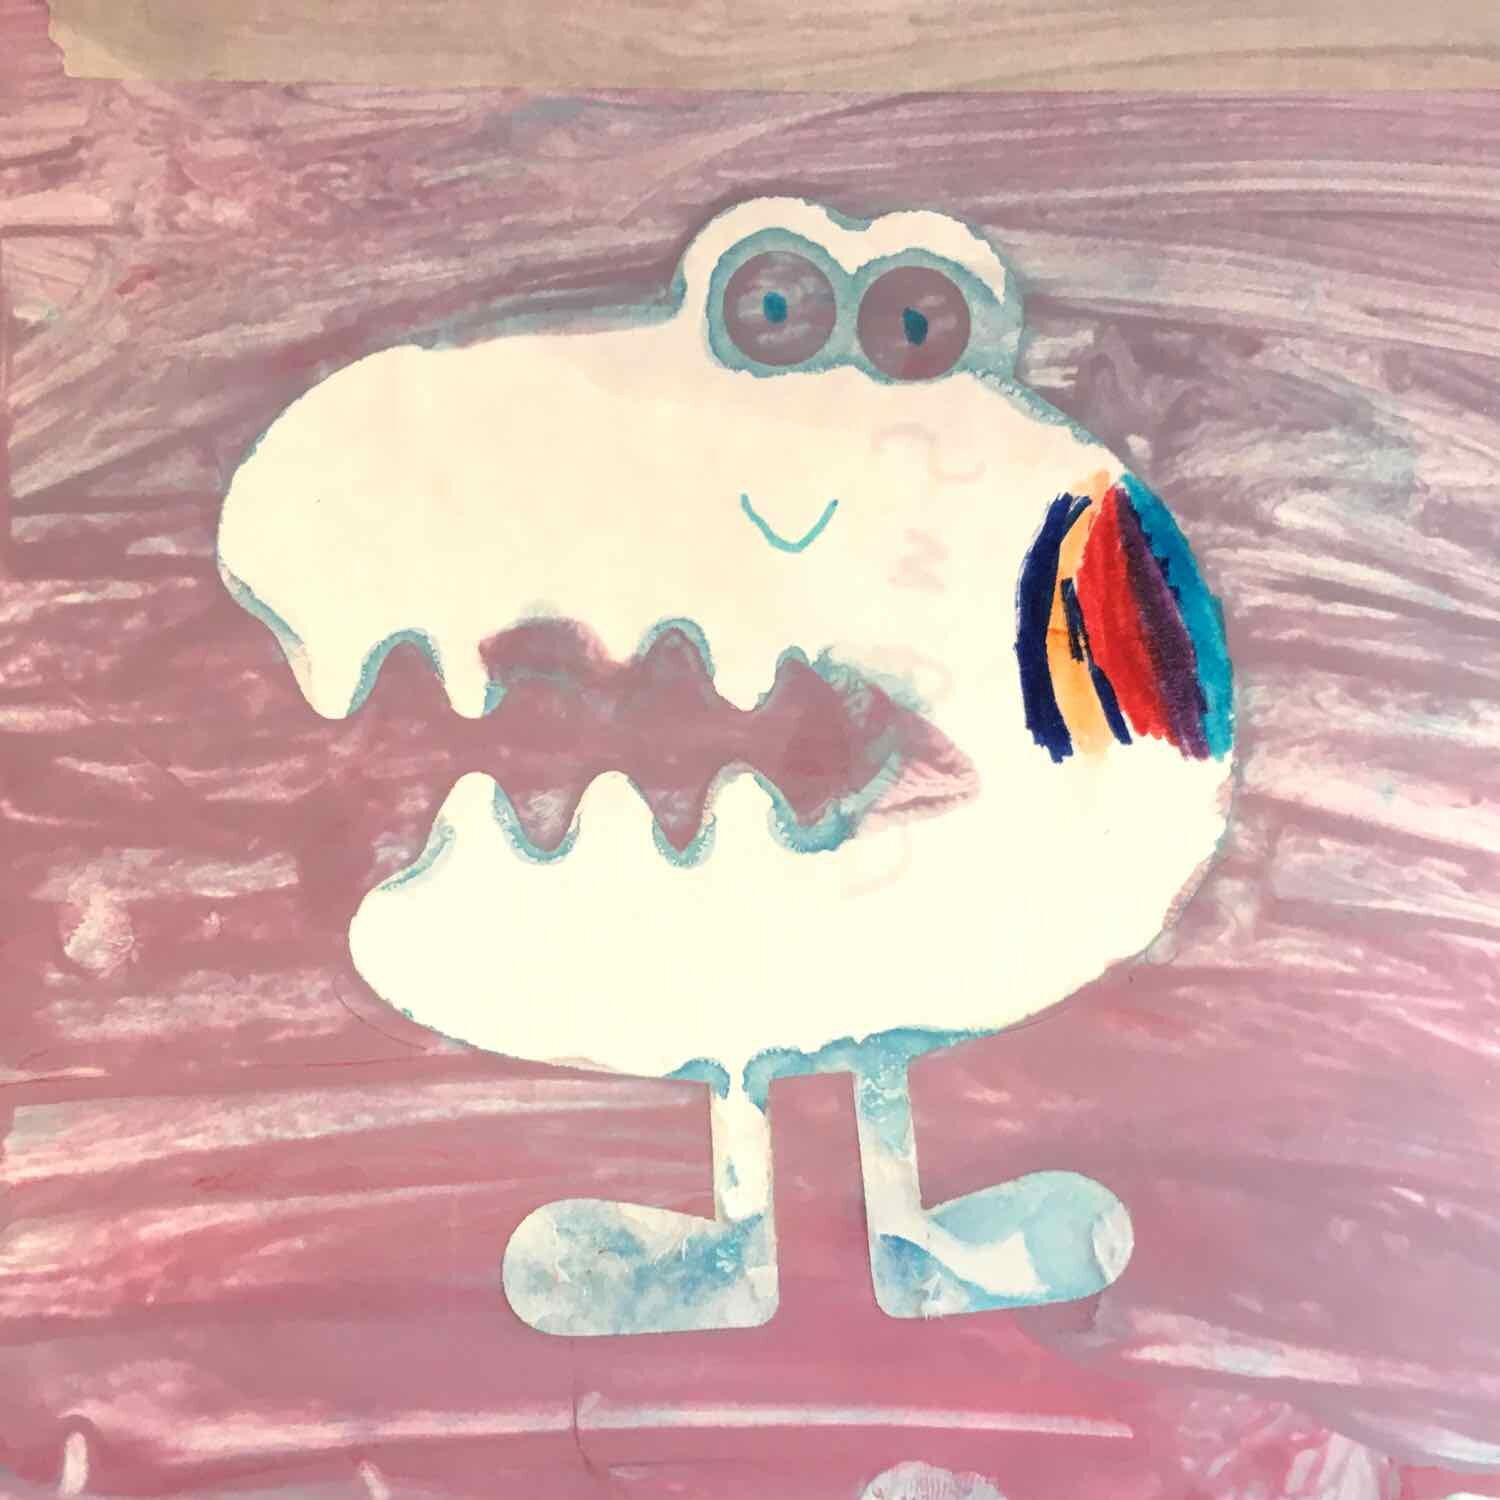
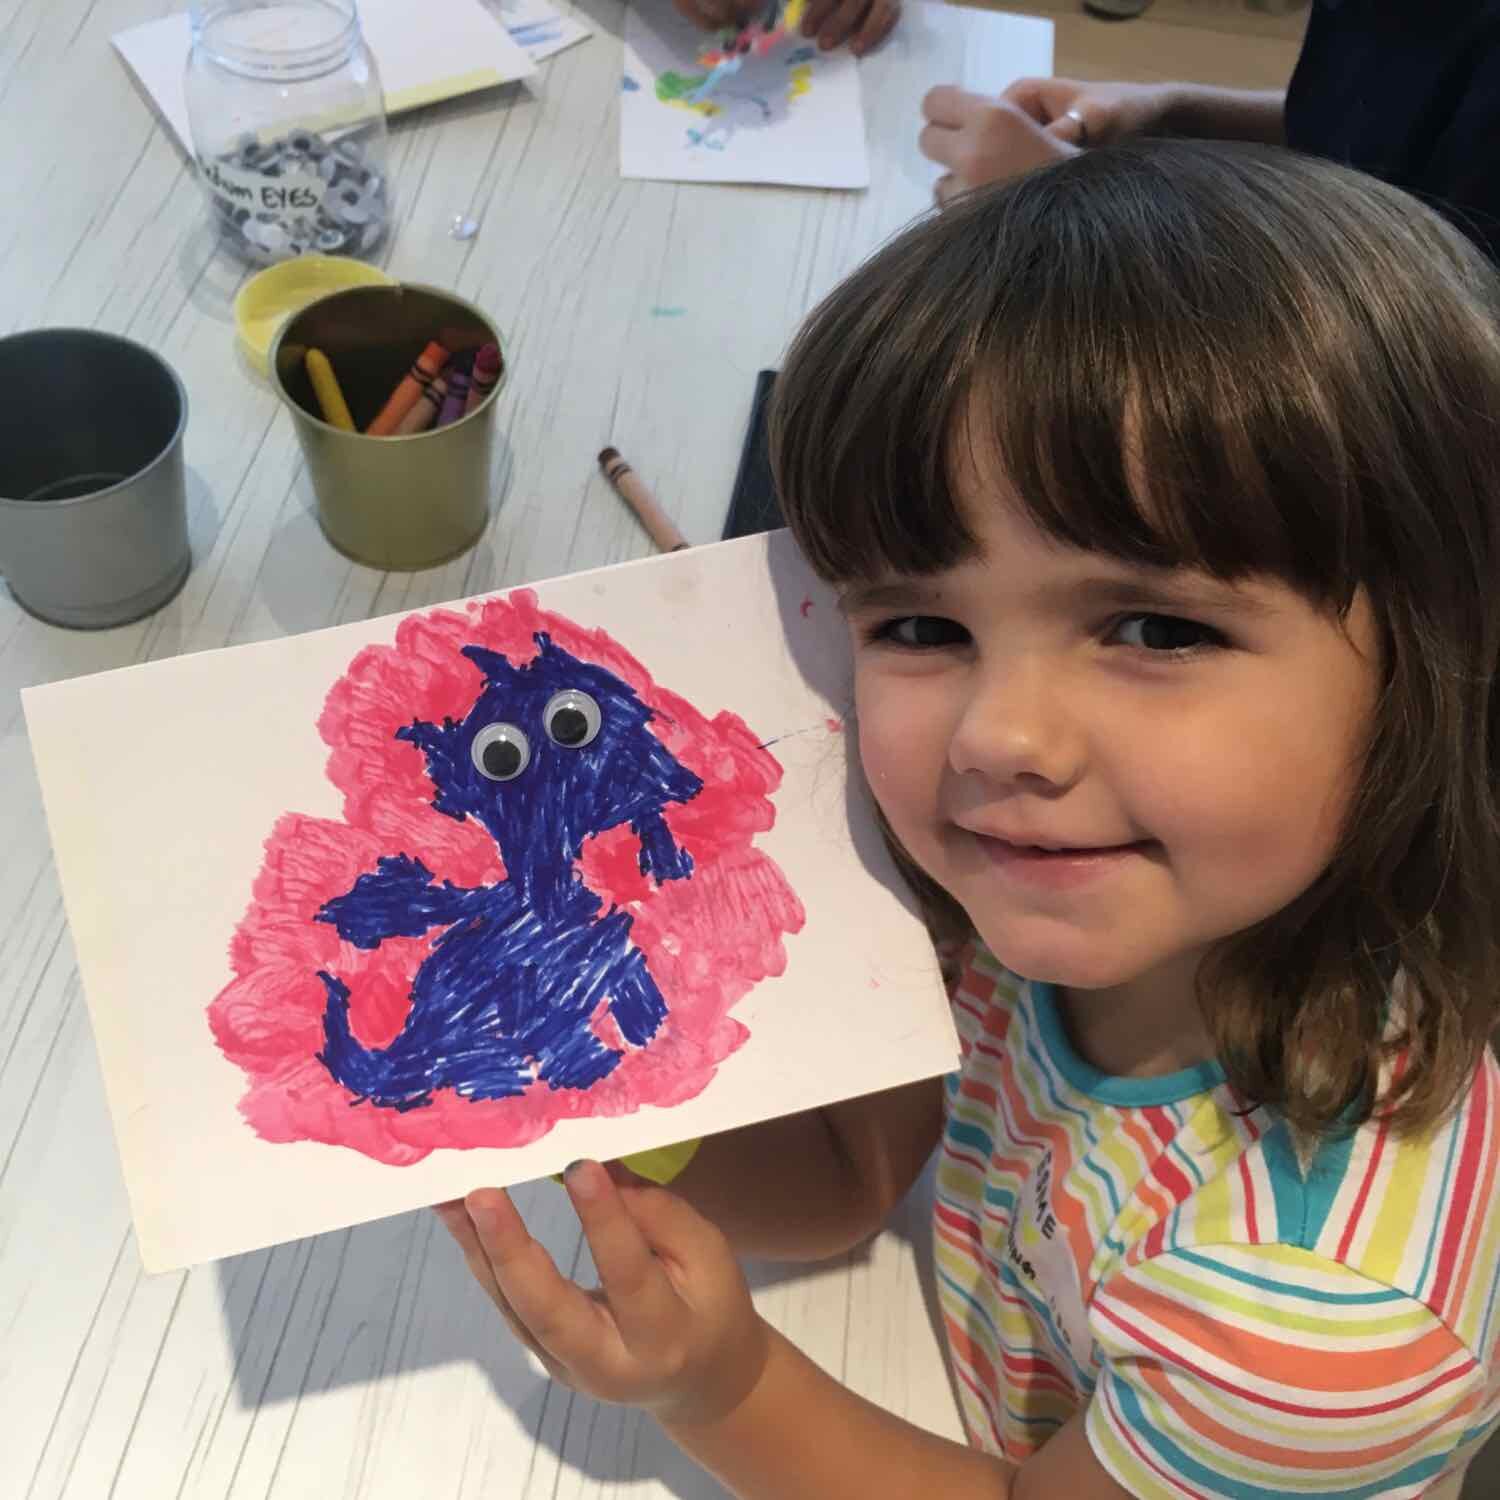
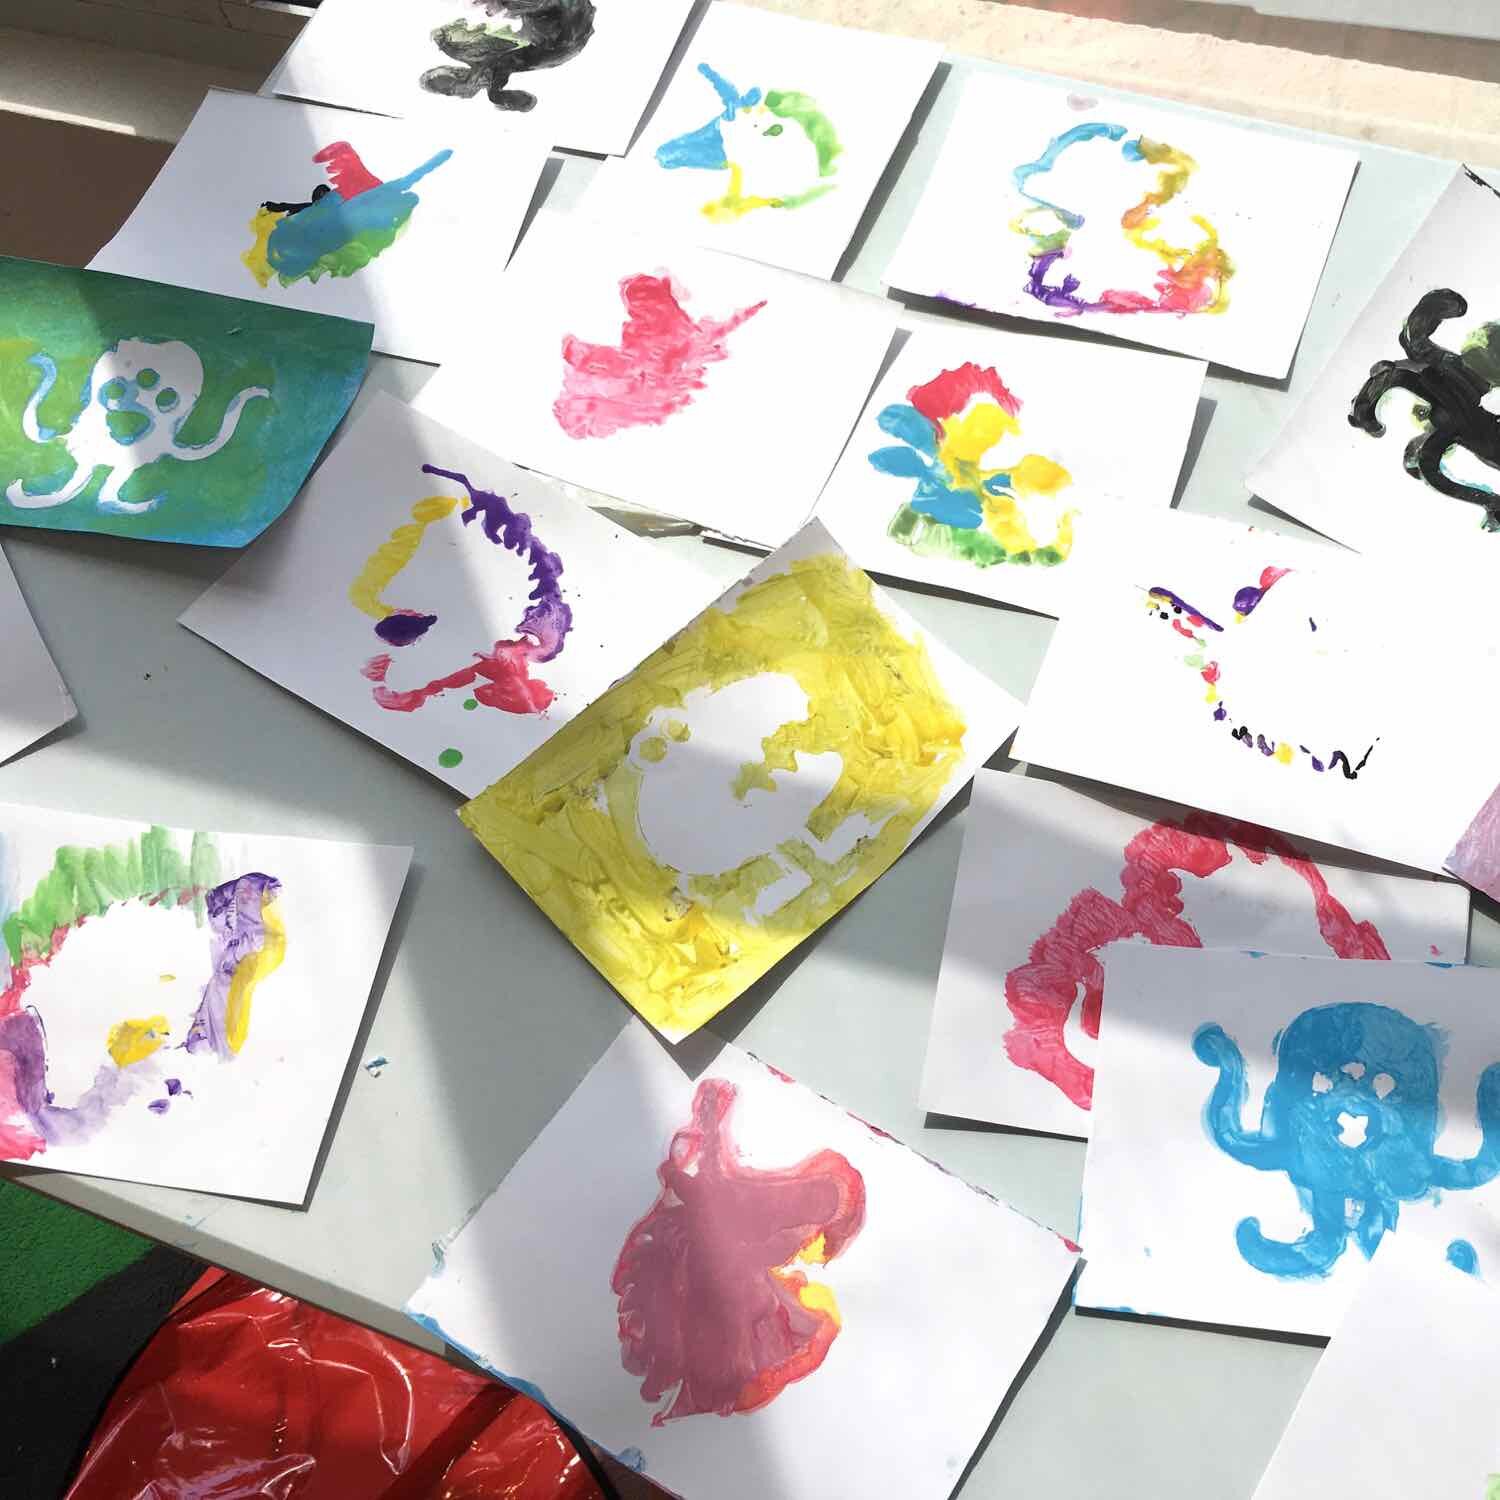
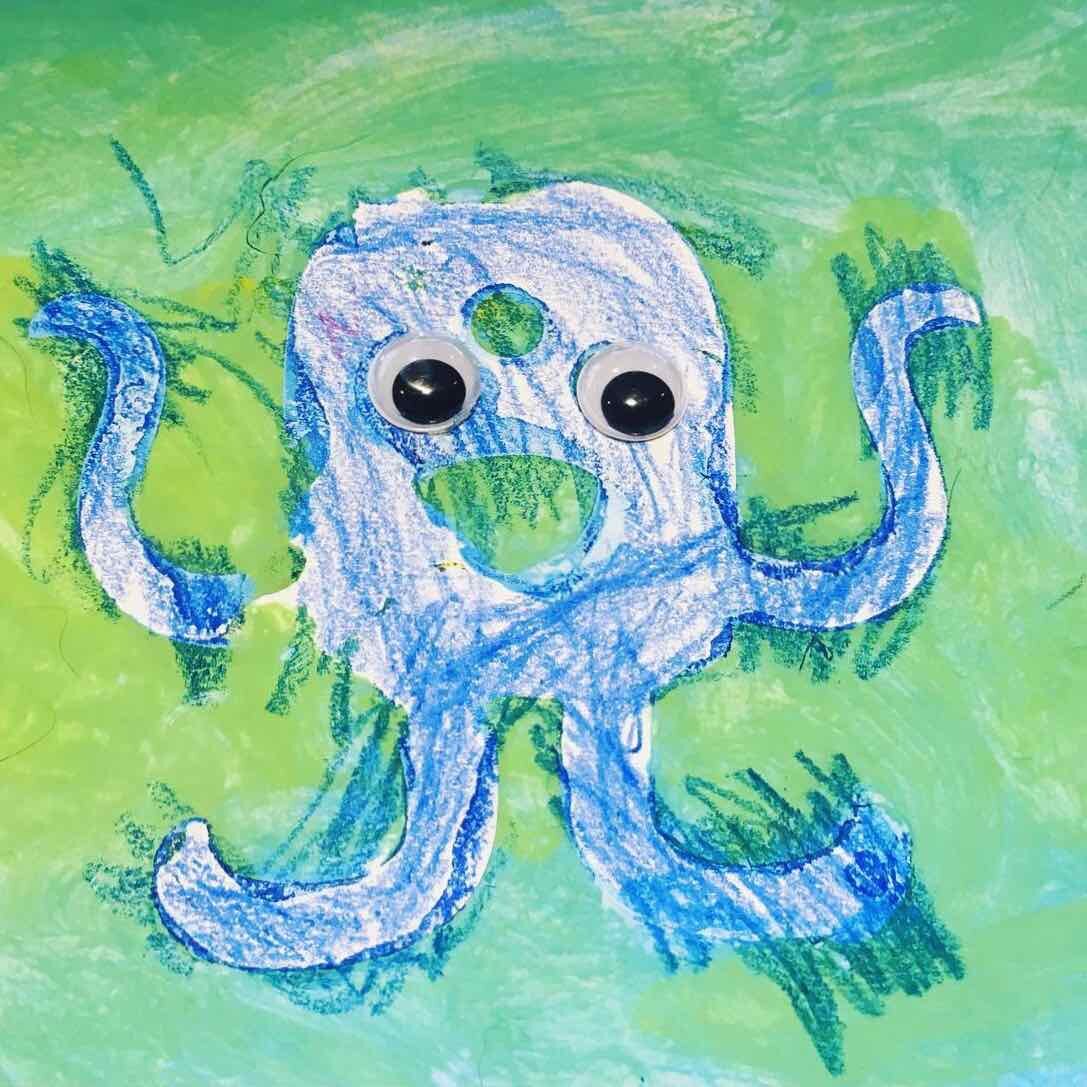
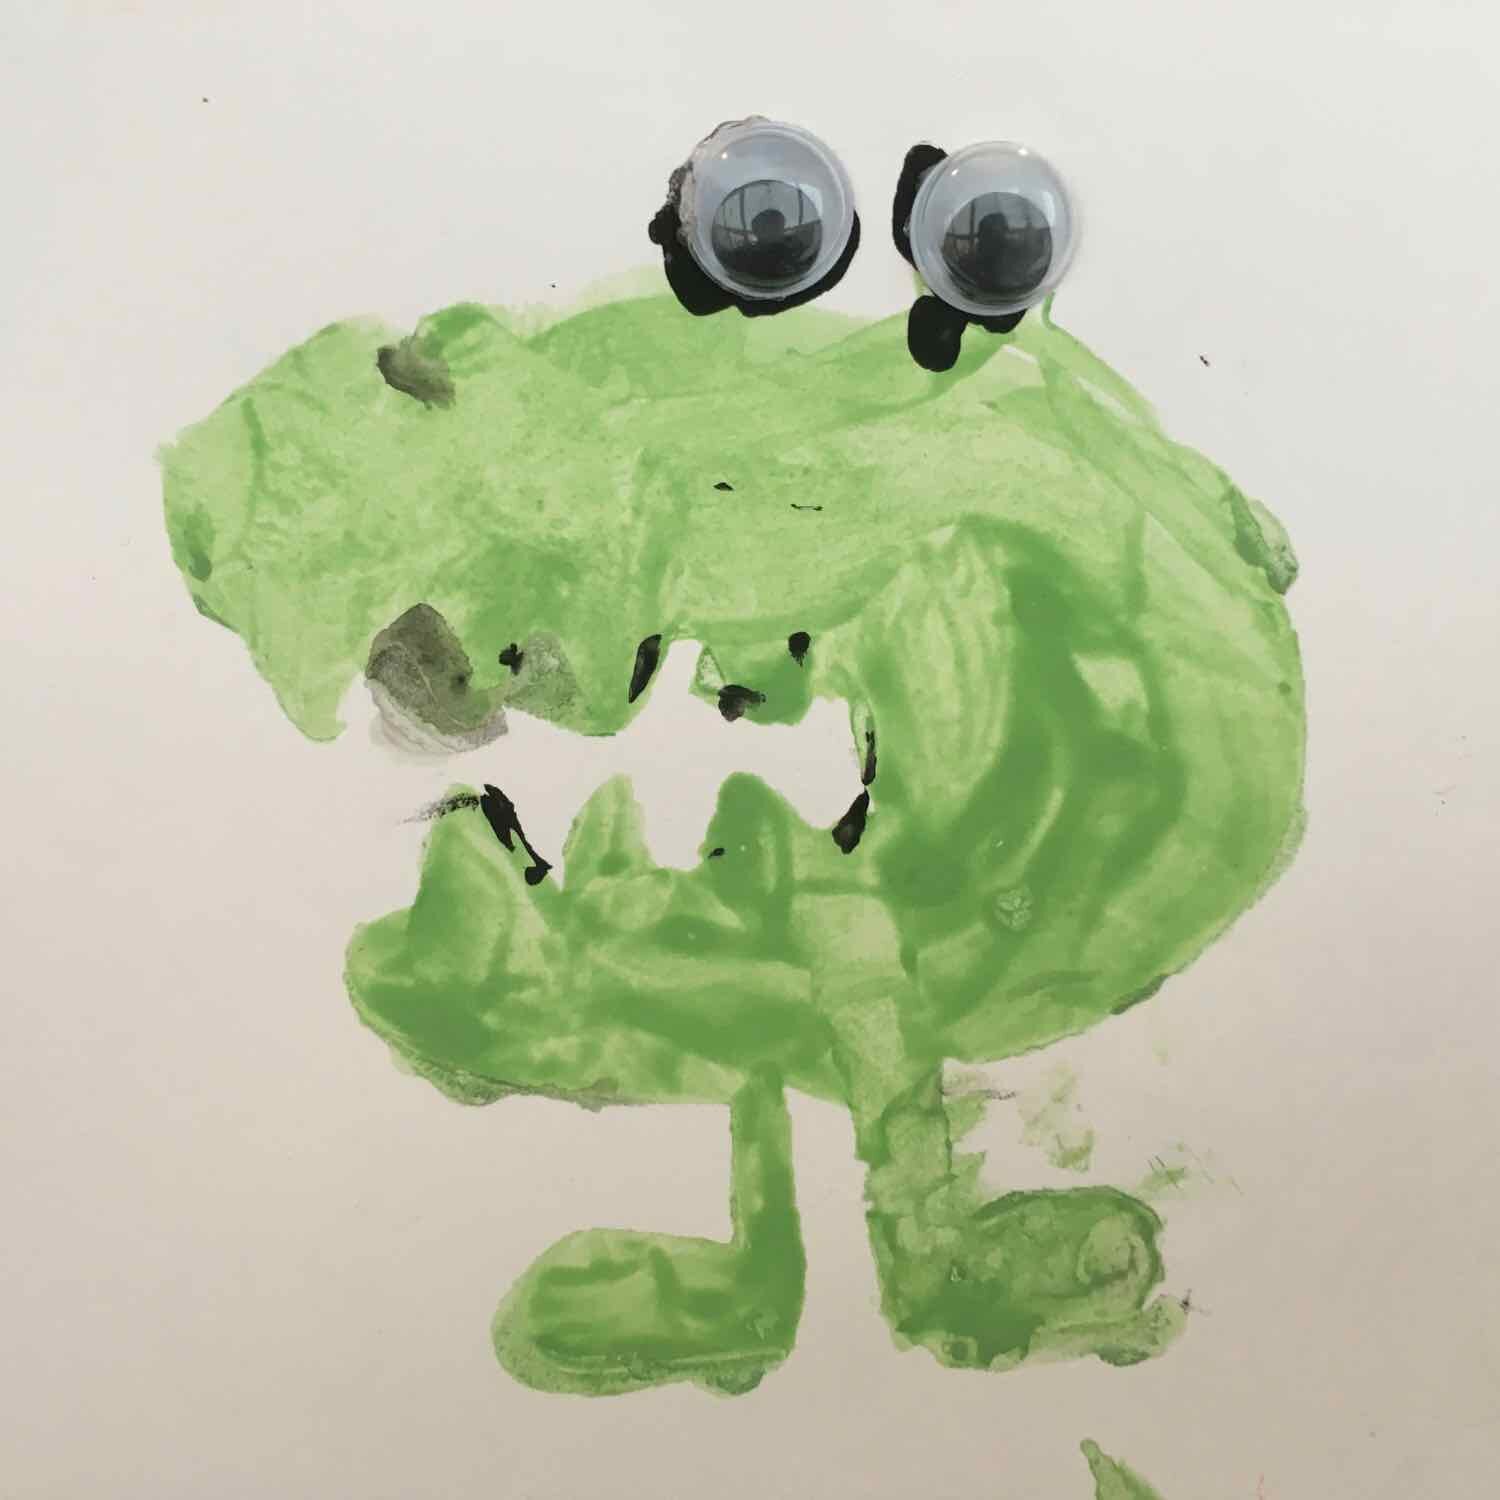
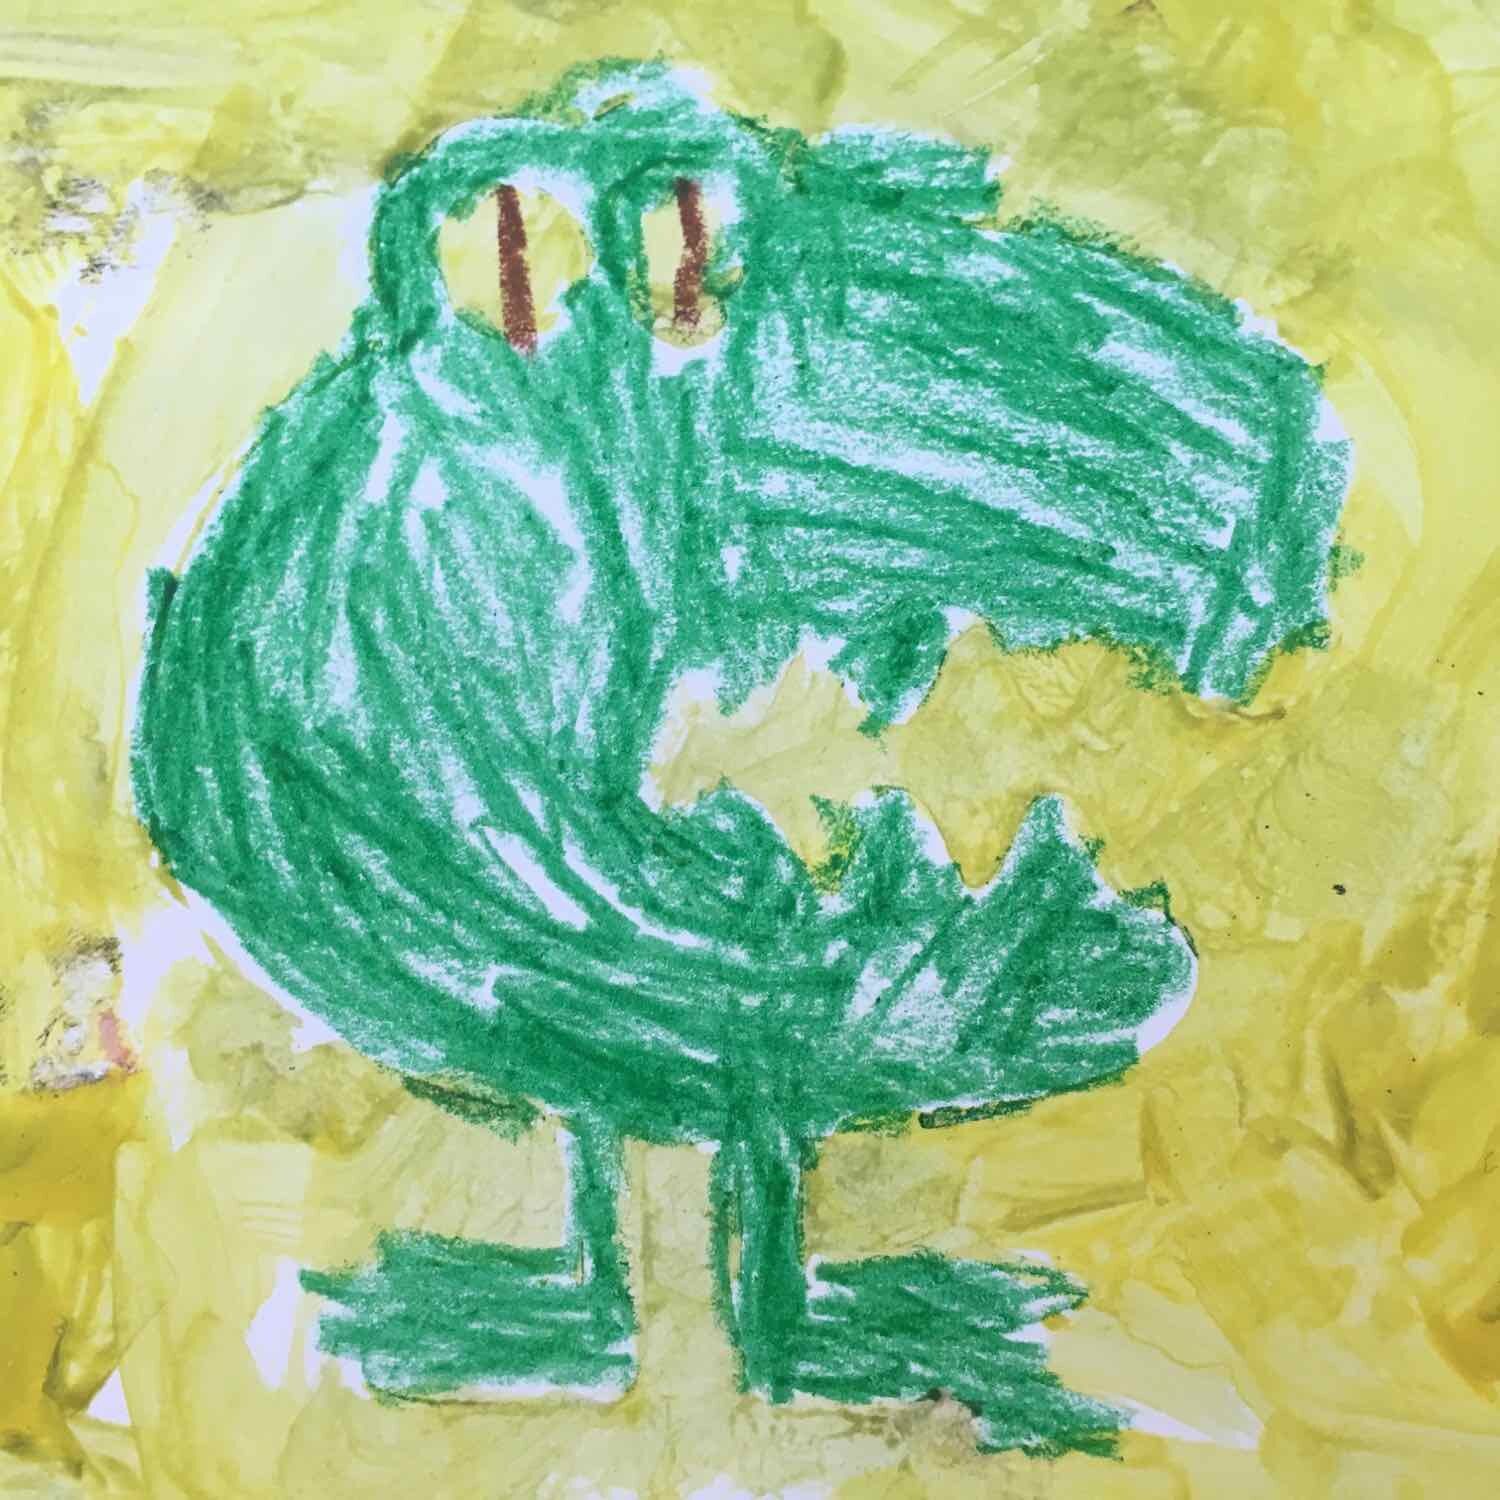
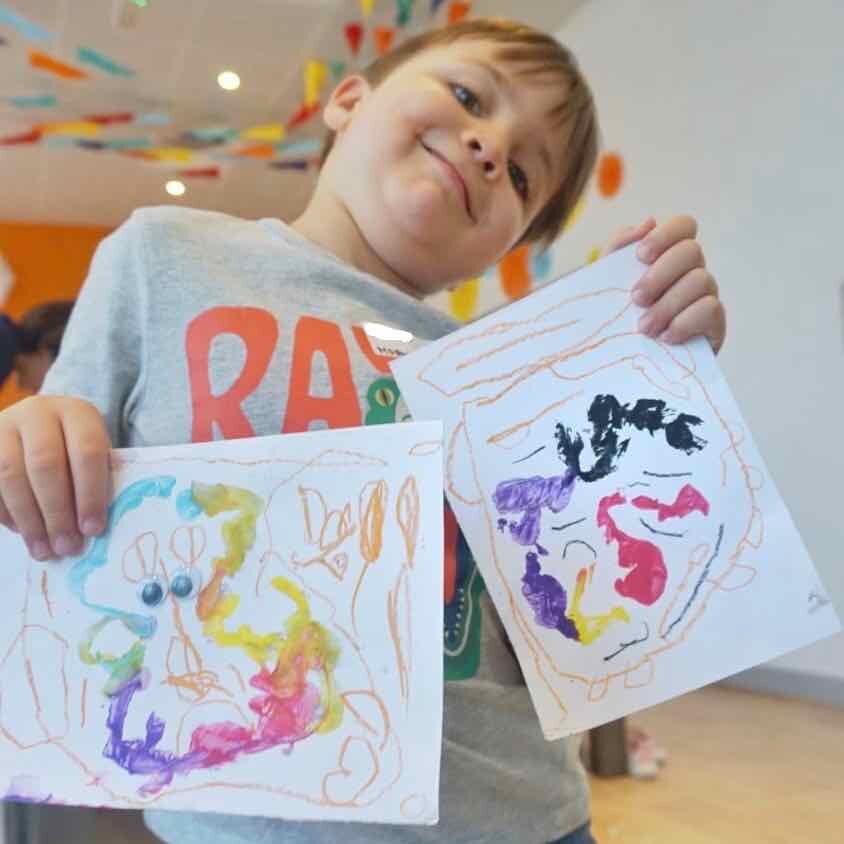

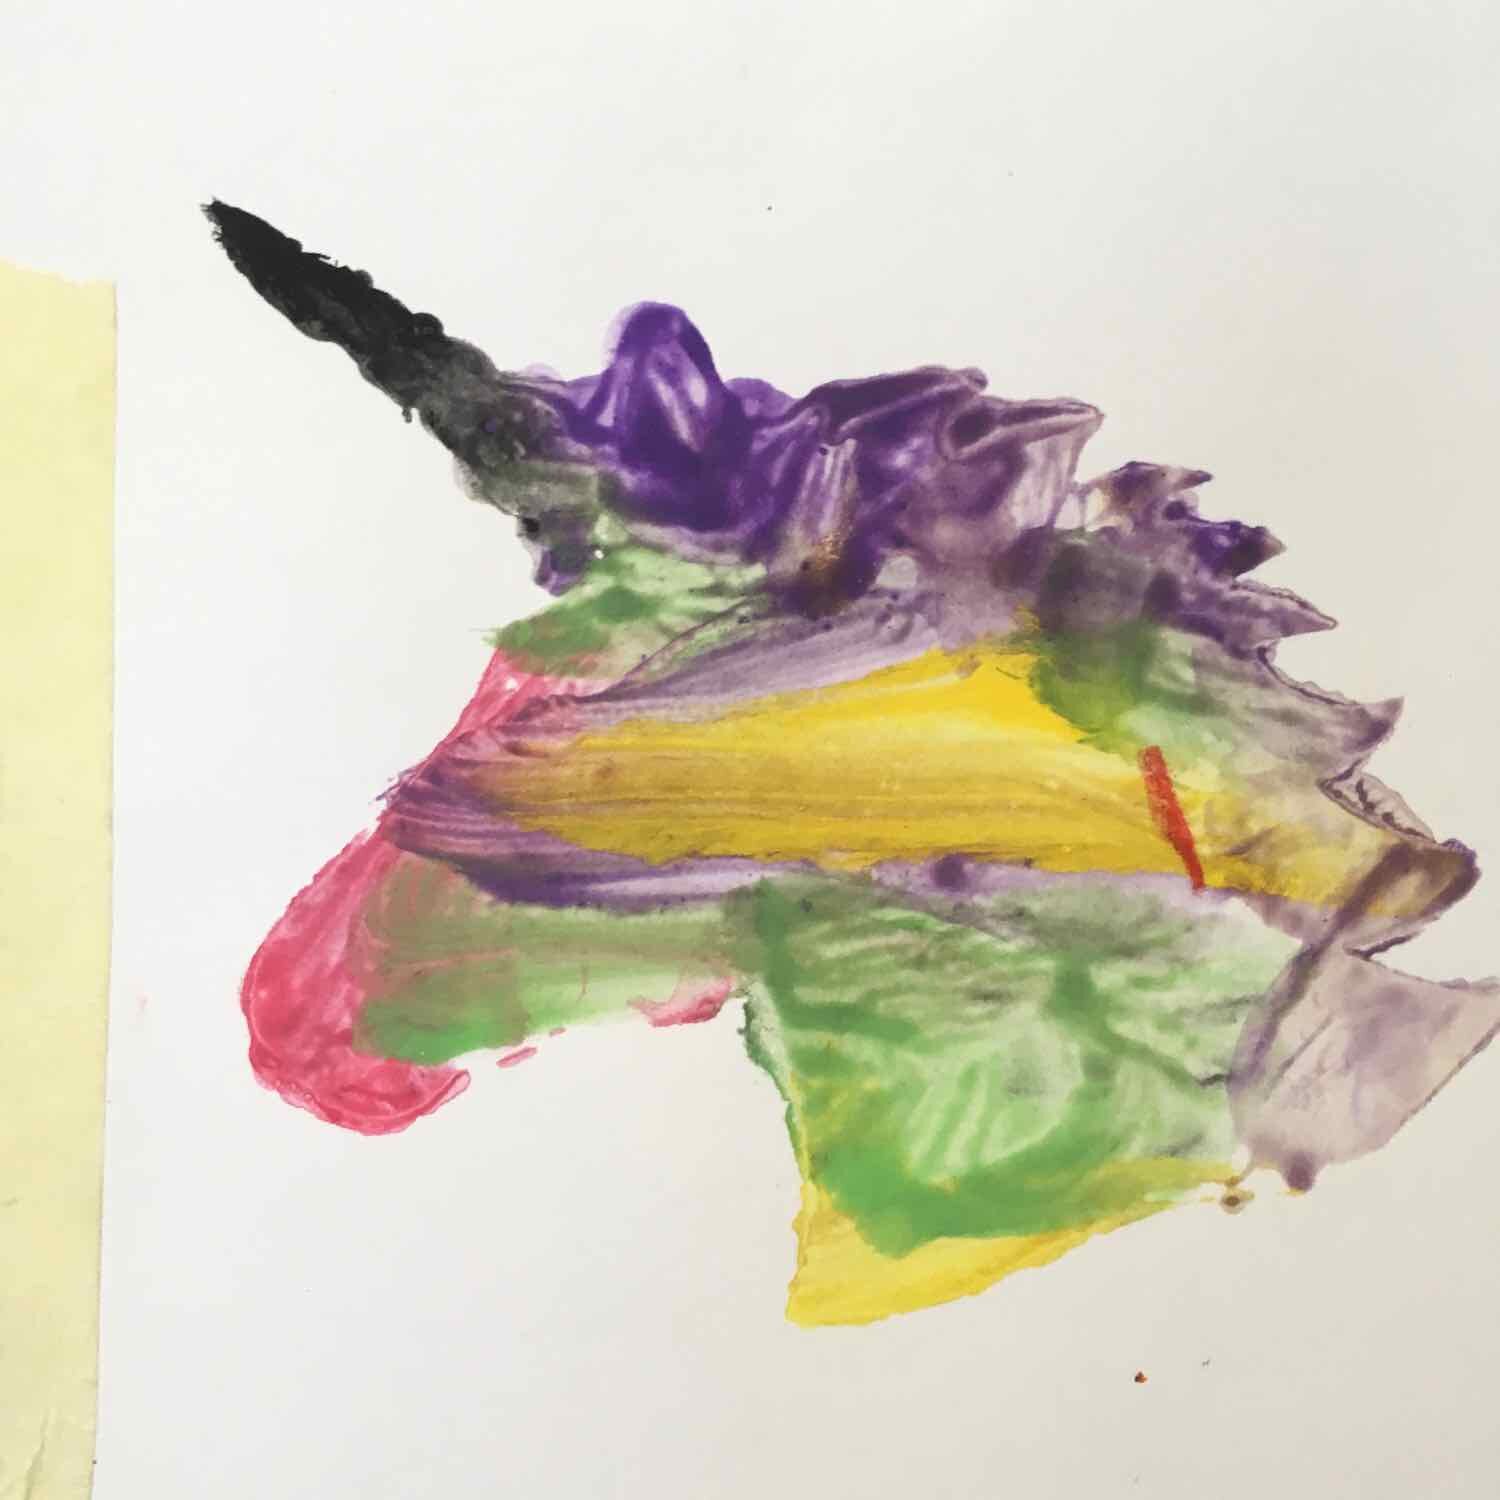
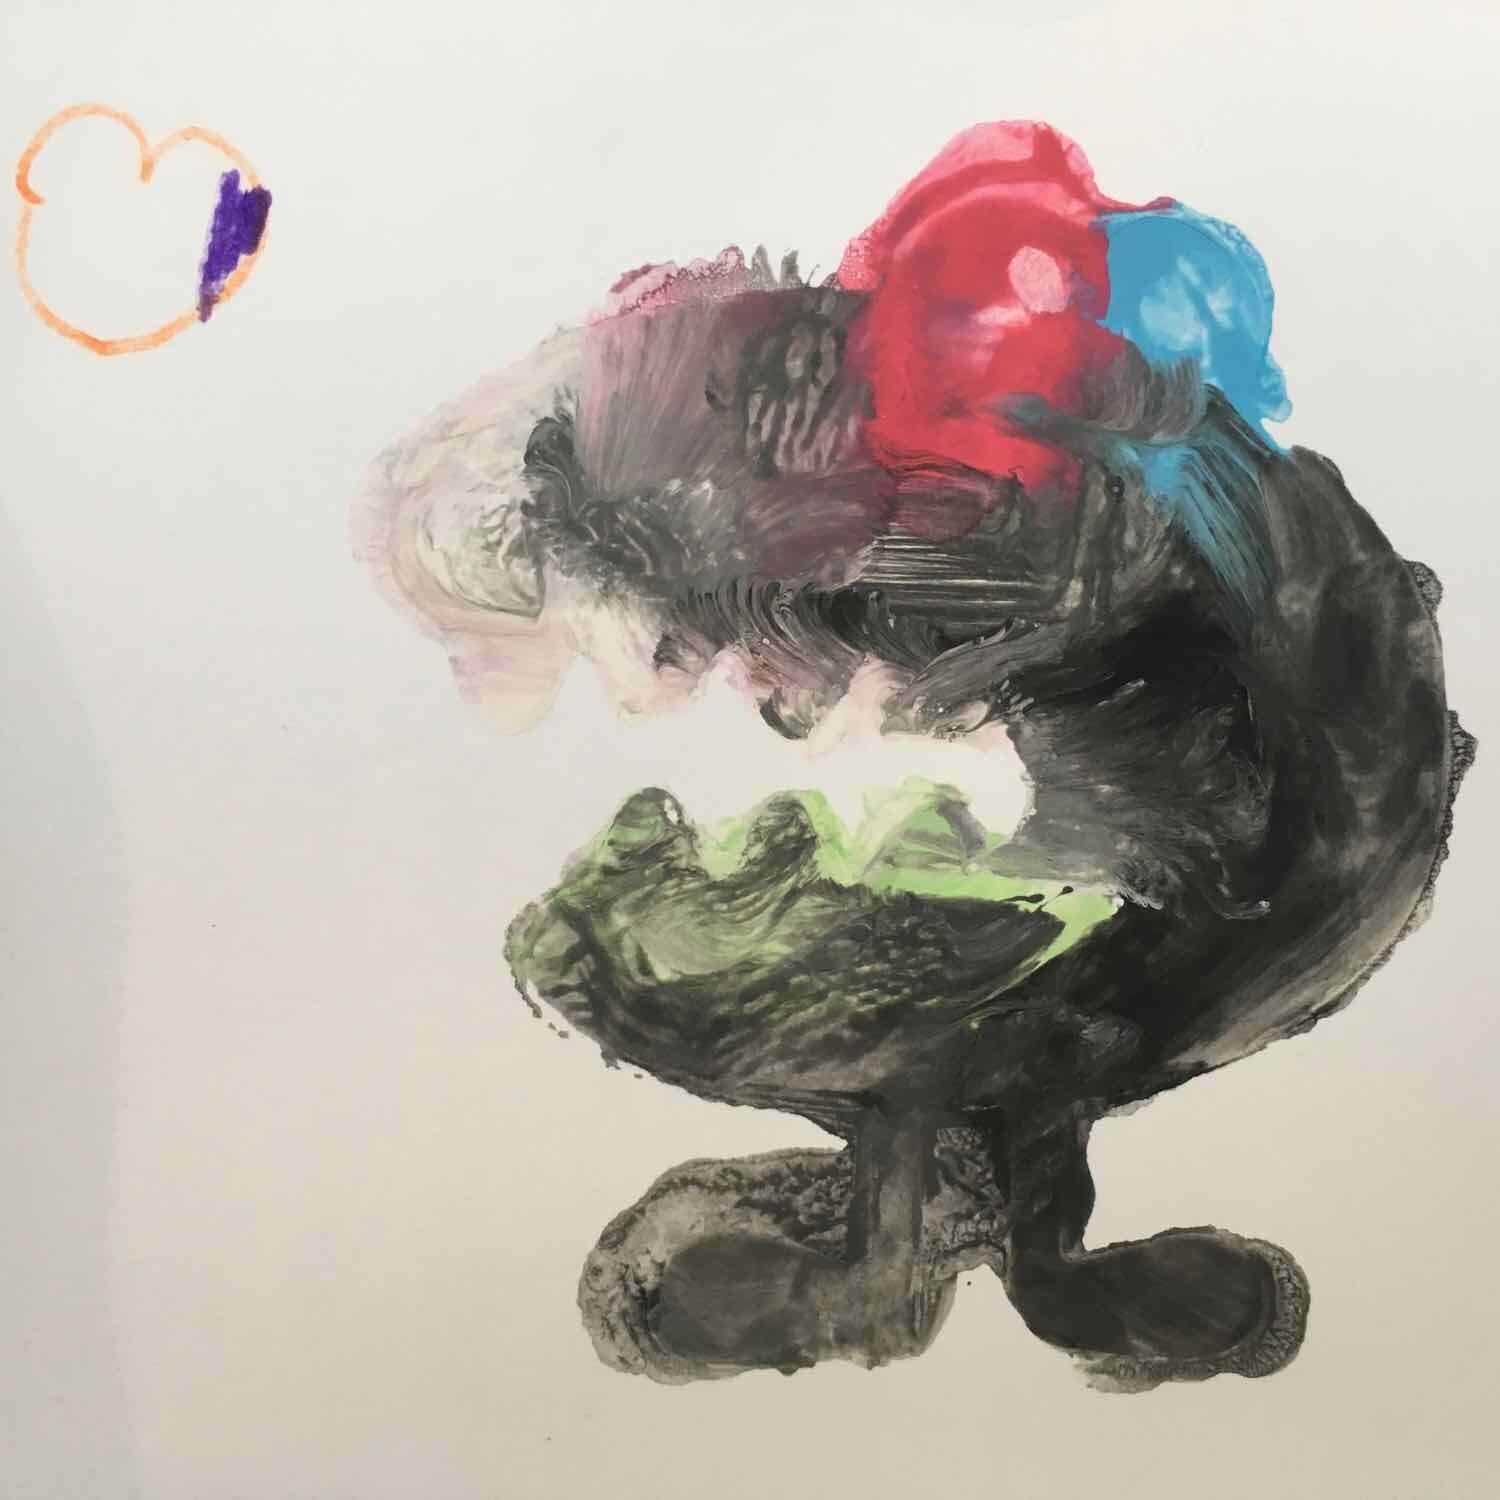
Stencil painting is such a great project for Young Makers. The kids can explore the positive and negative space of the stencils any way they like, by adding crayons, markers, googley eyes (always googley eyes), or just leaving their painting totally white.
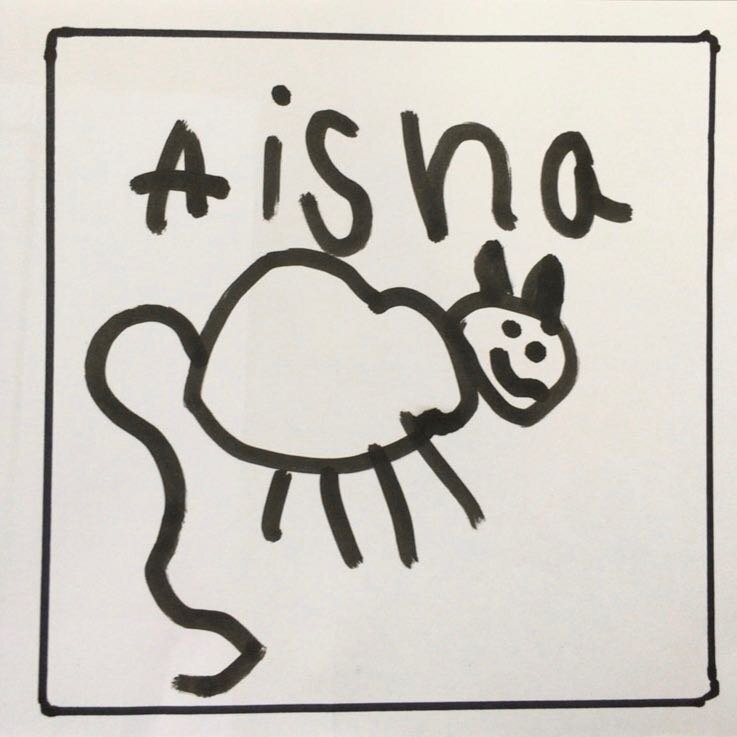
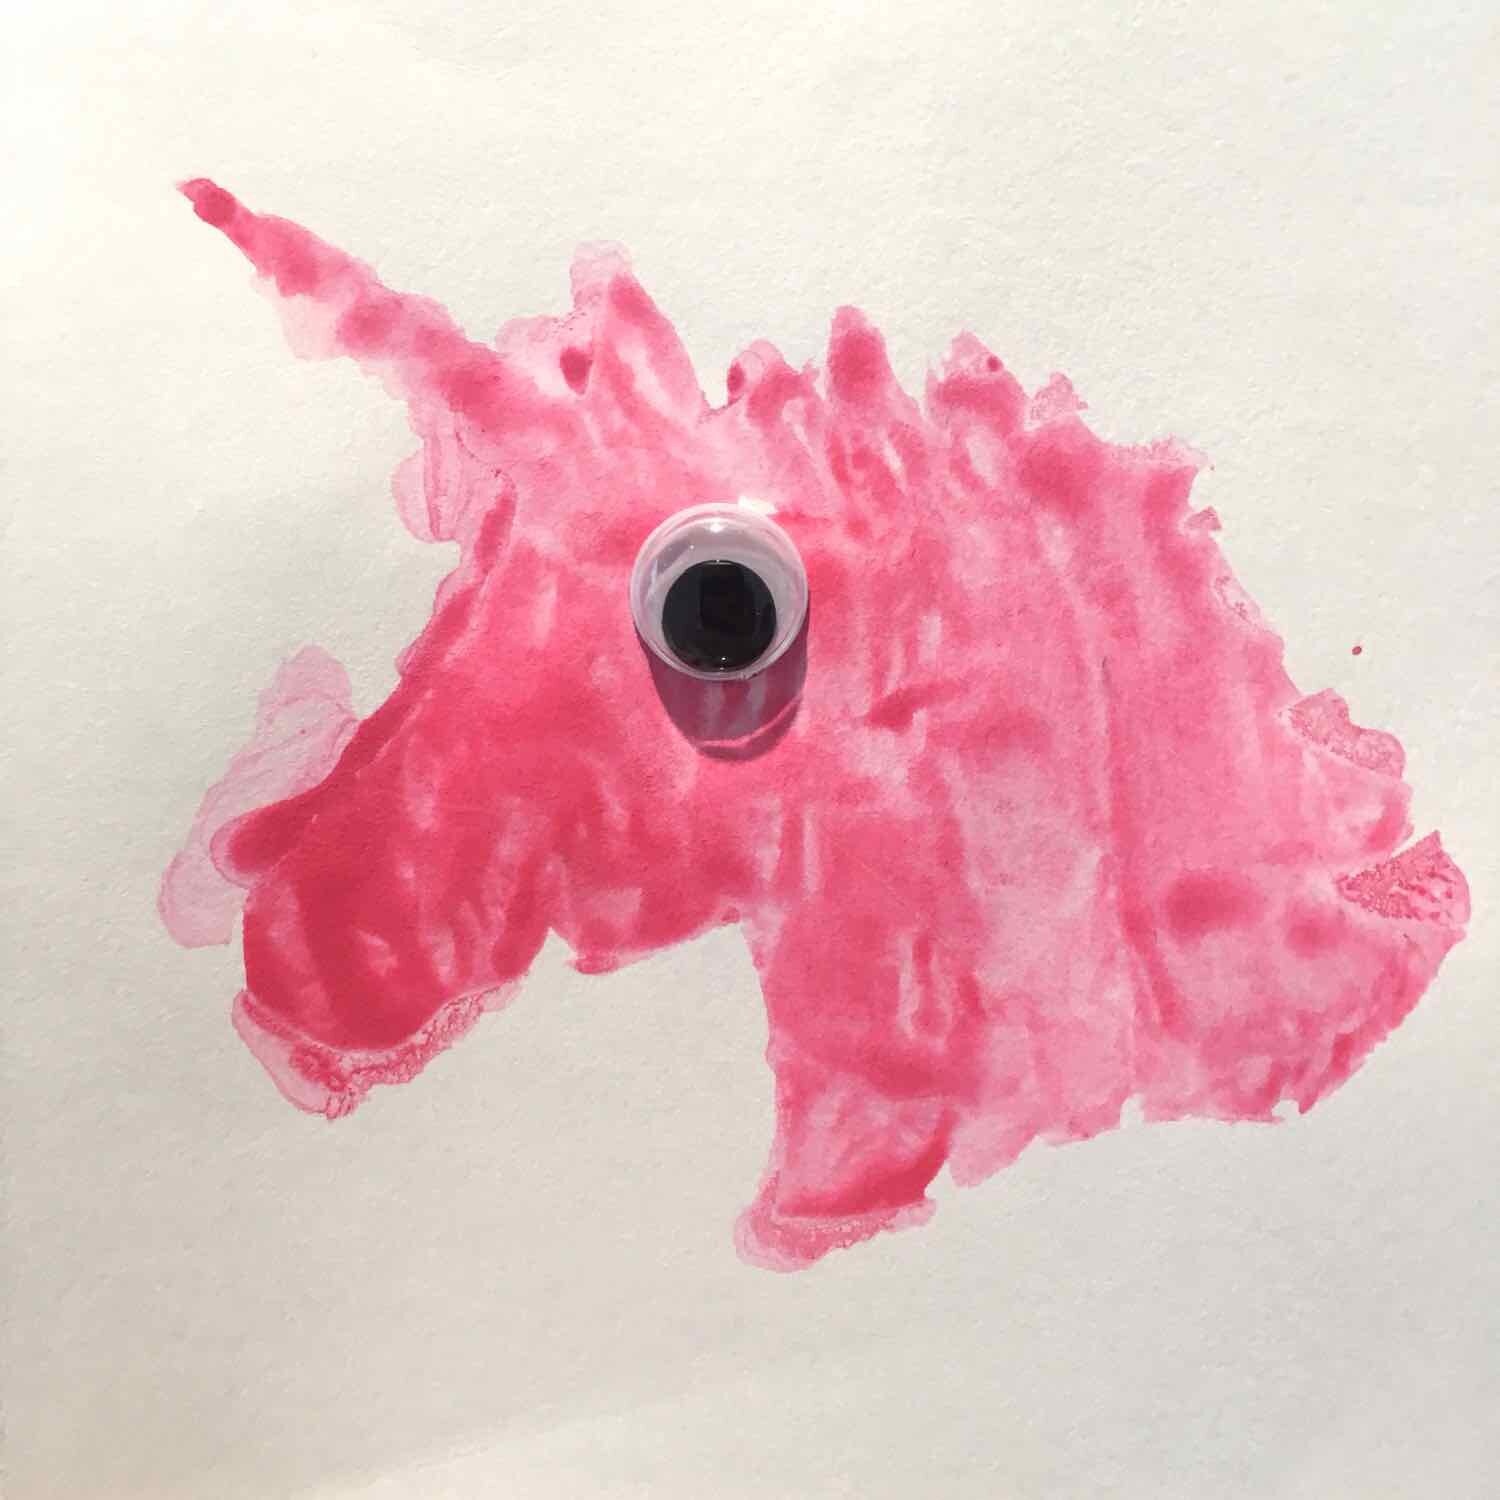
Laser Cut Color Changers
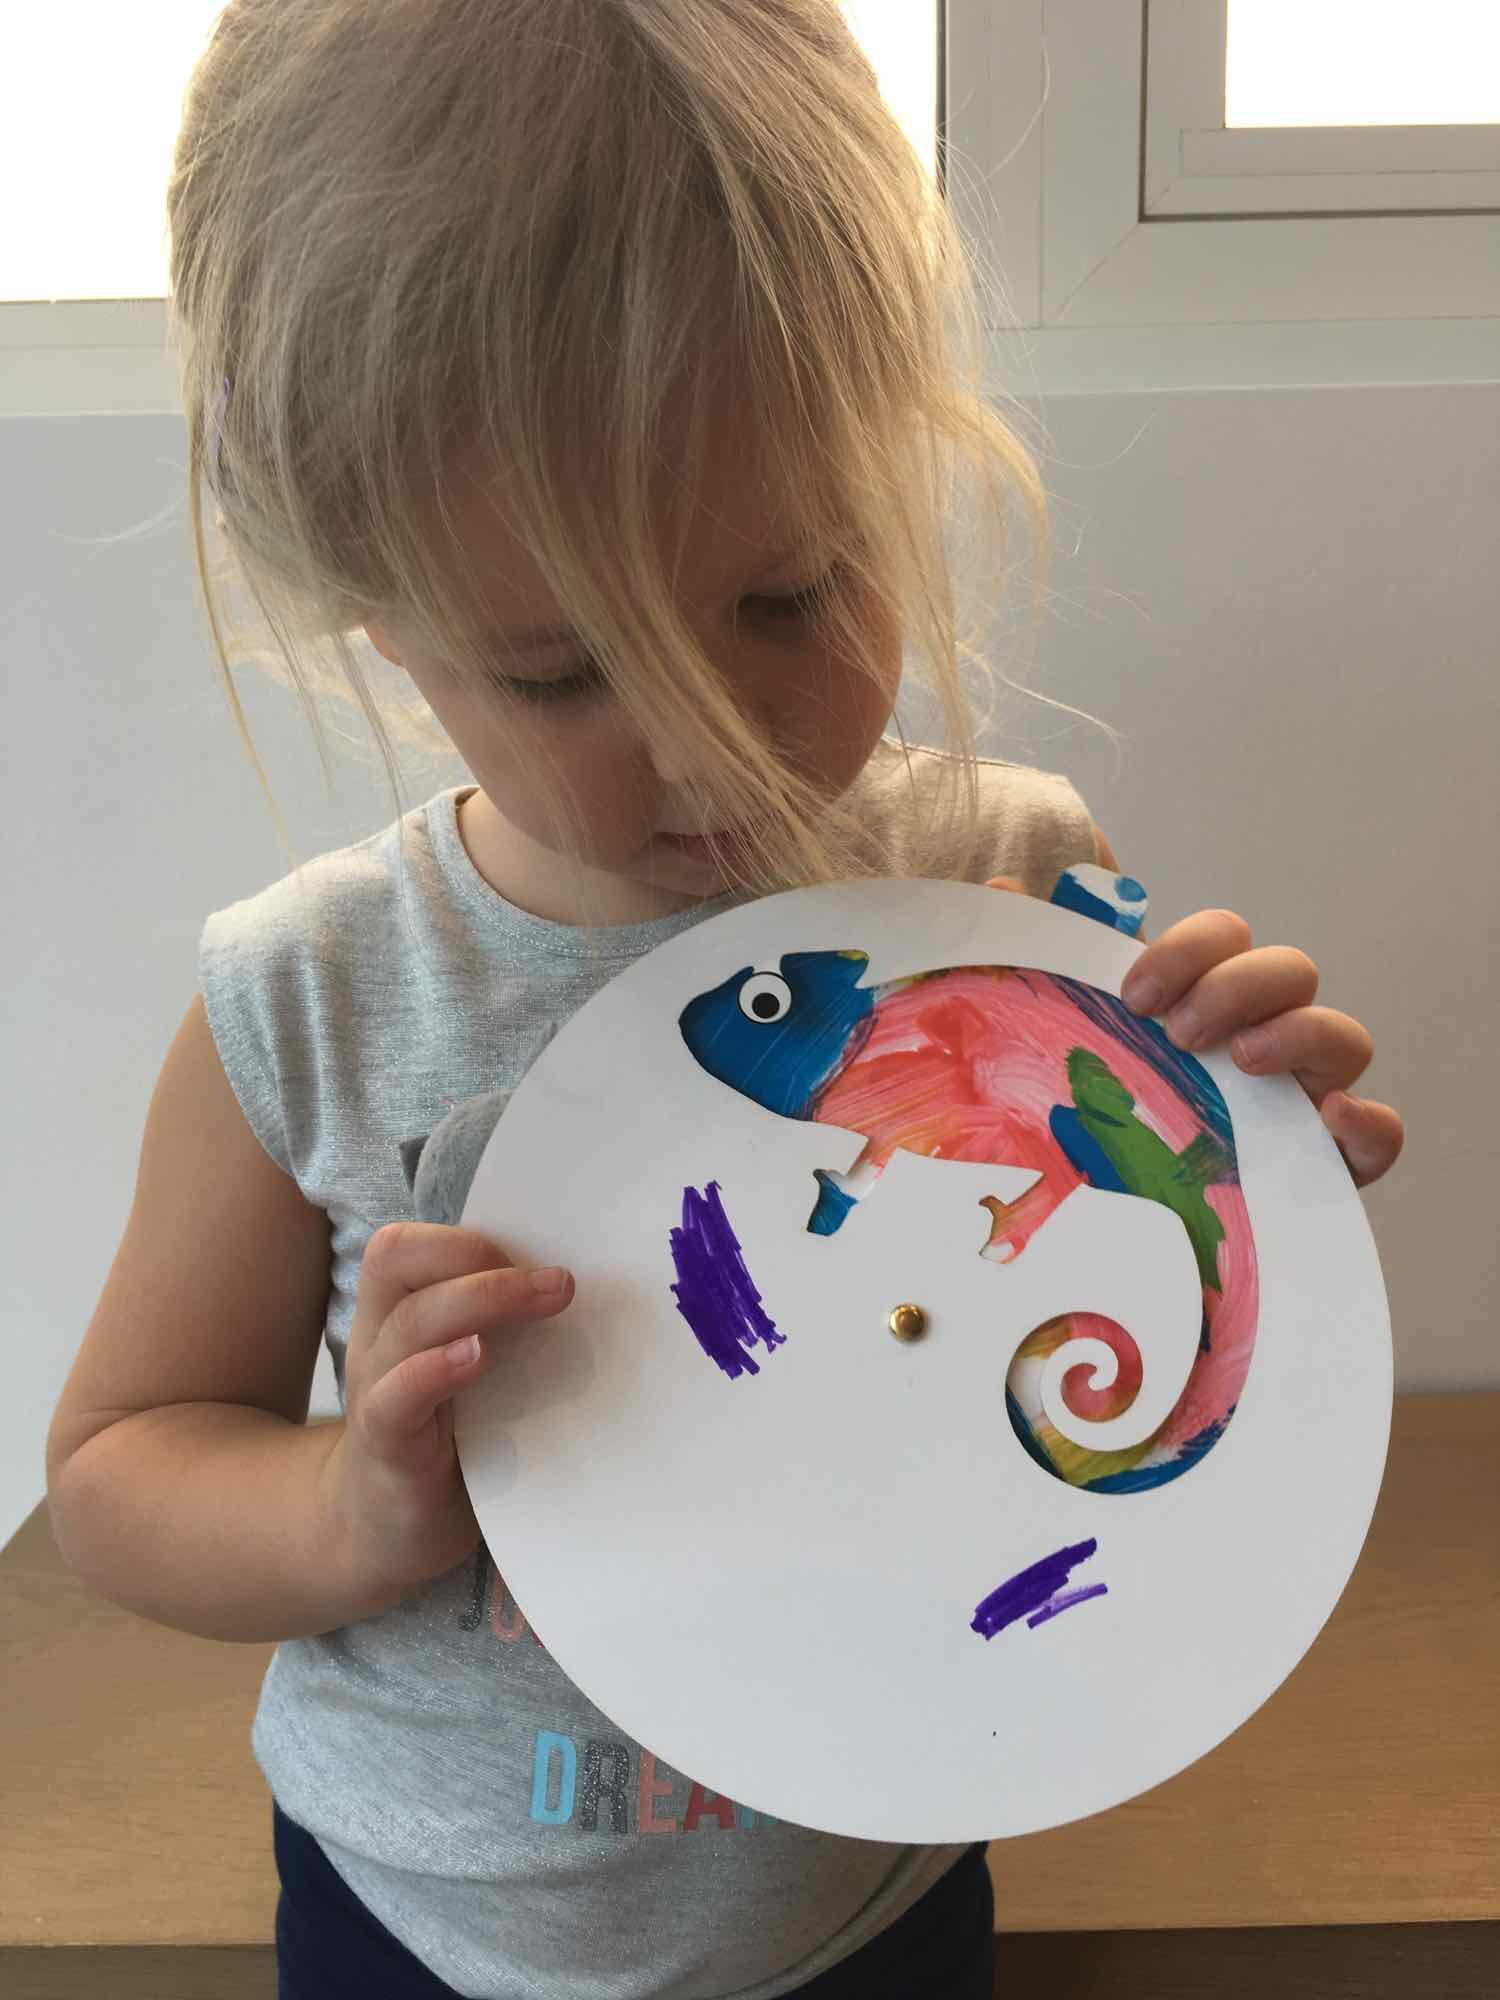
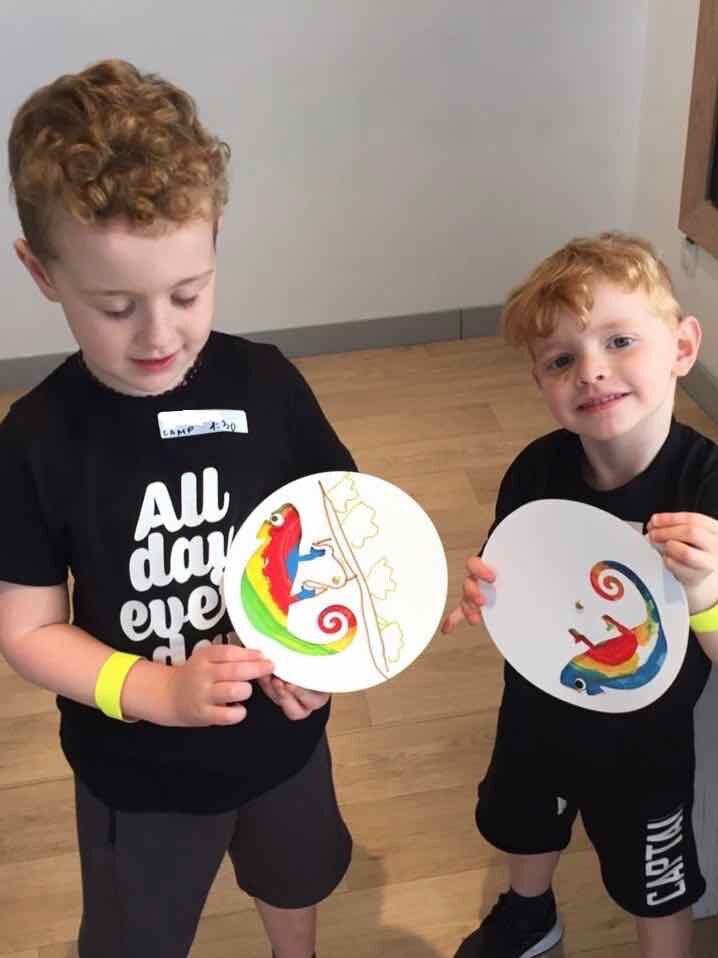
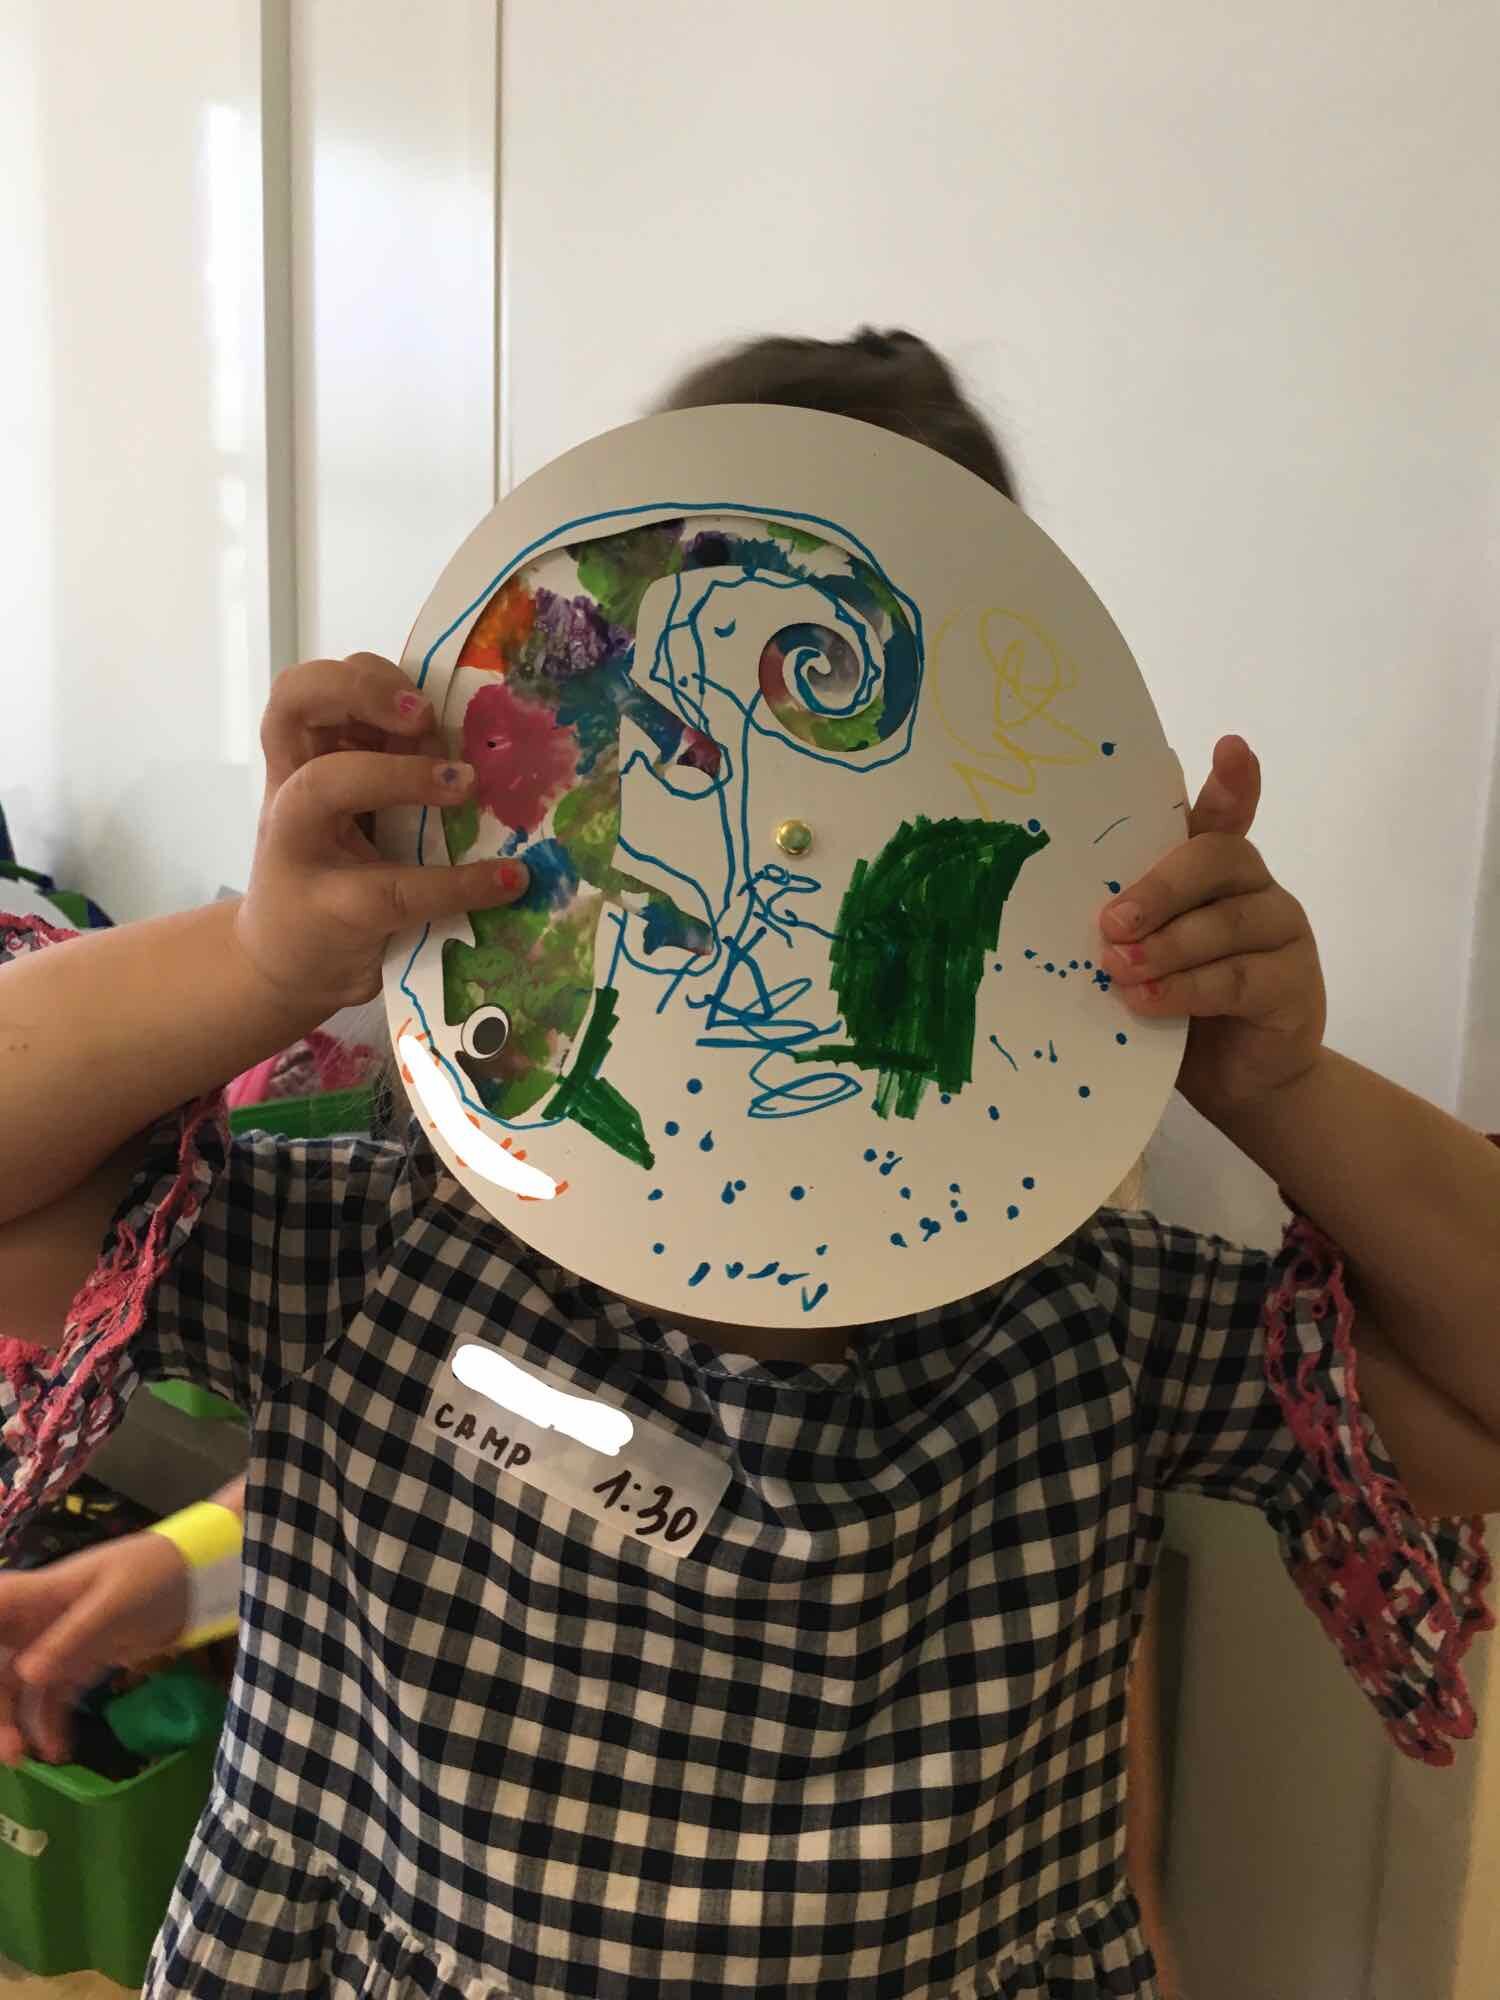
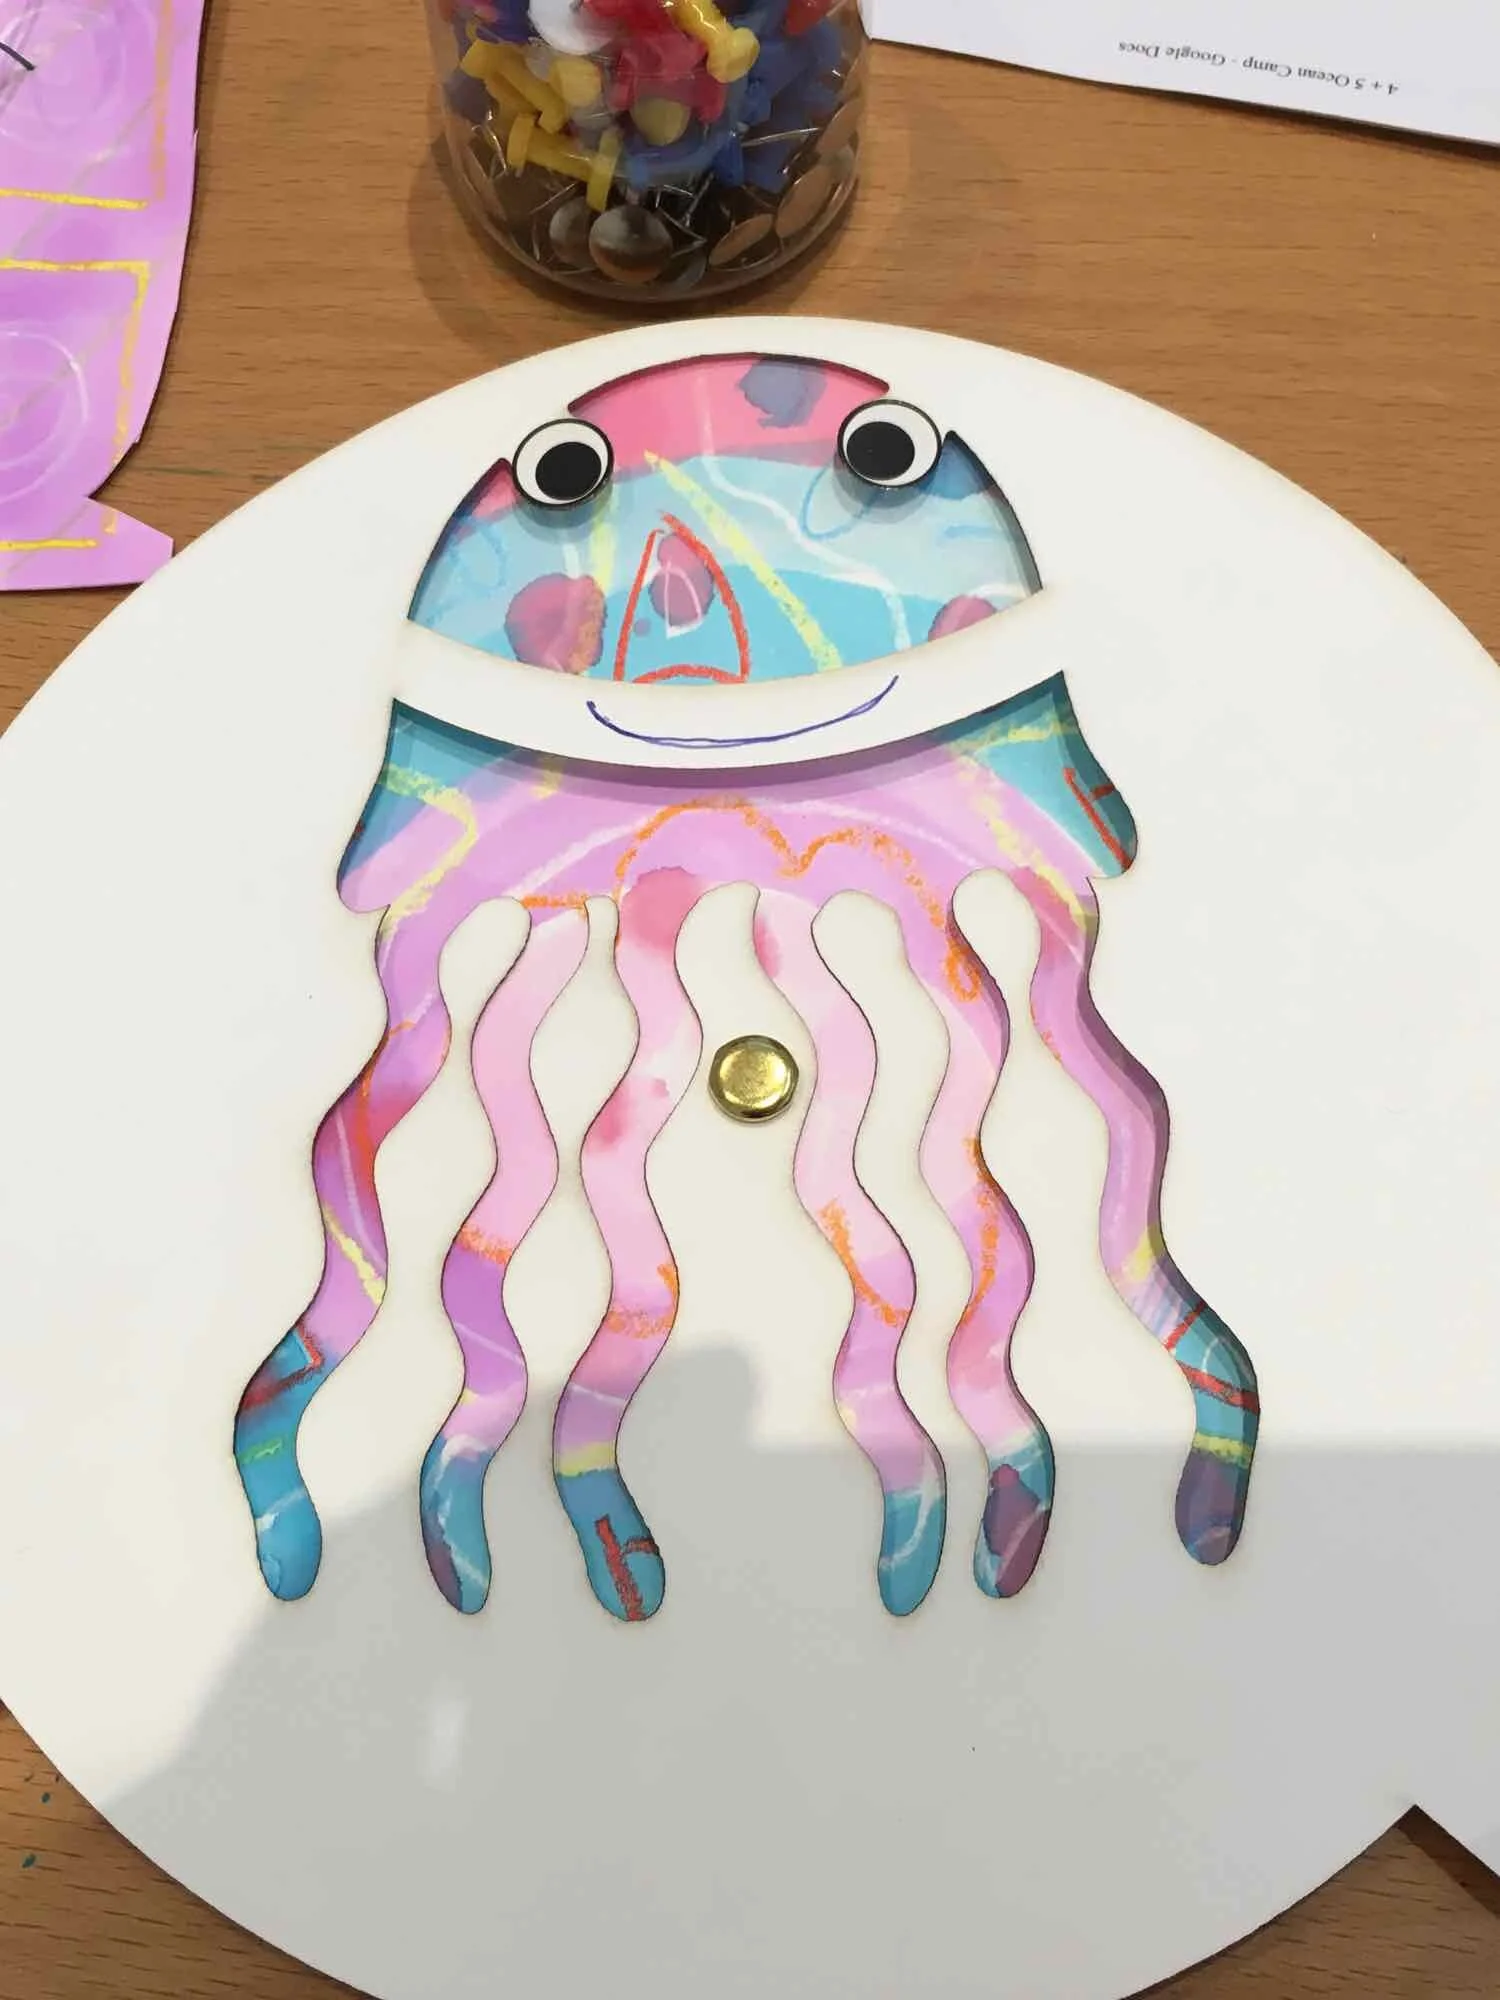
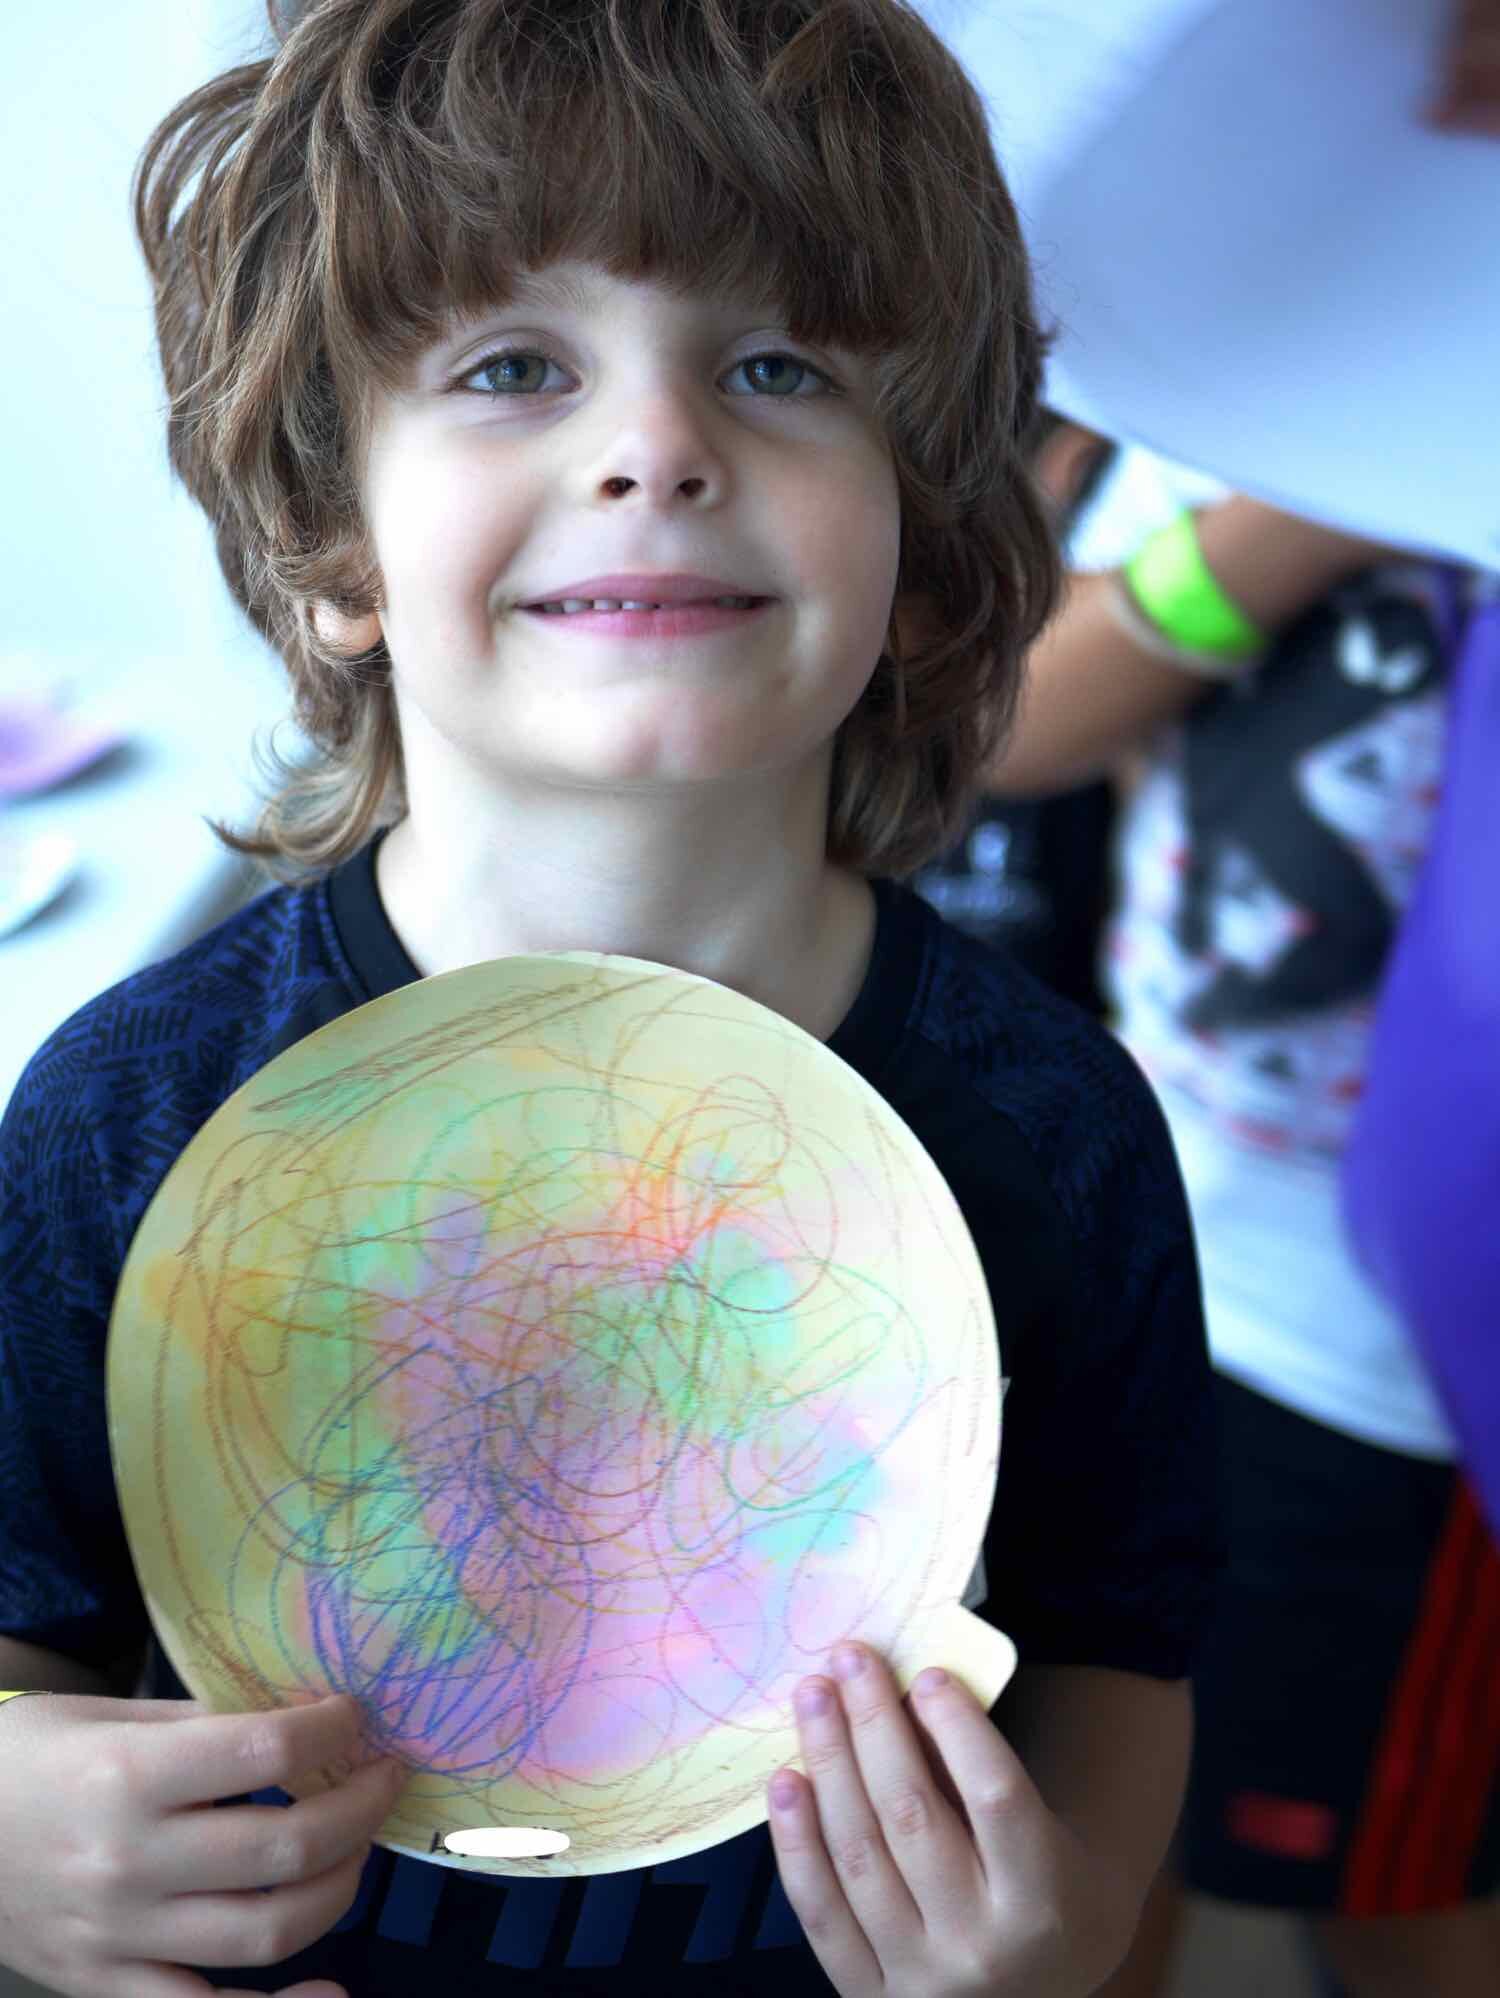

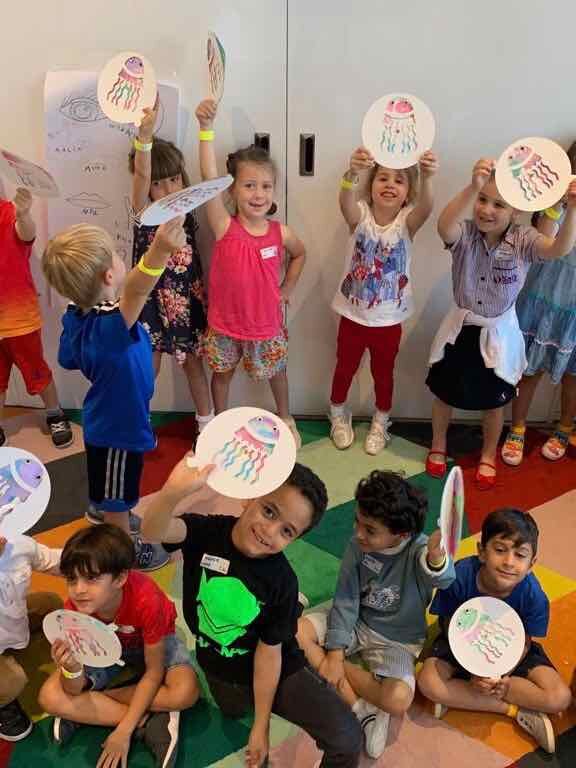
I had been keen to try this Dad Lab project for a while and decided to modify the idea for a painting project for our Animal Camp. I used the pen tool in Illustrator to trace over a chameleon and laser cut the two layers on our thickest card stock, simply connecting them with a brass fastener. The kids loved it, and I have since made new front pieces for different camp themes. For our Oceans camp, I made a jelly fish and we used watercolor and crayon to create patterns in our painting. For our Fortweek video game themed camp I made a Super Mario Star, and while non of the campers got the reference, they definitely liked how it looked.
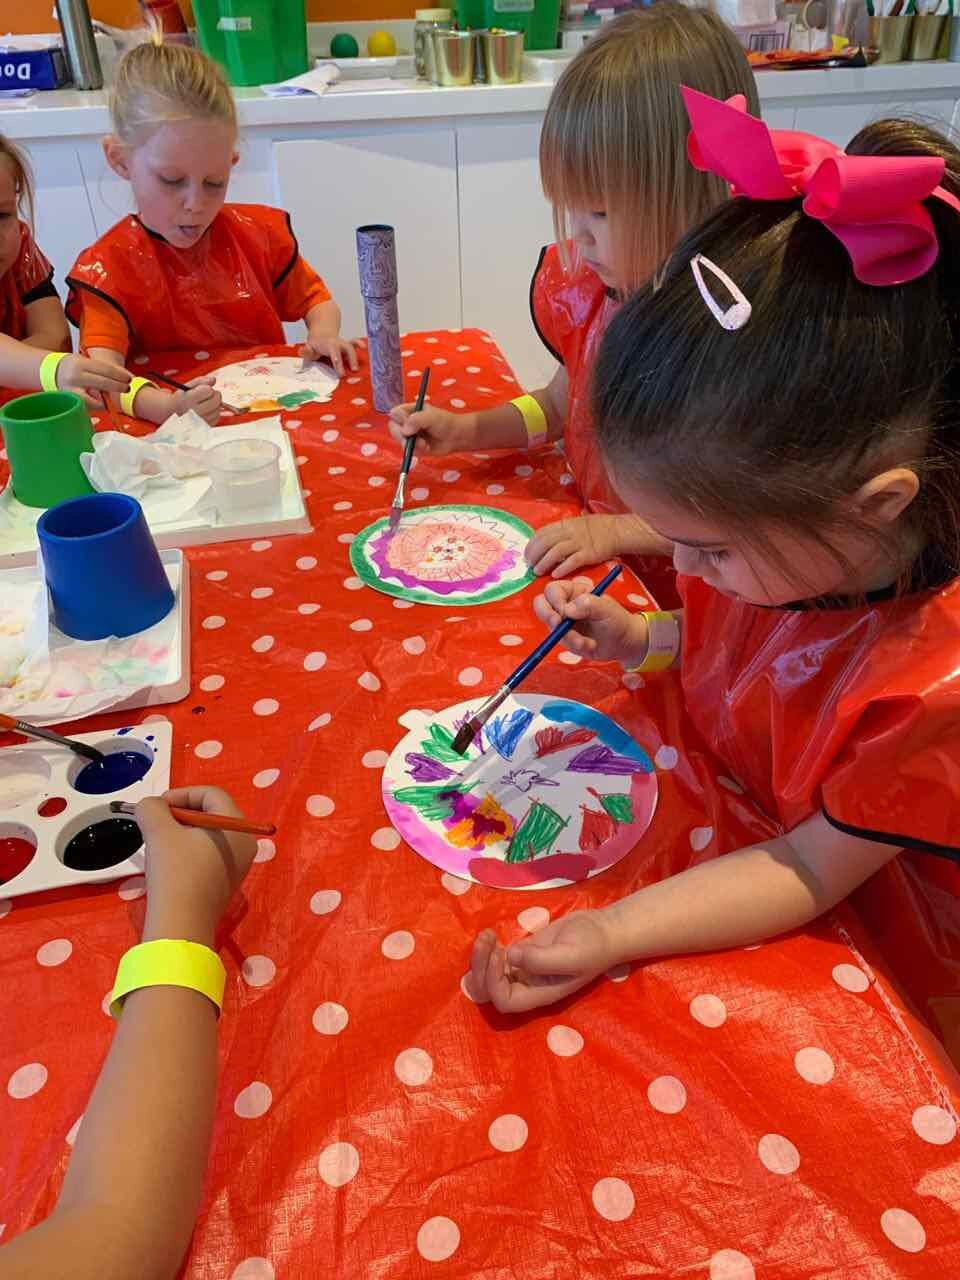
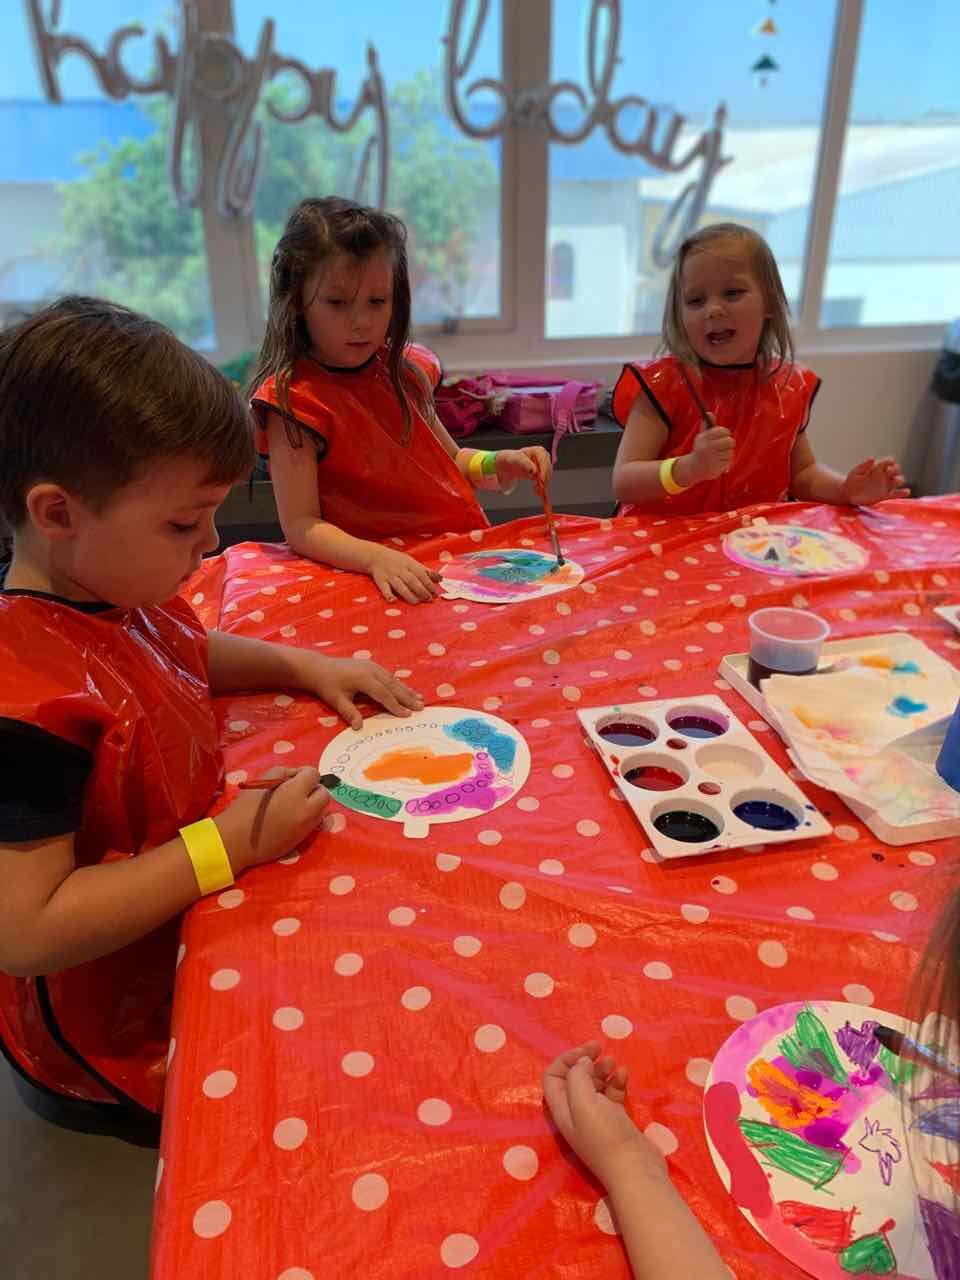
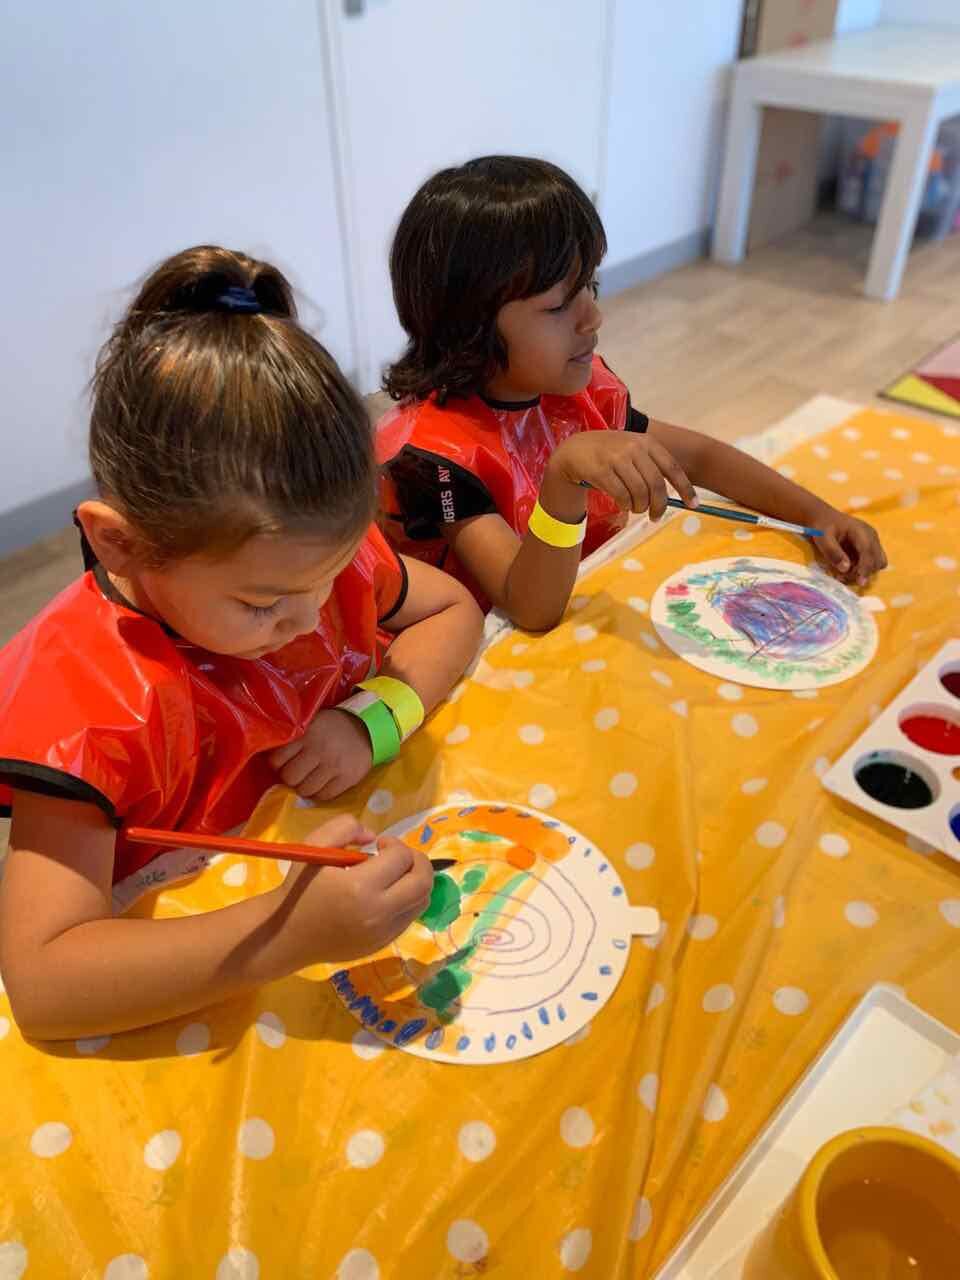
Laser Cut Pixel Paintings
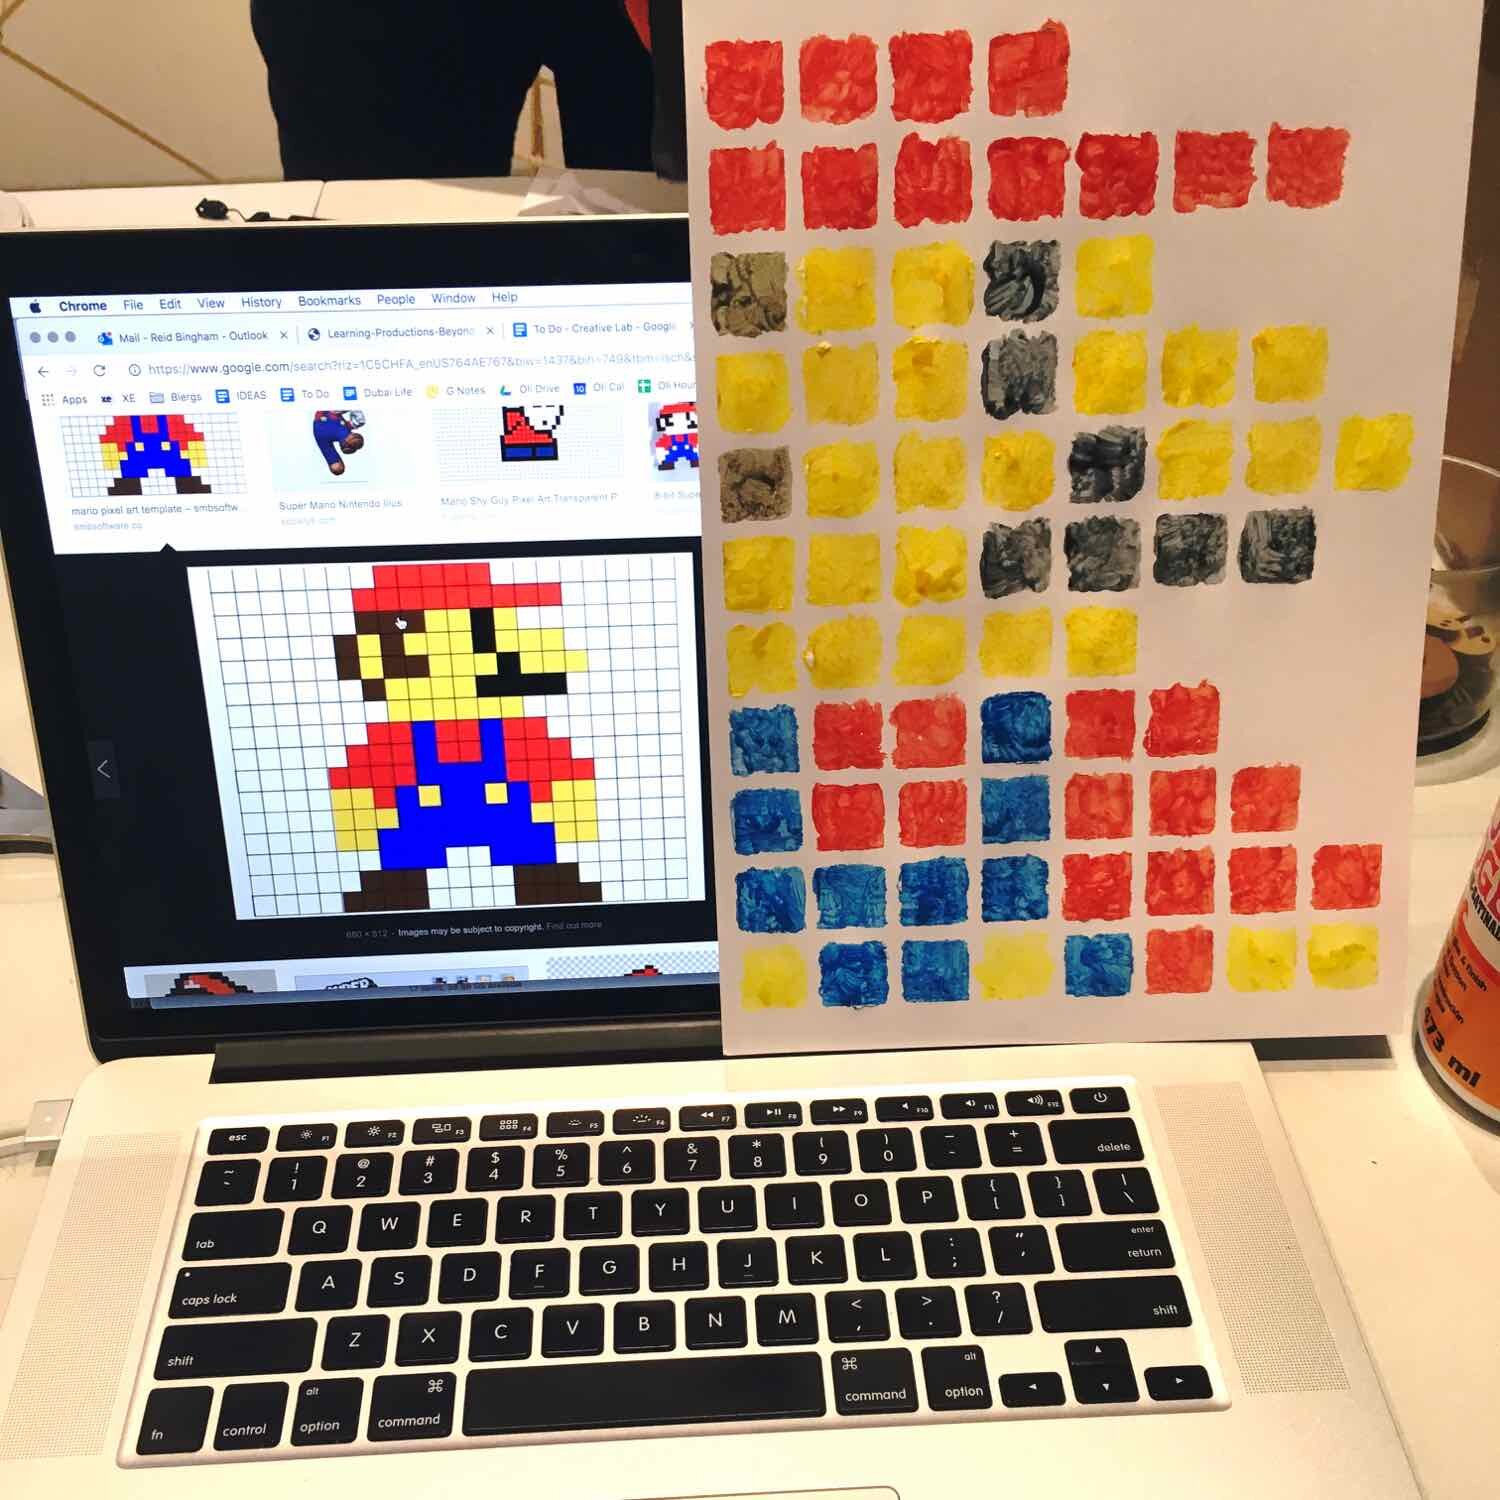
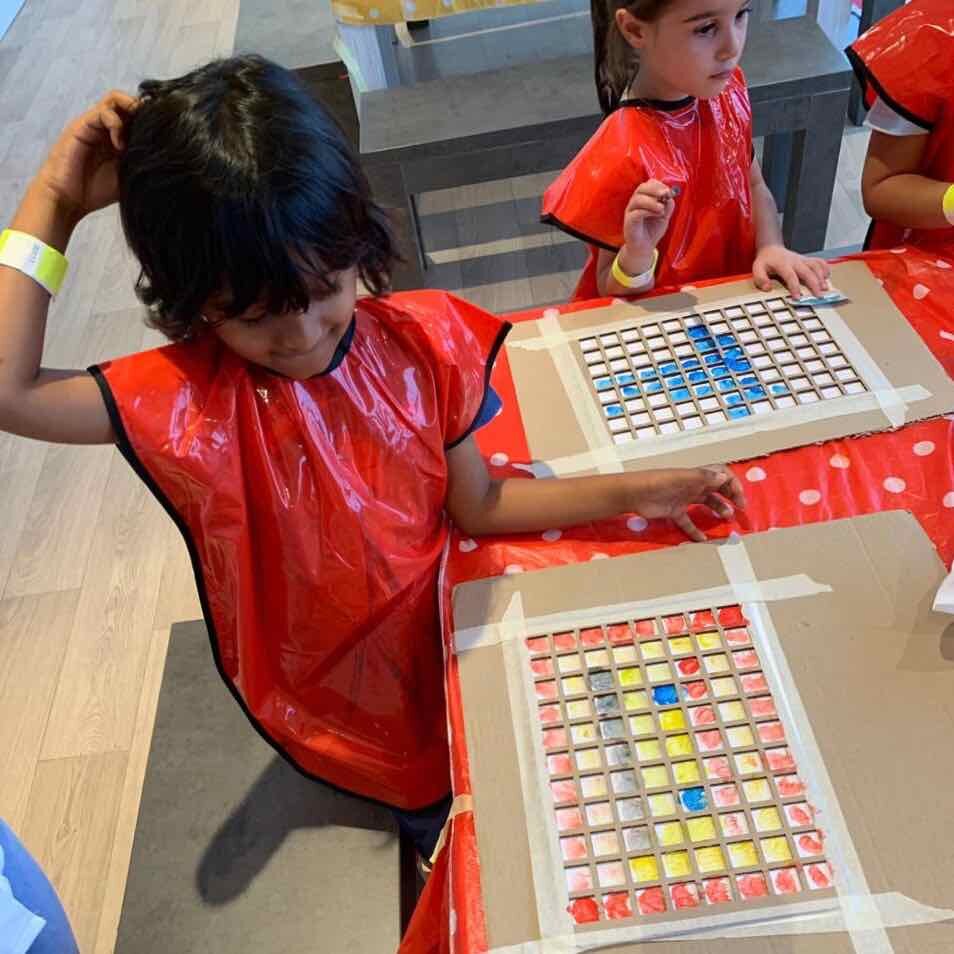
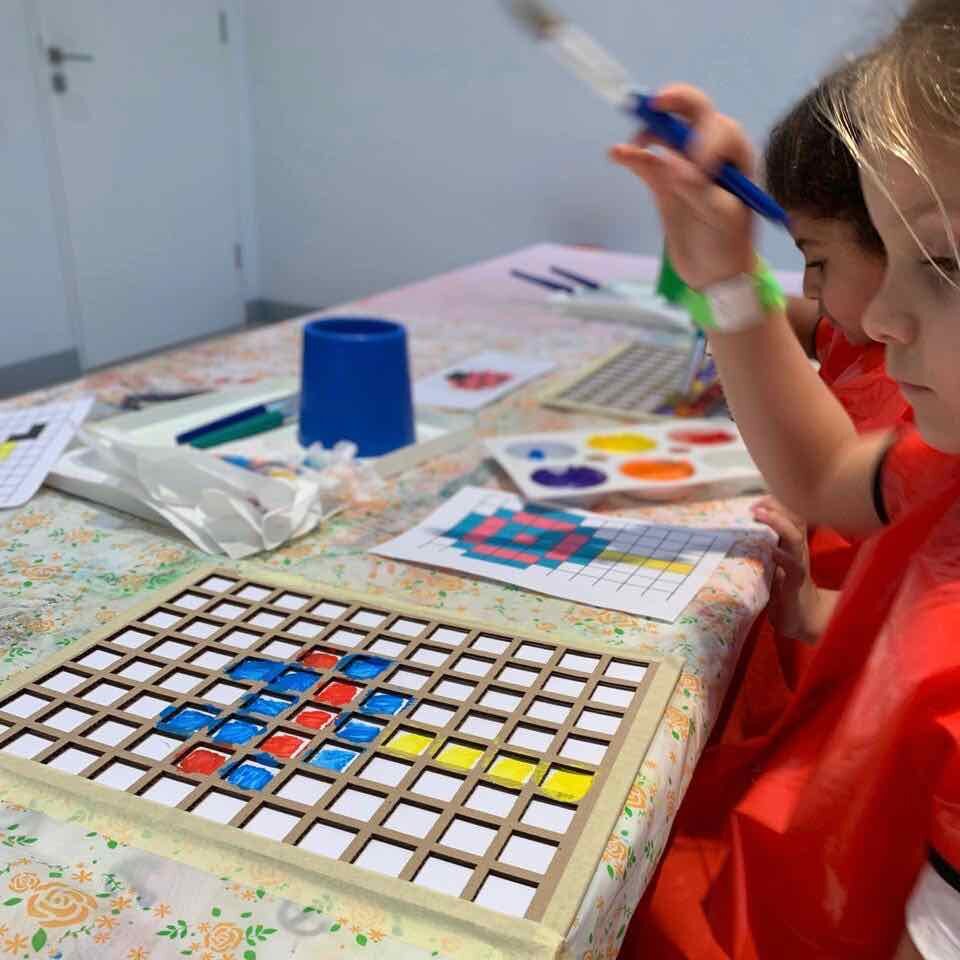

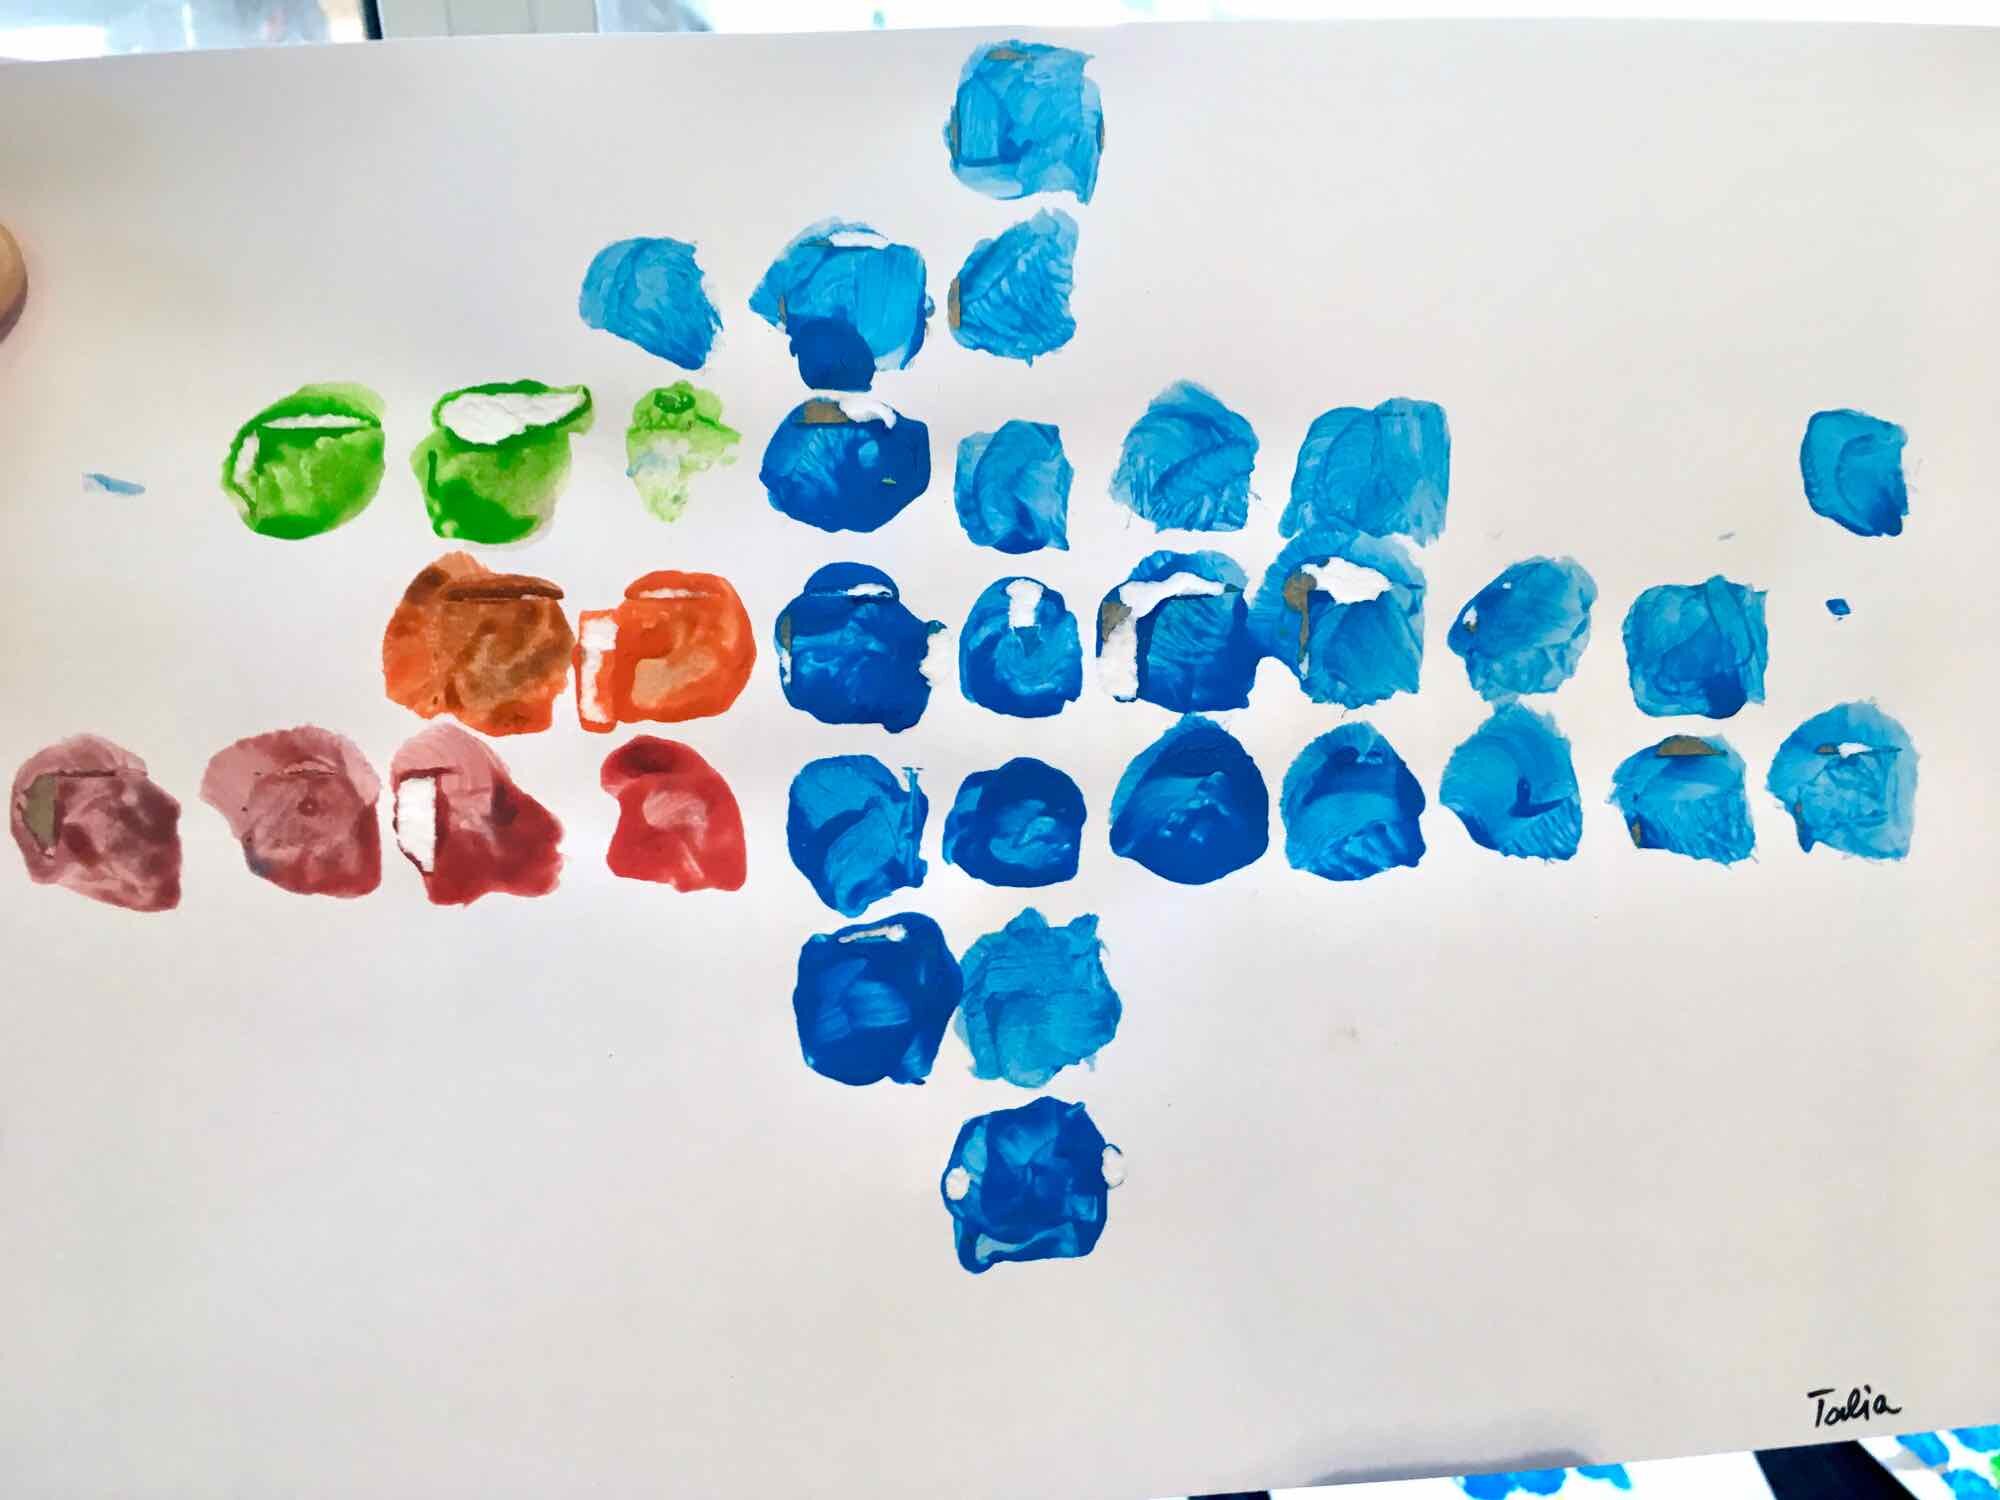
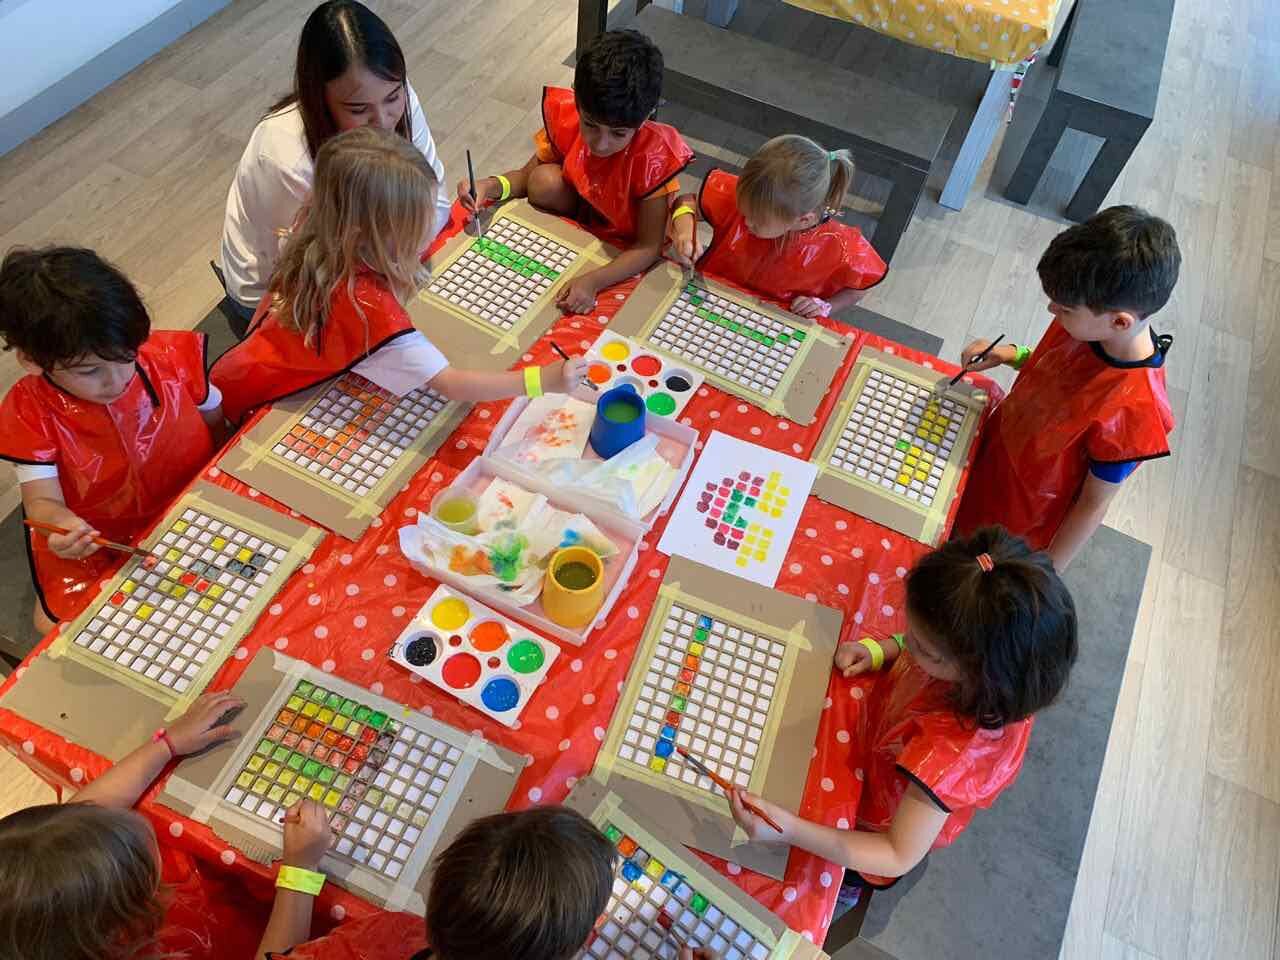
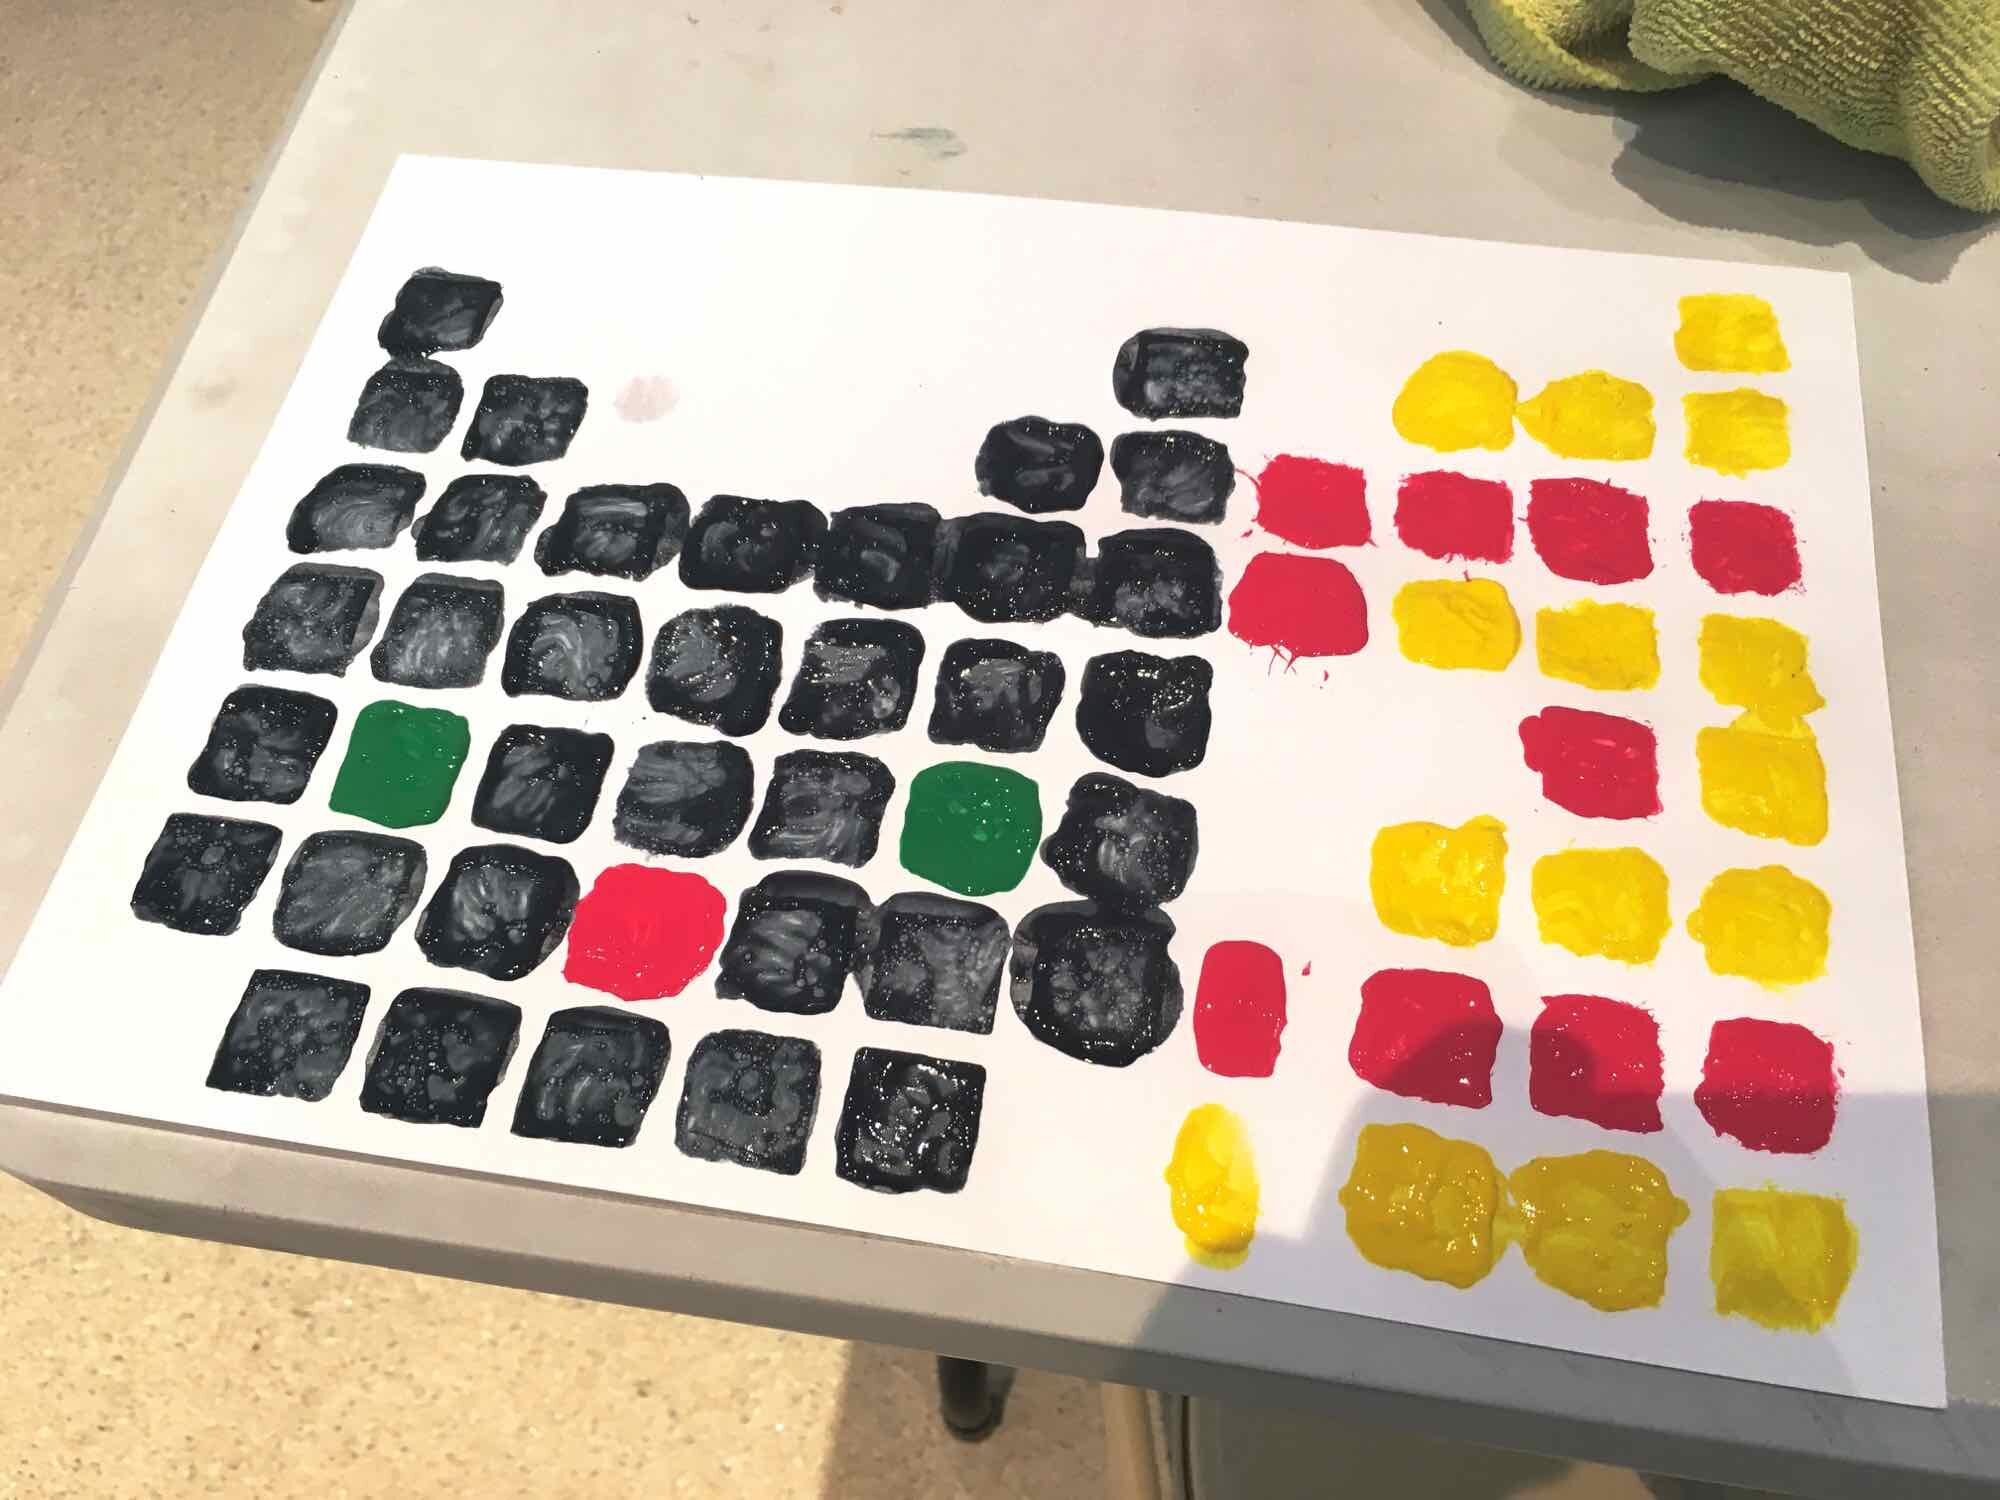
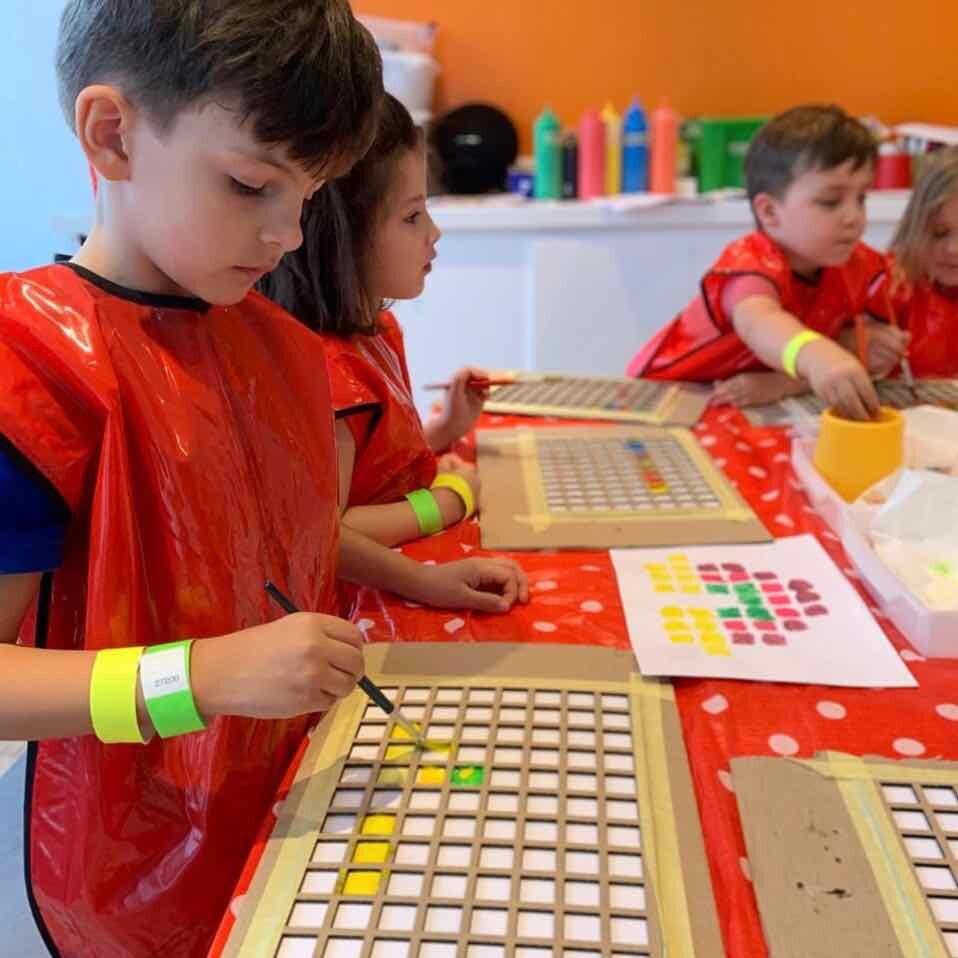
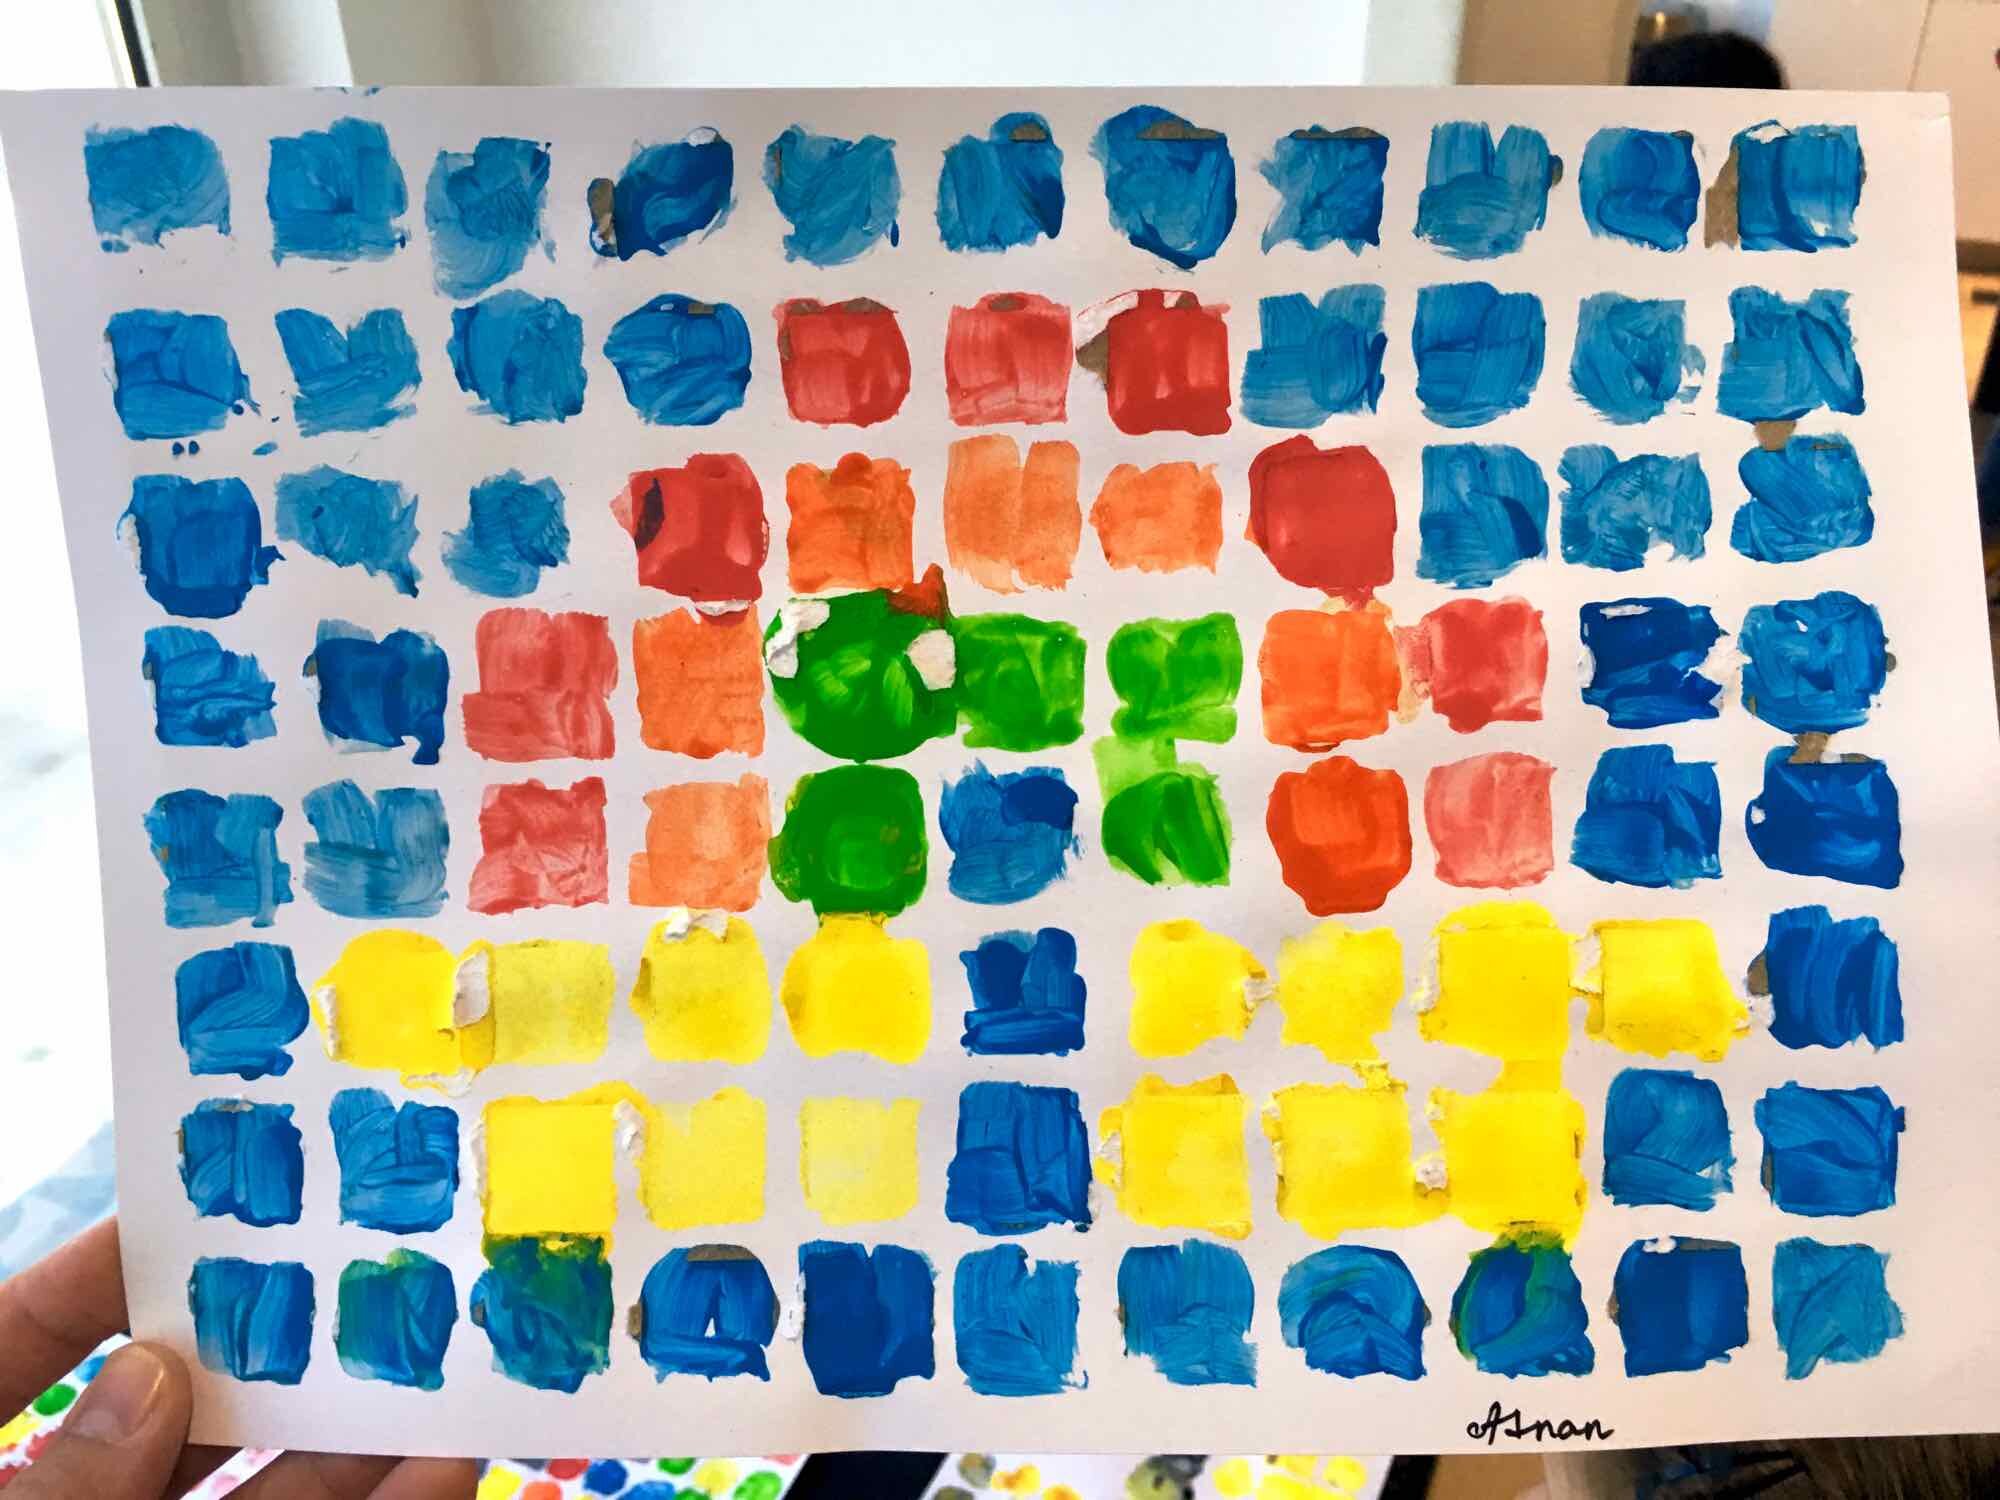

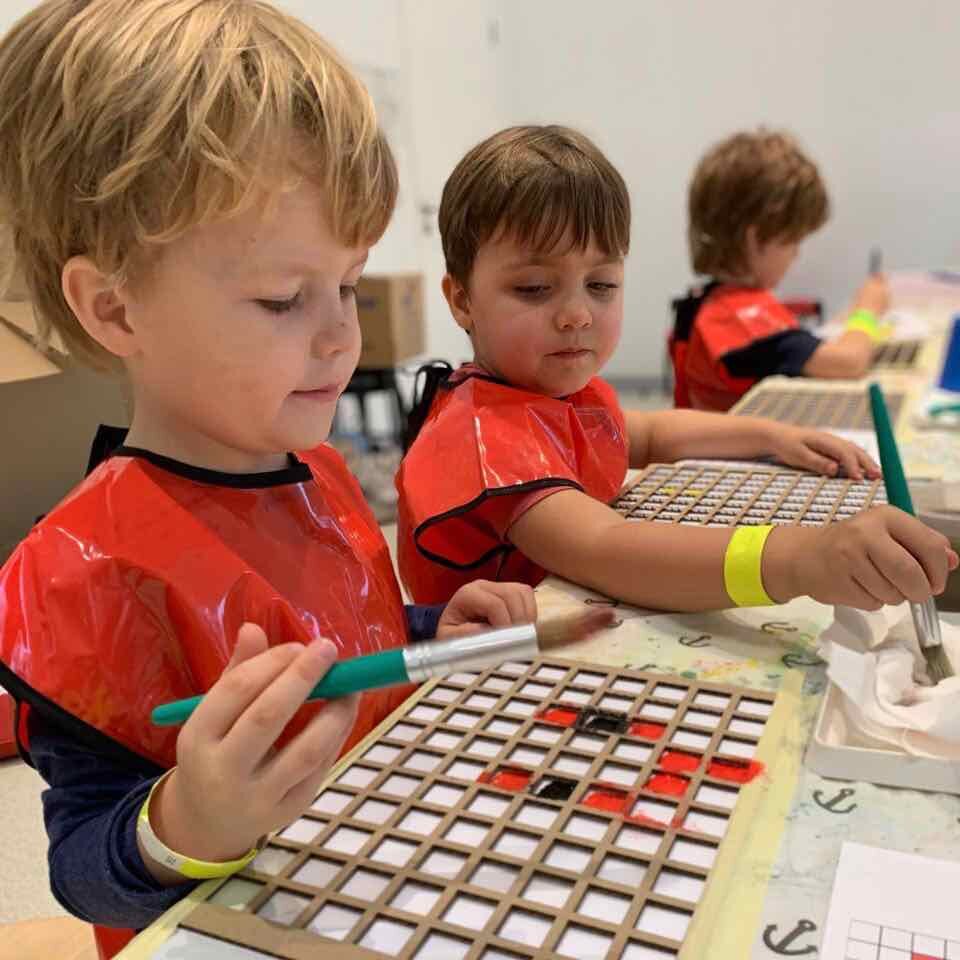
This was another project for our video game themed week where our campers totally blew us away with their creativity. The setup was simple, just tape the cardboard pixel frames on some paper and show the young makers how to ‘dab’ with their paint brush to help keep their pixels separated.
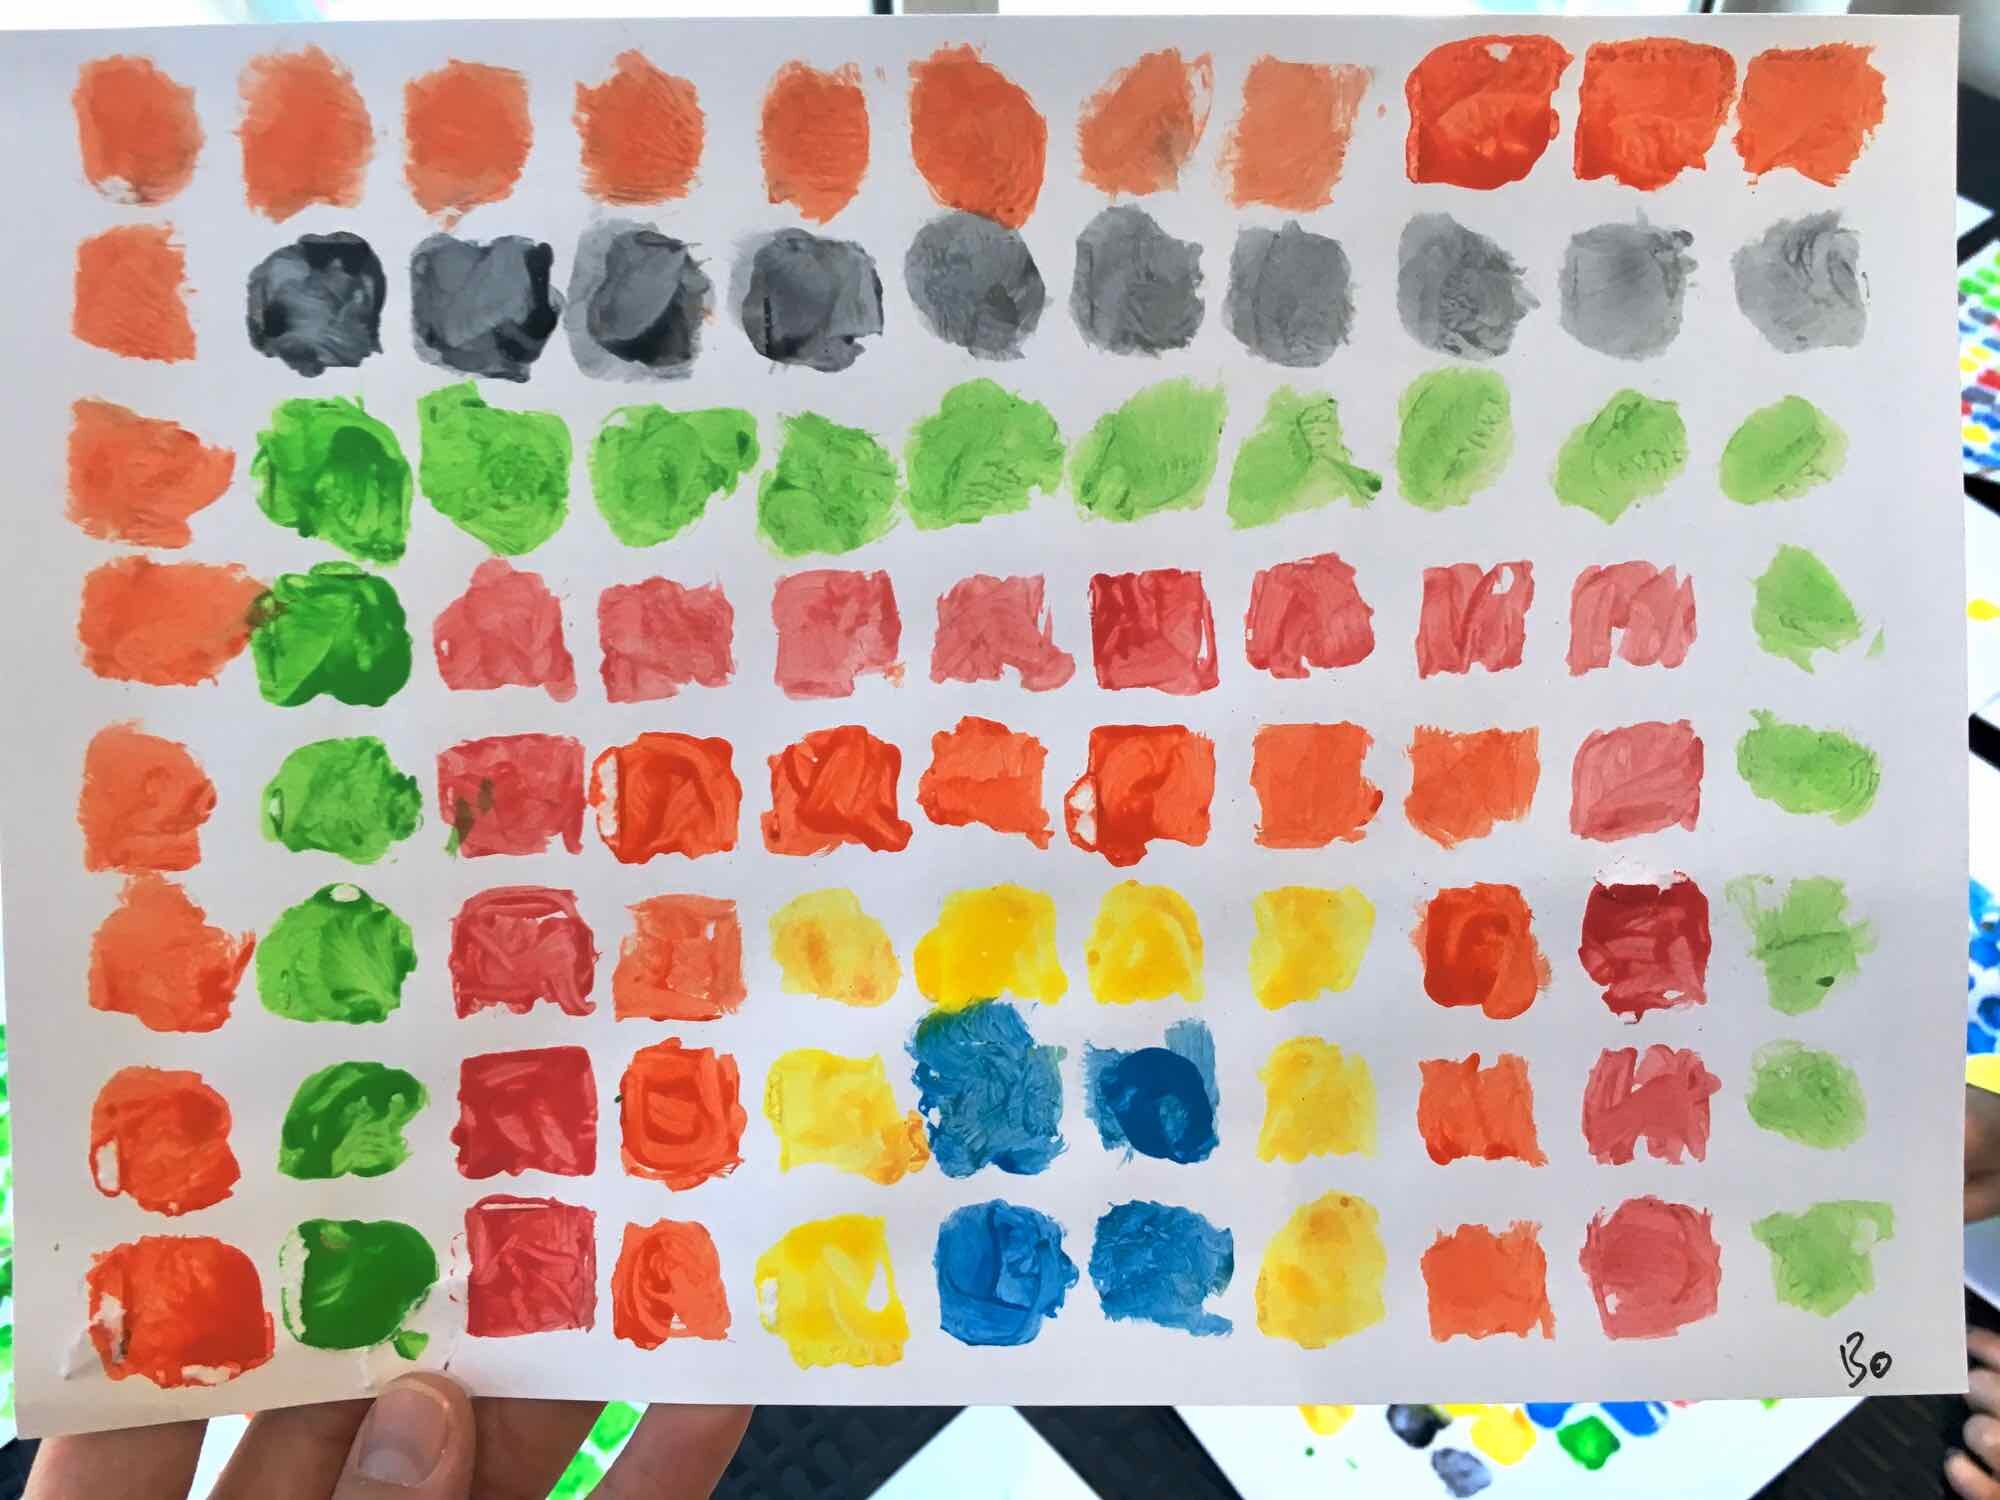
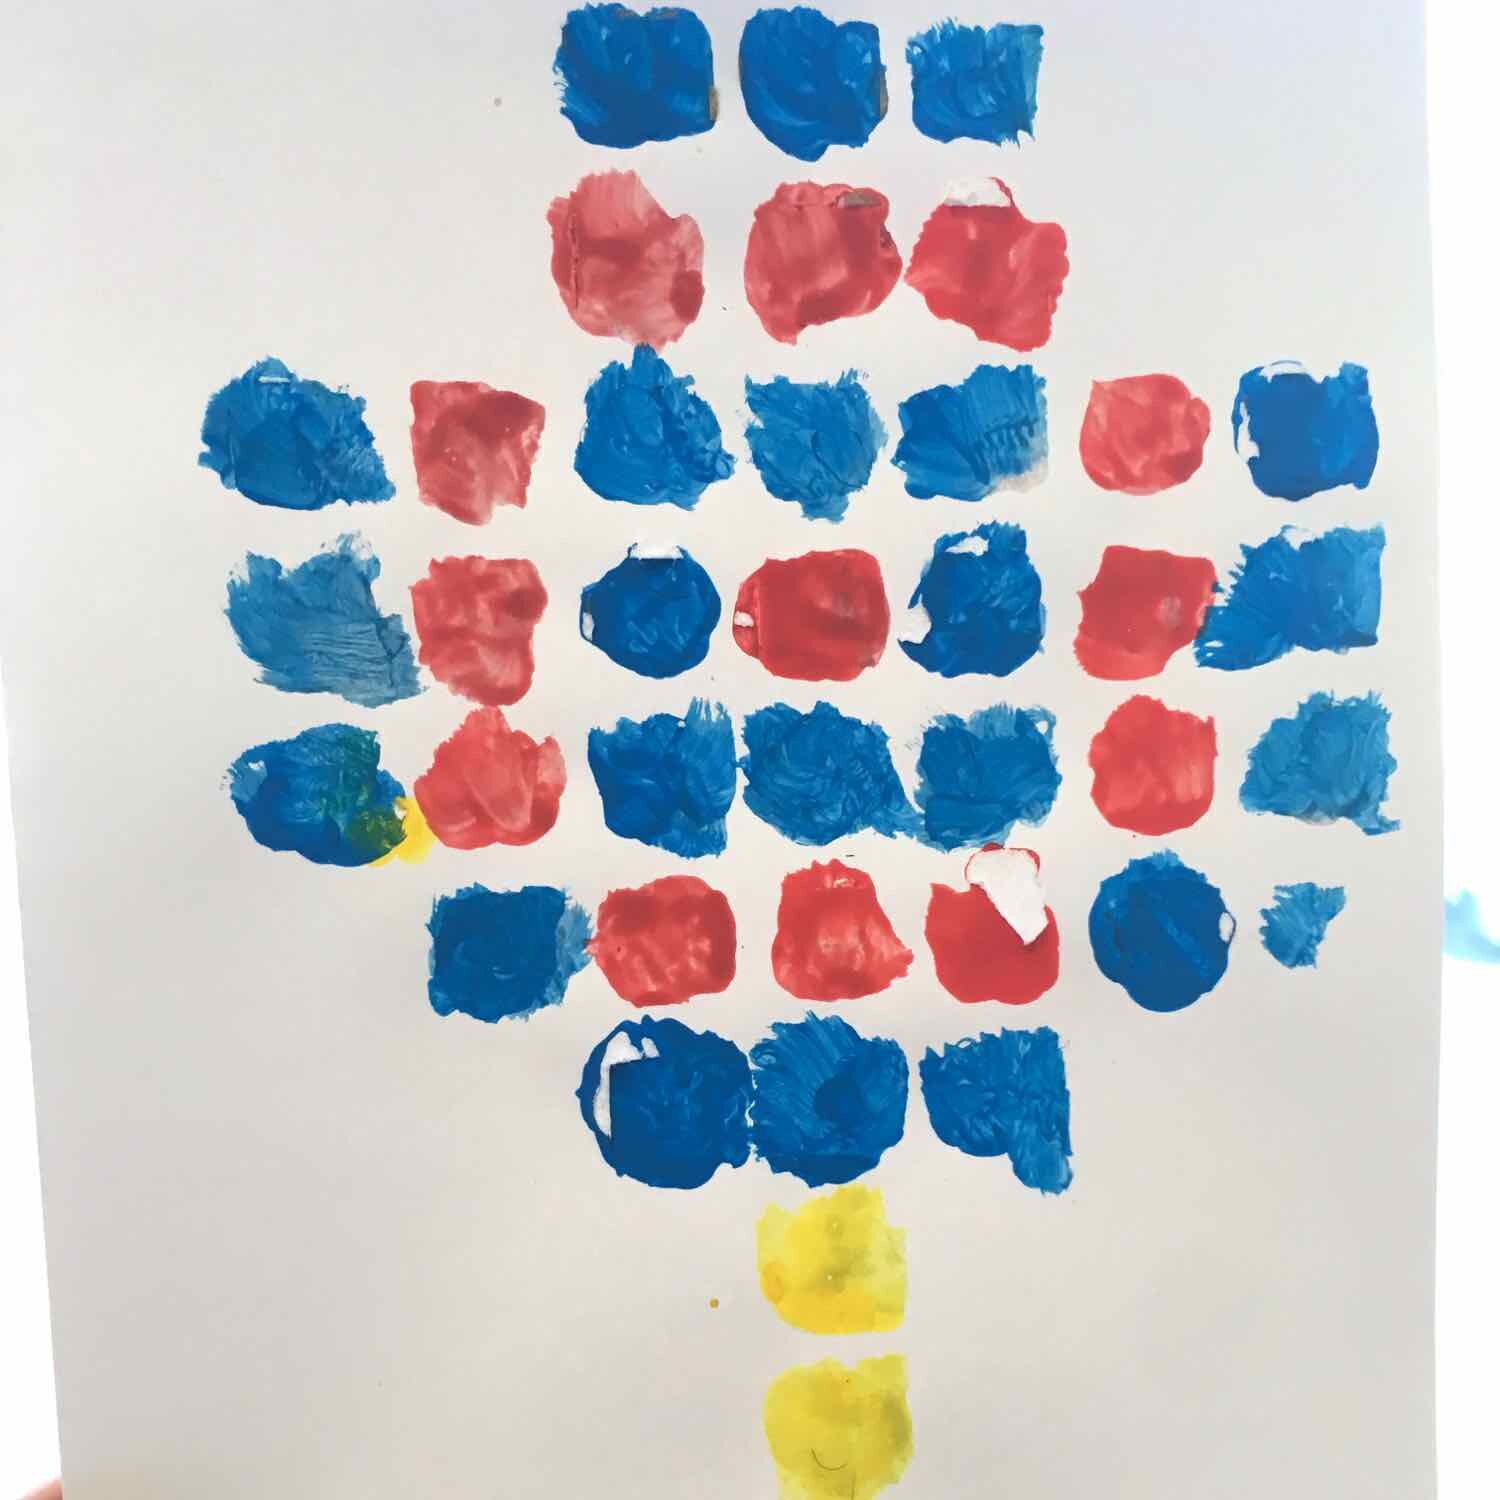
We had printouts on the table of different designs the campers could try, like ladybugs, different animals, and rainbows. These were a great help and good challenge for many of them because they had to count out the pixels/squares that they were painting.
Many campers also tried their own ideas, just abstractly exploring the process, or impressively, painting Iron Man’s face (2nd photo in the slide show).